I will no longer be updating this blog.
DO CHECK OUT MY NEW BLOG AT WWW.THEBAKEANISTA.COM
Showing posts with label Chiffon Cakes. Show all posts

Monday, December 14, 2015

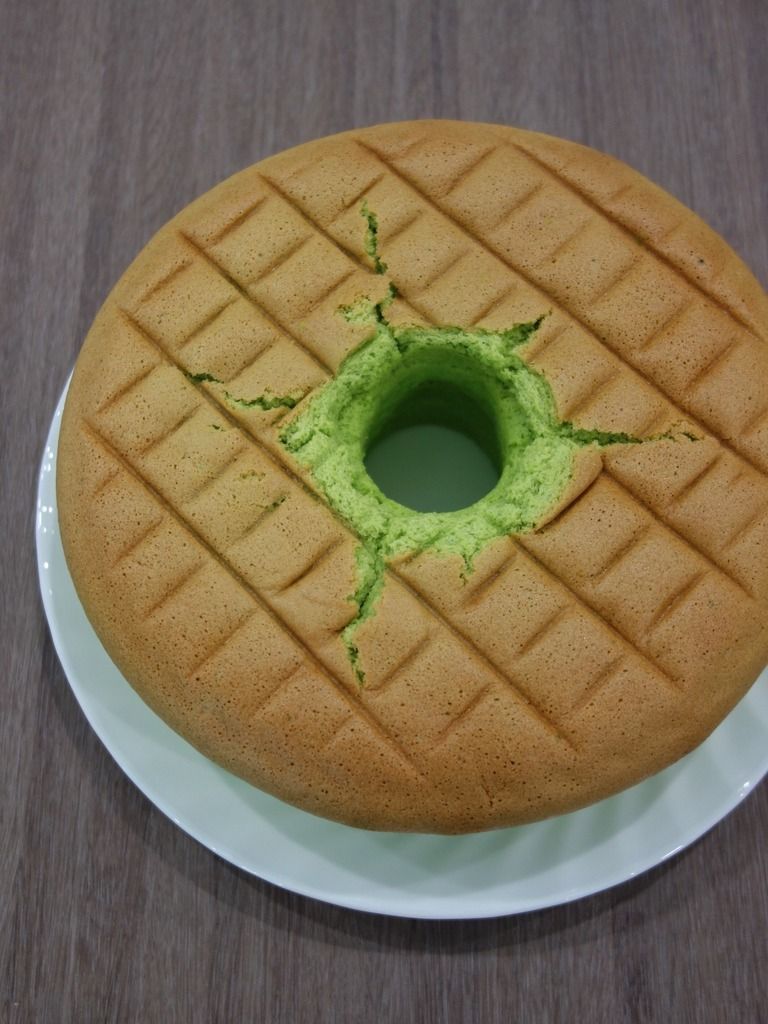
Green Tea Matcha Chiffon Cake

If you've been reading my blog or have been following me on Instagram (@thebakeanista), you'd know by now how much I love chiffon cakes and how obsessed I am with matcha.

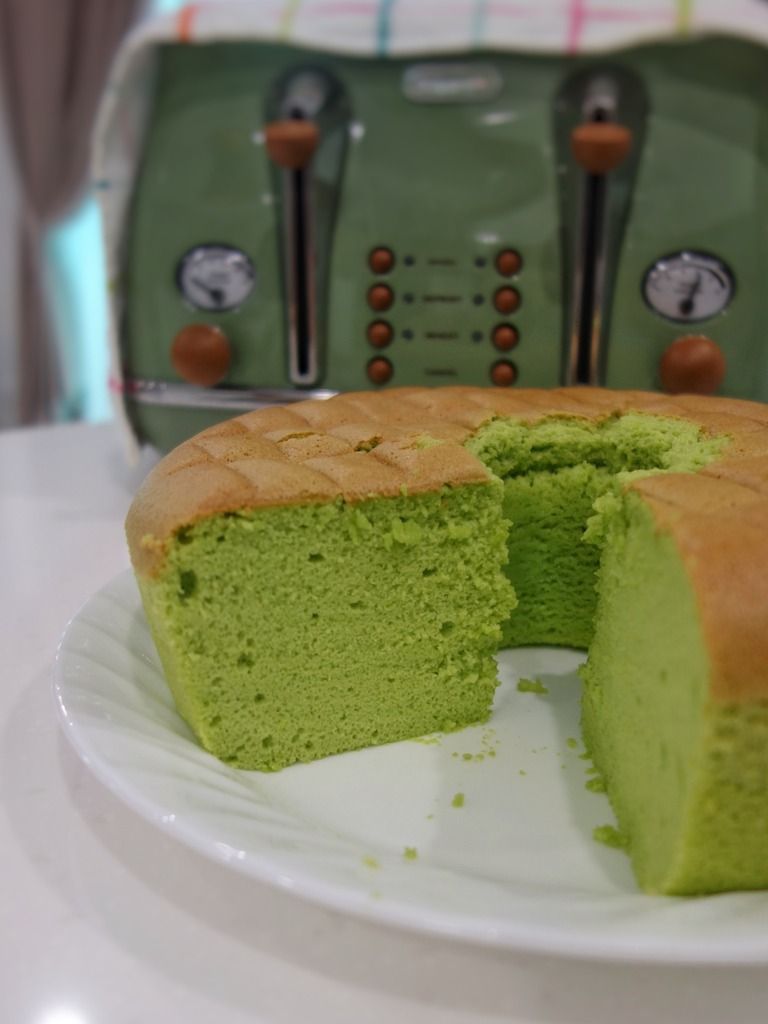
Today I am sharing with you this matcha chiffon cake recipe that I have made many times in the past. I've received lots of amazing feedback from my family and friends whom I have shared the cake with.

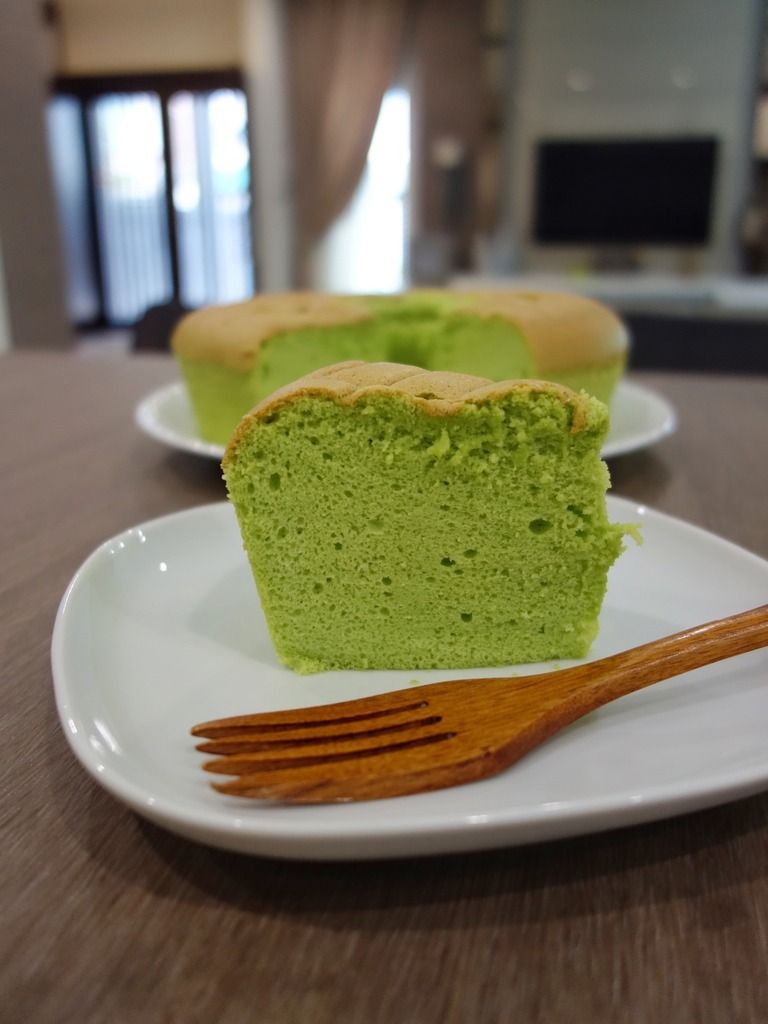
The texure of the cake is really airy, light and fluffy, as all chiffon cakes should be! Don't say I didn't warn you but you won't be able to stop at one slice. ;)

Here's the recipe and if you'd like to read on, I also shared a little on the difference between using low and high grade quality matcha powder.
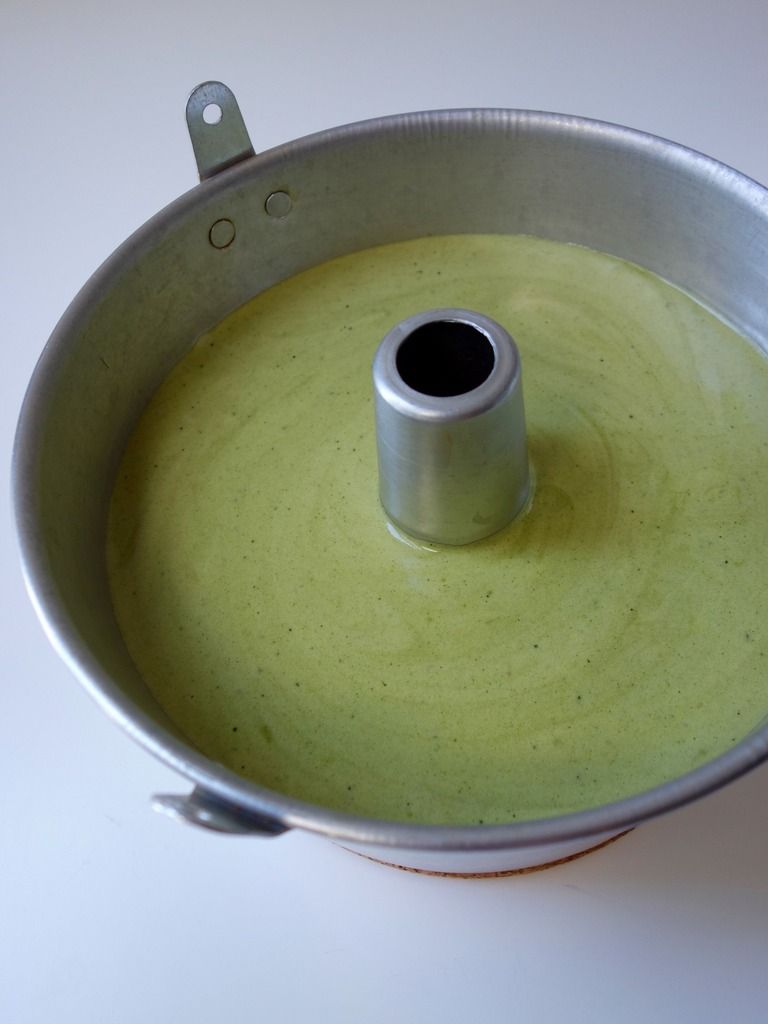

Green Tea Matcha Chiffon Cake

Recipe adapted from Just One Cookbook and modified by The Bakeanista

Ingredients

(A)
  • 6 large egg yolks
  • 90g castor sugar
  • 80ml vegetable oil
  • 120ml water, room temperature
  • 150g cake flour (substitute w/ 122g plain flour & 33g corn flour)
  • 2 tsp baking powder
  • 1 tbsp matcha powder
(B)
  • 6 large egg whites
  • ½ tsp cream of tartar
  • 60g caster sugar

Method
  1. Preheat oven to 170°C. Sift flour once with baking powder and matcha powder then set aside. As I used a substitute of plain flour and corn flour, I had to sift the combination thrice before sifting again with baking powder and matcha.
  2. Combine egg yolks and sugar in a bowl and beat until mixture becomes light and colour turns pale. This takes approximately 4-5 minutes.
  3. Add vegetable oil and mix together. Add the water and whisk until well combined.
  4. Add flour mixture gradually in 4-5 folds, and mix until batter is well incorporated without any lumps. Set aside.
  5. To make meringue, in another clean and dry bowl, beat egg whites until foamy then add in cream of tartar. When the mixture starts to get bubbly, add half of sugar and continue beating on high speed for a few minutes. Reduce speed to medium-high then add remaining sugar and beat until egg whites are glossy, with stiff peaks.
  6. Using a spatula, add one-third of meringue into egg yolk mixture and fold in lightly. Add in another third of the meringue and fold. Finally add remaining meringue and fold to incorporate completely.
  7. Pour batter into a 22cm chiffon cake tube pan (please do not grease the pan) and knock it lightly on the tabletop to remove air pockets.
  8. Bake in preheated oven for 45 minutes. When cake is done, remove from oven and invert it immediately, leaving it to cool. Please make sure the cake is left upside down until completely cool.
  9. Once cake has cooled completely, carefully run a knife or spatula around the sides of the cake to loosen it before inverting onto a wire rack. You can now enjoy the cake!
I hope you will enjoy the cake as much as I did! :)

*********

I have been asked many times what matcha powder I use in my bakings, so I thought I'd share this little insight on what matcha powder I have been using in the past and what I am currently using.
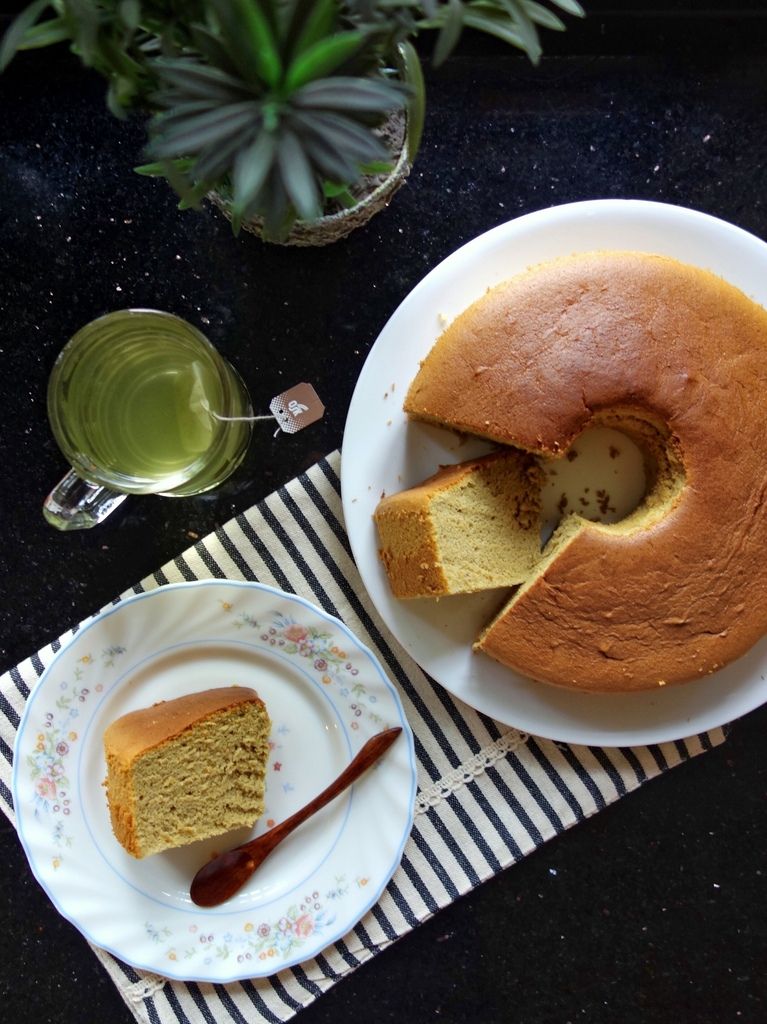
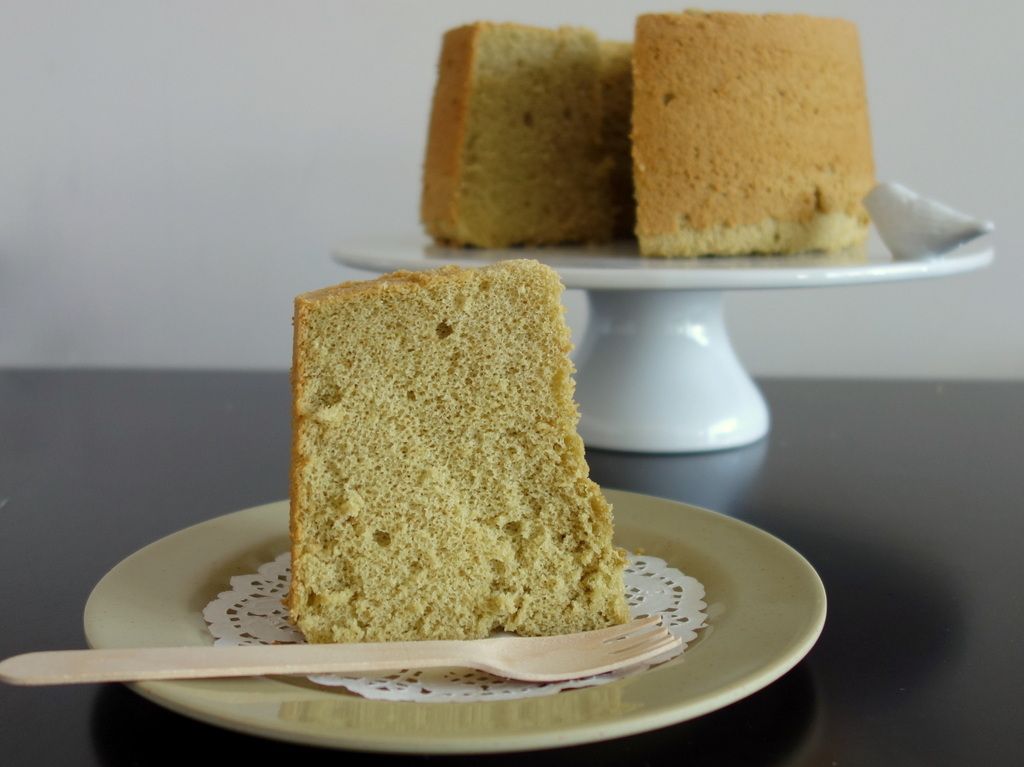
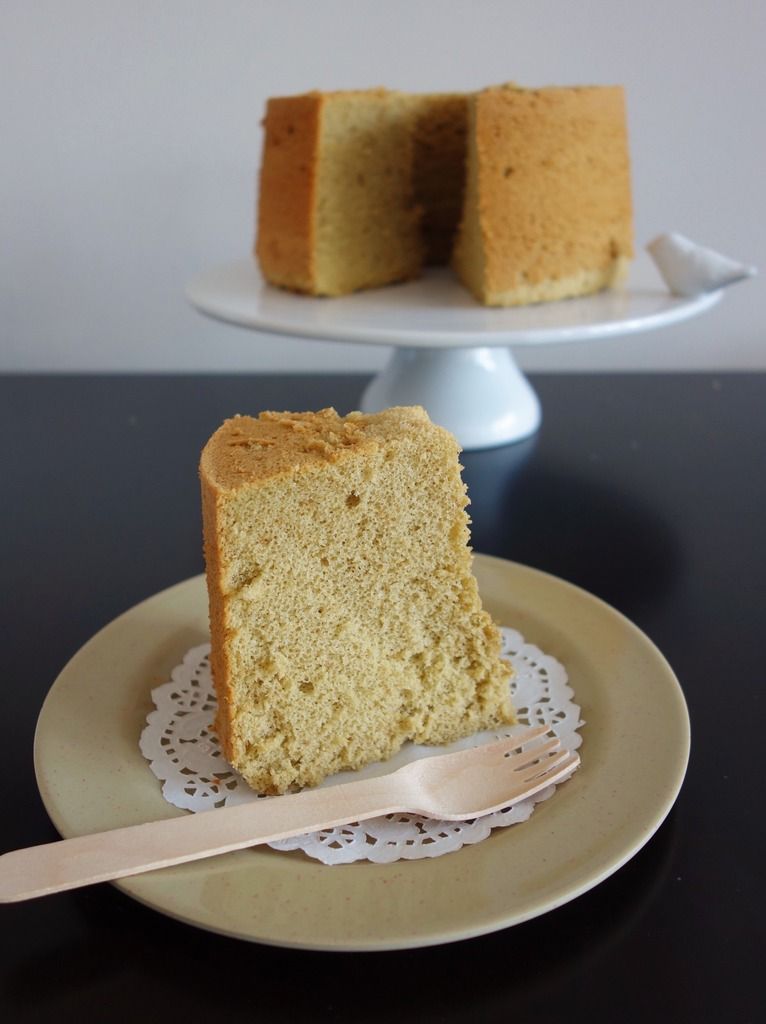
As you can tell from the above few photos, the cake turned out a little dull and brownish in colour after baking as I was using a lower quality matcha powder, namely the Ujinotsuyu Hagoromo Matcha.

A friend once commented on my photo and noted how brown my matcha cake looks, in her exact words "colour looks like gula melaka chiffon cake", and gula melaka as you all know is dark brown in colour! Can you hear my heart break? Lol lol.
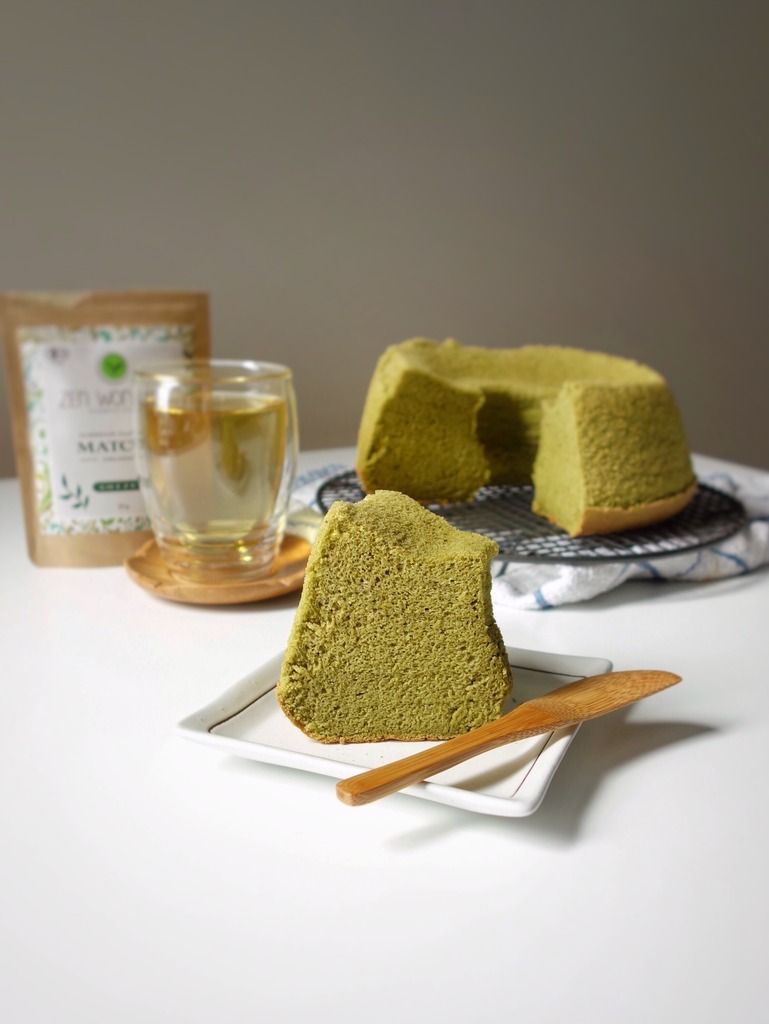
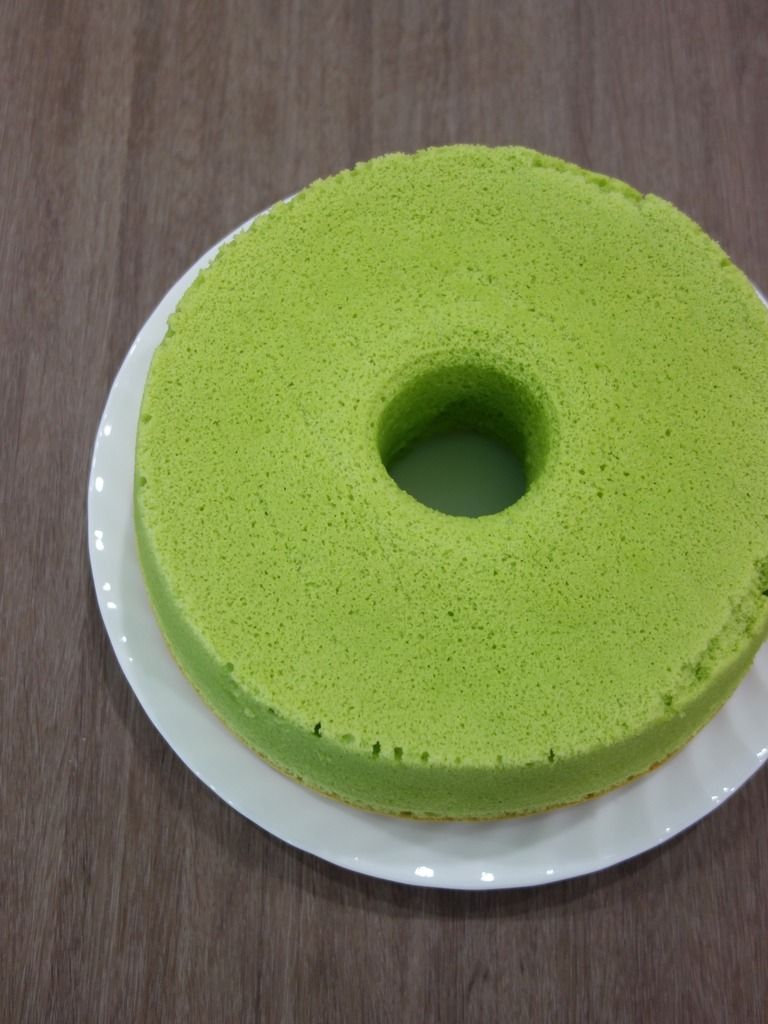
But well, ever since I was recently introduced to Zen Wonders matcha powder, I've never had any more problems with dull looking matcha baked goodies. Yay! See how the cake is greener in this photo? It not only looked greener, the cake also tasted better and smelt so much more fragrant!

I'm now hooked onto good quality matcha. Winning this pack of Superior Organic Culinary Shizen from Zen Wonders has well and truly changed my perspective on using better quality matcha; as the phrase that goes "you pay for what you get".
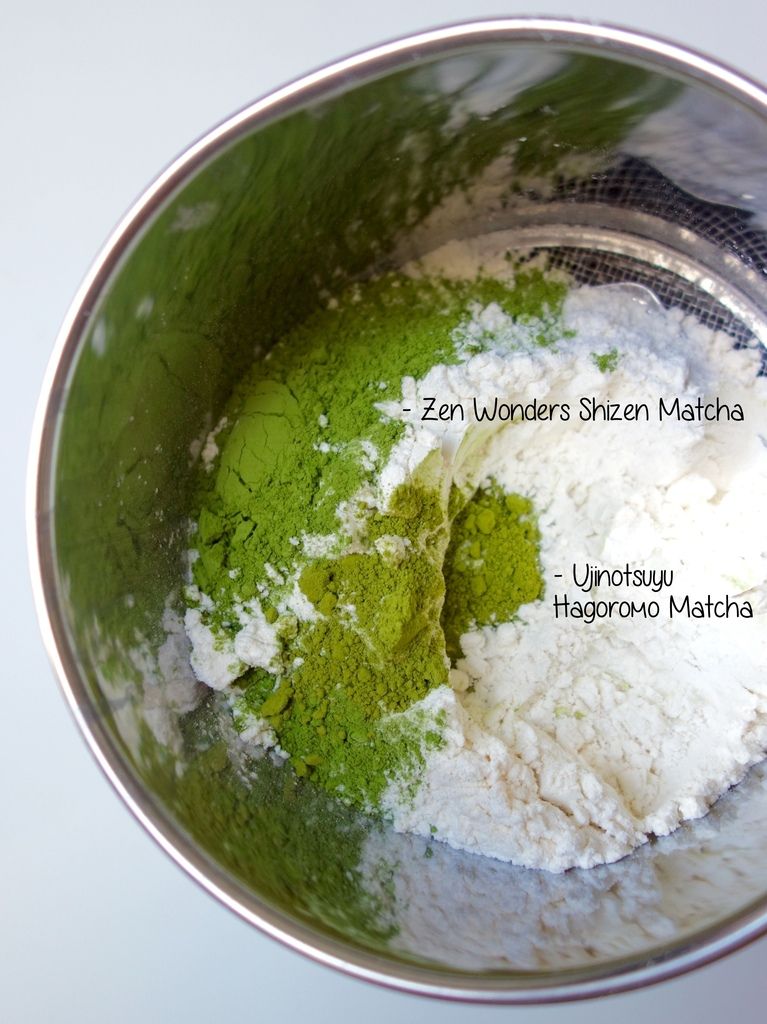
You can tell from the above photo the difference in the colour itself. The Zen Wonders Shizen matcha powder is more vibrant in colour because it is of higher grade which means the matcha is fresher in taste and a lot less bitter.

So if you're hunting for good quality matcha, a good key point to spot a good matcha is in its colour - ie. the more vibrant and green it is, the better as this means that younger tea leaves have been used to produce the matcha powder. This also translates to the product having slightly higher nutritional values too.

I have also learnt that the vibrant green is an indicator of a proper shading procedure prior to the harvest, which increases the chlorophyll content of the leaves and a good thing to note is that chlorophyll is a powerful detoxifier for our body.

Lower grade quality matcha is dull green in colour because the product is obtained by grounding older tea leaves and many times including their stems, which doesn't happen for higher grades as the leaves are carefully de-stemmed and de-veined prior to grounding.

So although the Hagoromo Matcha is more affordable and widely available in many Asian grocery stores for $6-7 a tin, the difference in using a better quality matcha really is more beneficial as it is more nutritional and hey, it definitely does yield a more aromatic and fragrant matcha cake too!
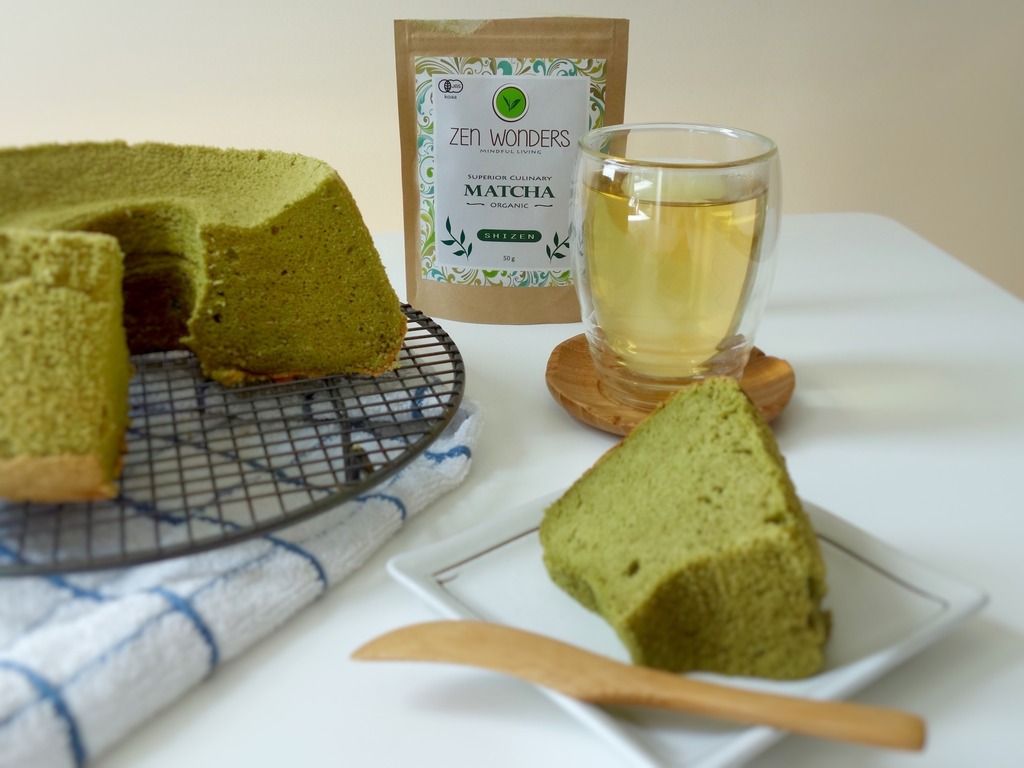
I have been enjoying my Zen Wonders Shizen in matcha lattes and baked goodies, and hoping that my pack of matcha never finishes! I am a convert now and I cannot recommend Zen Wonders enough.

I rave about it to all my matcha lover friends, and now, to you too! If you're looking for good quality culinary grade matcha powder, look no further - here. ;)

I thought I was a matchaholic before this but now I am even more obsessed with matcha than I have ever been, which I guess makes me a matcha addict 2.0? Haha!

Have a great week y'all. Until my next matcha post strikes again. *waves*

Update (11/01/2016) - For those keen to try, Zen Wonders Matcha is offering an exclusive 10% off the total bill across all products for The Bakeanista's friends. Just enter "BAKENSTA" at check out. 

Sunday, November 22, 2015

Earl Grey Chiffon Cake

Before I begin with the recipe, I'd just be honest and admit that I ain't no big fan of earl grey tea. As you know I am a green tea girl, always have been and always will be.

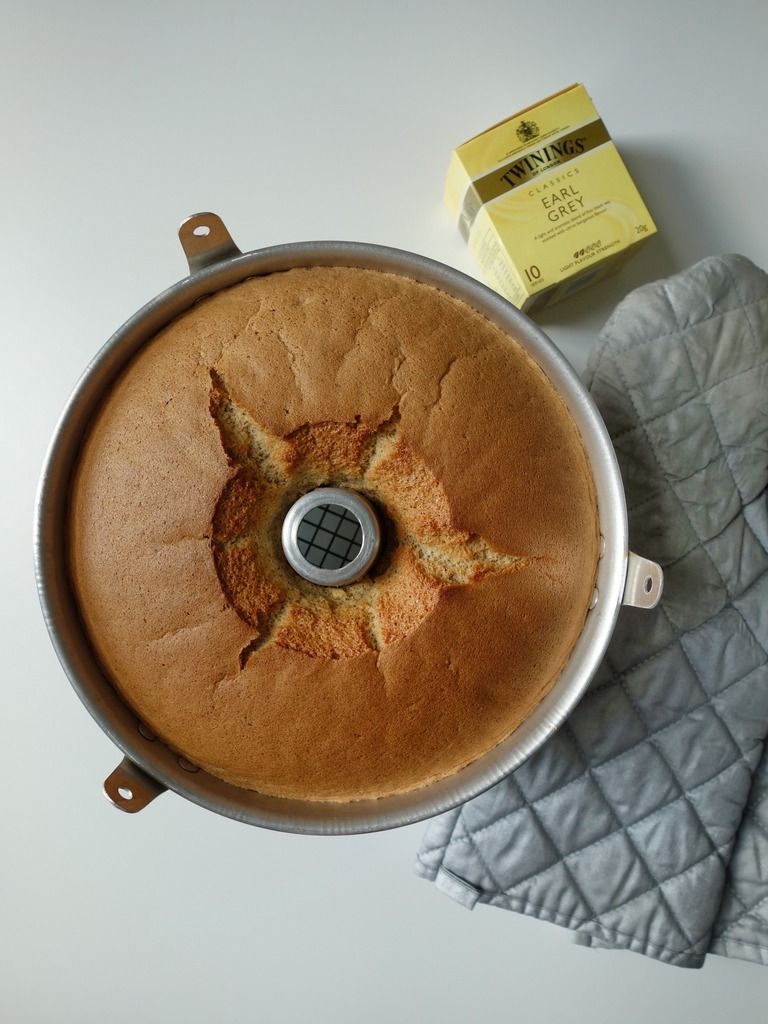
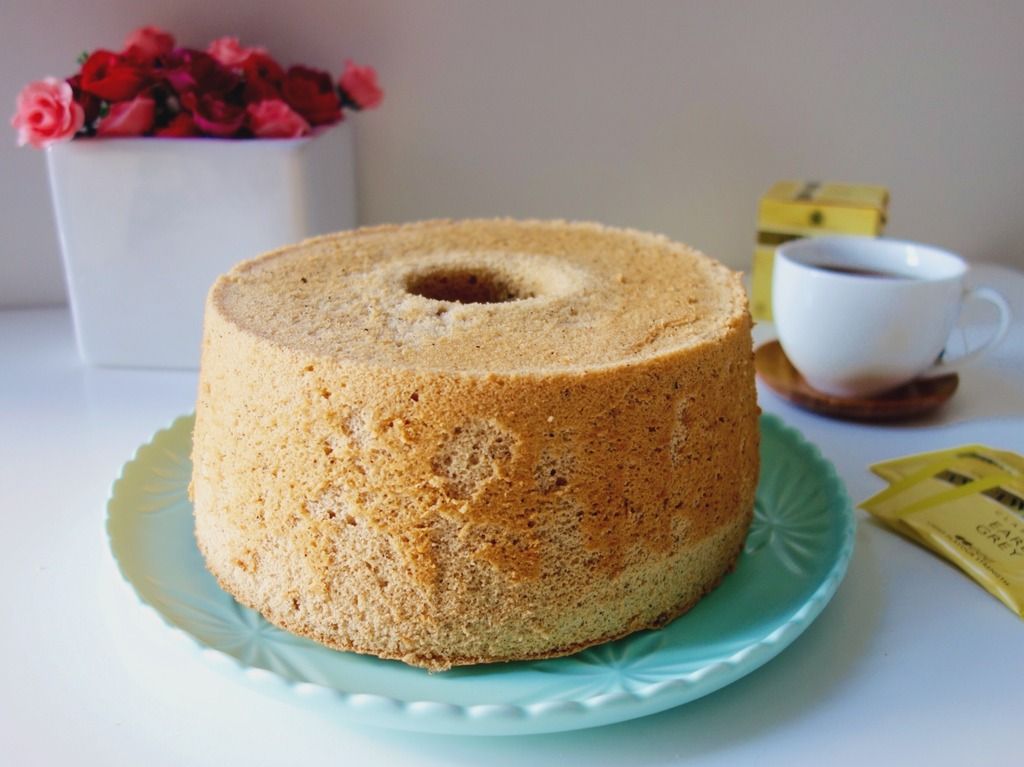
But I was intrigued with how earl grey tea would taste infused in a cake. So I choose one of my favouritest cake ever - the chiffon cake - and baked an earl grey version of it.

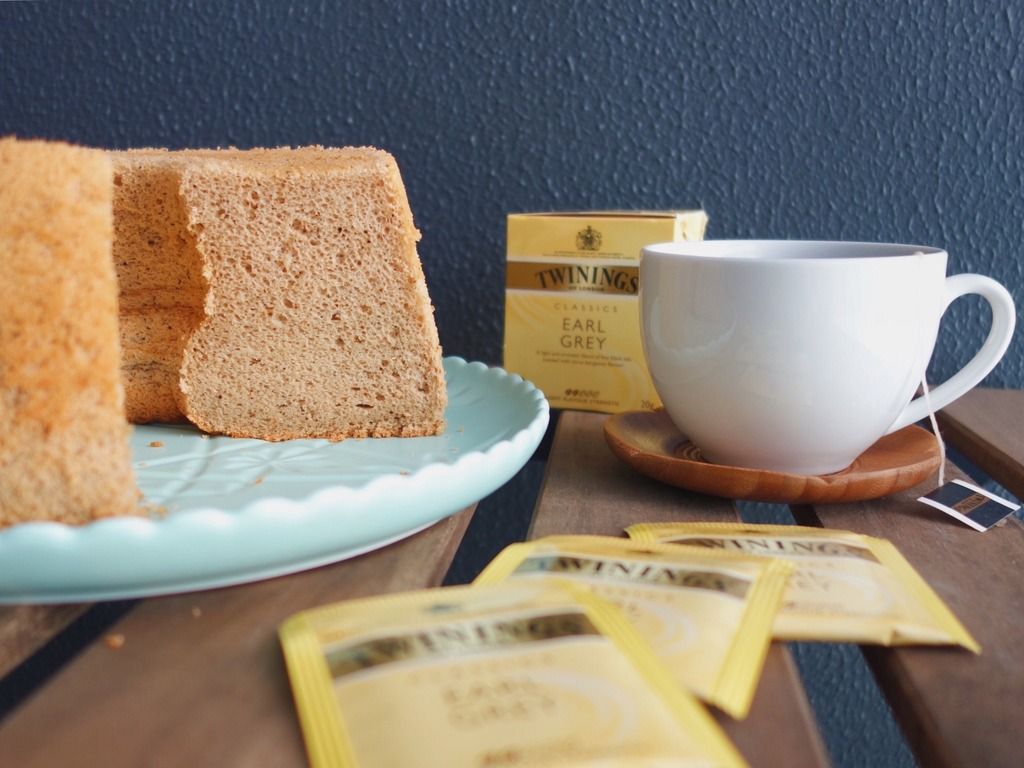
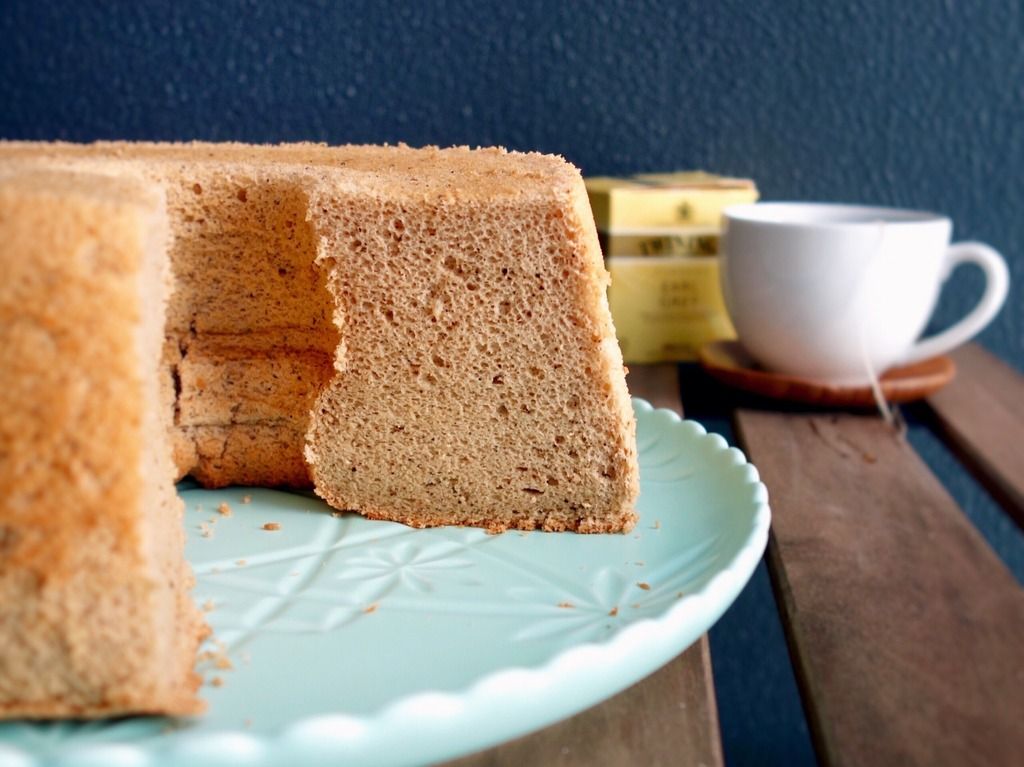
And the result is this tall, fluffy, soft, bouncy... and delicious cake! Oh dear, it was fragrant with aromatic citrusy notes. It smelt so good fresh out of the oven.

As you know, I'm on a clean eating diet so once it cooled completely, I thought I'd take one bite, just one bite, y'know to taste test it.

I mean I don't even like earl grey tea to begin with, but one bite was all it took to change my perspective on earl grey tea. I really, really enjoyed this earl grey chiffon cake, so much that I had 2 slices in one go. #byebyediet

I absolutely love how chiffon cakes are so light and airy. That makes it so... actually almost too easy to eat! The whole cake was demolished in one day, that's how good it was.

I wanted to remake it again the very next day only to find that I did not have enough eggs left. I can't wait to experiment earl grey in more baked goodies, but for now, I'd leave you with the recipe so you too can enjoy this fragrant deliciousness.

Earl Grey Chiffon Cake
Recipe by The Bakeanista - Makes a 22cm cake

Ingredients
(A)
6 large egg yolks
90g castor sugar
80ml vegetable oil
120ml water (hot water infused with 1 tbsp earl grey tea)
2-3 tsp crushed earl grey tea leaves (optional)
150g cake flour (substitute w/ 122g plain flour & 33g corn flour)
2 tsp baking powder

(B)
6 large egg whites
½ tsp cream of tartar
60g caster sugar

FOR FULL RECIPE, PLEASE VISIT MY NEW WEBSITE HERE.
Happy baking, and of course, let me know if you've got any questions. I hope you enjoy this recipe as much as I did! :)

Wednesday, November 18, 2015

Pandan Chiffon Cake

You know how we've all got comfort food that instantly makes me feel better? I also have what I deem "my comfort cake" which often reminds me of home and that is none other than the ultimate hulk of all cakes - pandan chiffon cake!

I've had this recipe on up on my blog since April 2010 and have baked this recipe soooooo many times now until I've lost count. This pandan chiffon cake is my go-to-recipe for whenever I feel like baking something quick and easy.

I decided to repost this recipe with new pictures taken, and also to provide the option of using natural pandan extract. Check out this post HERE on how to make your own fresh pandan extract.

If you're not able to get your hands on fresh or frozen pandan leaves, you may use artificial pandan extract as well. I find Koepoe Koepoe the best brand.

This recipe yields a very soft, light and fluffy chiffon cake. One that will ensure you can enjoy without feeling too guilty. ;)


Look at the beautiful vibrant green!

Enjoy your beautiful pandan chiffon cake. :)

Monday, October 26, 2015

Kinako Chiffon Cake

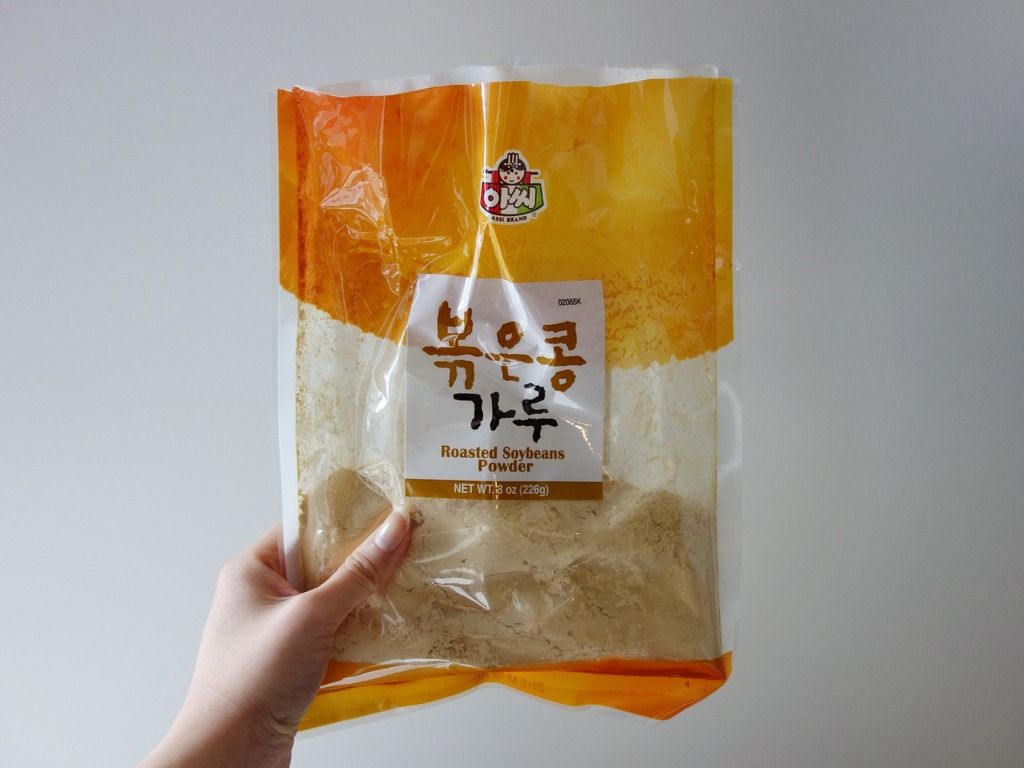
Kinako (きなこ) is the Japanese term for roasted soybean powder. It is this fine powder with a light and beautiful toasty, nutty flavour that goes really well with glutinous sweet rice cakes, which I am sure many of you would know as mochi.

I believe it is also known as 볶은 콩가루 (bokkeun konggaru) in Korean. The Koreans also often use kinako in their desserts such as injeolmi (similar to mochi) and gyeongdan (rice cake).

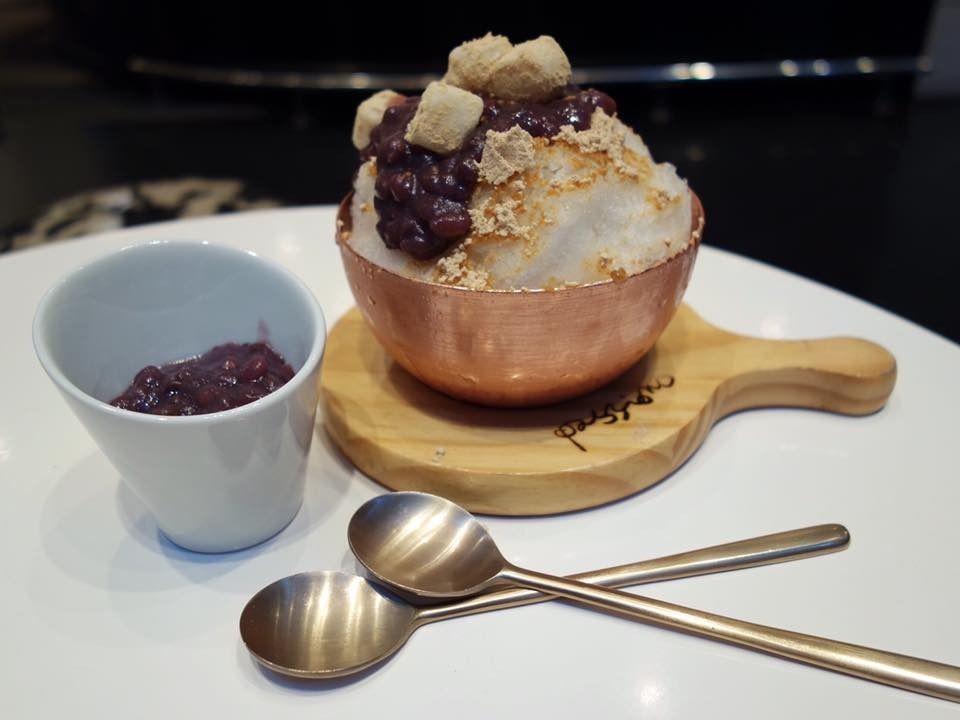
They also use kinako (alongside red bean as they make a perfect pair) as a topping for their shaved ice dessert known as patbingsu. That was my first time tasting kinako and have since fallen head over heels with it.

I have been craving kinako for a while now, and the other day when I discovered them at Fujimart in Prahran, I quickly bought a pack so I could experiment with it at home. If Korea World in Boxhill is closer to you, I've also seen them there before.

One fine afternoon, I had a lightbulb moment and came up with the idea of using kinako in chiffon cake. So I did a quick google search and found a recipe by Keiko Ishida that has been tried, tested and raved about by many other bloggers.

This recipe is from her book titled "Okashi – Sweet Treats Made with Love" which I am now wanting to get my hands on. I mean, French-style baking using Japanese flavours techniques - that's totally up my alley yo! I absolutely love baking/cooking with Asian flavours, especially Korean and Japanese.

As I have a 22cm chiffon pan, I had to modify the recipe slightly in order to obtain a tall chiffon cake.


Kinako Chiffon Cake
Recipe adapted from Okashi by Keiko Ishida and modified by The Bakeanista

Ingredients

(A)

  • 6 large egg yolks 
  • 25g dark brown sugar
  • 70ml vegetable oil 
  • 70ml water
  • 60g cake flour
  • 60g kinako (roasted soybean powder)
(B)
  • 6 large egg whites 
  • 100g caster sugar
  • 12g corn flour (or rice flour)

Method
  1. Preheat oven to 170°C. Sift flour once. As I used a substitute of plain flour and corn flour, I had to sift the combination thrice. Set aside.
  2. Combine egg yolks and brown sugar in a bowl and mix well until mixture becomes light and colour turns pale. Add water and canola oil and blend together. Add flour and mix until batter becomes sticky, then fold in soy bean powder.
  3. To make meringue, combine sugar and corn flour then set aside. Beat egg whites until foamy. Add half of sugar and flour mixture and continue beating for a few minutes, then add remaining sugar and flour mixture and beat until egg whites are glossy, with stiff peaks.
  4. Add one-third of meringue into egg yolk mixture and fold in lightly, then add remaining meringue and fold to incorporate completely.
  5. Pour batter into a chiffon cake tube pan. Please do not grease the pan.
  6. Bake for 45 minutes. When cake is done, remove from oven and turn it over, leaving it to cool.
  7. Once cake has cooled completely, carefully run a knife or spatula around the sides of the cake to loosen it before inverting onto a wire rack.

My mighty lil chiffon cake. I found that this recipe yielded a slightly firmer cake than my usual chiffon recipes but I love how nutty the cake smelt. It tasted slightly like peanut butter cake too.

I enjoyed a slice of kinako chiffon cake with a cup of hot green tea, whilst reading a book on the balcony. Ahhh, life is good!

I have also since used kinako to bake sweet bread - will share more of that in my next post.

Happy baking! :)

Saturday, November 13, 2010

Matcha Hunny Fluffy

Just look at that, it's so fluffy I want to die! :P What I like best about this chiffon is the matcha flavour which isn't too overpowering, but enough to tease your tastebuds. ;)

Matcha Hunny Fluffy
Recipe adapted from Lily Ng and modified by The Bakeanista


Ingredients:
(A)
6 egg yolks
50g caster sugar
6 tbsp corn oil
125ml hot water
1 1/2 tbsp honey
1 1/2 tbsp green tea powder
1 1/2 cup cake flour, sifted
1 tsp baking powder
1/4 tsp salt

(B)
6 egg whites
3 tbsp caster sugar
1/2 tsp cream of tartar

Method:
1) In a bowl, mix using electric mixer, egg yolks and sugar, until sugar dissolves and mixture turns pale and creamy.

2) Warm up the oil by microwaving it for 30 seconds, then add into mixture and mix well.

3) Dissolve honey and green tea powder in hot water, mix into batter.

4) Sift together cake flour, baking powder and salt. Fold in flour mixture and mix well. Set aside.

5) In another bowl, with a clean set of mixer, beat the egg whites until frothy. Add in cream of tartar and beat until foamy-like.

6) Gradually add sugar in (1 tbsp at a time) and beat until soft peaks.

7) Fold 1/3 of egg white mixture into egg yolk mixture using a spatula until incorporated.

8) Pour the mixture into the remaining 2/3 egg white mixture, and gently fold until incorporated.

9) Spoon the batter into a 23-cm chiffon tube pan and bang the pan on the table to rid bubbles.

10) Bake at lower bottom rack at 170 degrees Celcius for 45 minutes.

11) Remove from the oven and invert pan immediately. Remove cake from pan only when it's completely cooled.

12) Enjoy your matcha hunny fluffy! :D

Monday, August 16, 2010

Passionfruit Chiffon Cake

Just as you thought I was over my chiffon craze, I am back yet again with another fluffy creation. My best friend loves passionfruit and chiffon cakes, which inspired me to create this recipe.


Passionfruit Fluffy
Recipe by The Bakeanista

Ingredients

(A)
  • 6 egg yolks
  • 80g caster sugar
  • 2 tbsp orange rind
  • 2 tbsp orange juice
  • 170ml passionfruit juice
  • 100ml corn or vegetable oil
  • 180g self-raising flour
  • 1/4 tsp baking powder
(B)
  • 6 egg whites
  • 100g caster sugar
  • 1/4 tsp cream of tartar


Method:
  1. In a bowl, mix using electric mixer, egg yolks and sugar, until sugar dissolves and mixture turns pale and creamy.
  2. Mix orange rind, orange juice and passionfruit juice into egg yolk mixture.
  3. Add in corn oil and mix well.
  4. Sift together self-raising flour and baking powder.
  5. Fold in flour mixture and mix well. Set aside.
  6. In another bowl, with a clean set of mixer, beat the egg whites until frothy. Add in cream of tartar and beat until foamy-like.
  7. Gradually add sugar in (1 tbsp at a time) and beat until soft peaks.
  8. Fold 1/3 of egg white mixture into egg yolk mixture using a spatula until incorporated.
  9. Pour the mixture into the remaining 2/3 egg white mixture, and gently fold until incorporated.
  10. Spoon the batter into a 23-cm chiffon tube pan and bang the pan on the table to rid bubbles.
  11. Bake at lower bottom rack at 170 degrees Celcius for 45 minutes.
  12. Remove from the oven and invert pan immediately. Remove cake from pan only when it's completely cooled.
  13. And now the best part - enjoy your passionfruit fluffy! :D


Slightly dense at the bottom, but this time, I like that part best! :P

Monday, May 31, 2010

Chocolate Fluffy

My love for fluffy did not stop just there. This wasn't too bad, but it could have been better if the chocolate chips did not sink to the bottom. I guess it was a little too heavy for the batter which resulted in that. Oh wells, as long as it taste good! :D

I also tried Banana Fluffy but for some reasons, I can't find my pictures! :( It was really good though. Tasted just like banana cake, only thing was it was lighter and fluffier, just as it should be. :D

Wednesday, April 28, 2010

Orange & Poppy Seed Chiffon Cake

The first time I laid my hands on them, I was ecstatic. I just love how the texture is so soft and fluffy. Seriously, it just excites me every single time I pop a bite-size piece into my mouth and let it melt on the palette of my tastebuds.

I am on a chiffon frenzy, making one chiffon cake after the other. All in a variety of different flavours.

I used the same orange chiffon cake recipe, added some poppy seed and voila! Orange Poppy Seed Chiffon cake! Yeap, it was THAT simple!

Orange Chiffon Cake
Recipe by The Bakeanista

Ingredients
(A)
6 egg yolks
50g caster sugar
2 tbsp orange rind
180ml orange juice
100ml corn or vegetable oil
180g self-raising flour
1/4 tsp baking powder
3 tbsp poppy seeds (optional)

(B)
6 egg whites
100g caster sugar
1/4 tsp cream of tartar

Method
1) In a bowl, mix using electric mixer, egg yolks and sugar, until sugar dissolves and mixture turns pale and creamy.
2) Mix orange rind and juice into egg yolk mixture.
3) Add in corn oil and mix well.
4) Sift together self-raising flour and baking powder. Fold in flour mixture and mix well. If you're keen to add poppy seeds, this is when you add them all in. Make sure to fold well before setting aside.
5) In another bowl, with a clean set of mixer, beat the egg whites until frothy. Add in cream of tartar and beat until foamy-like.
6) Gradually add sugar in (1 tbsp at a time) and beat until soft peaks.
7) Fold 1/3 of egg white mixture into egg yolk mixture using a spatula until incorporated.
8) Pour the mixture into the remaining 2/3 egg white mixture, and gently fold until incorporated.
9) Spoon the batter into a 23-cm chiffon tube pan and bang the pan on the table to rid bubbles.
10) Bake at lower bottom rack at 170 degrees Celcius for 45 minutes.
11) Remove from the oven and invert pan immediately. Remove cake from pan only when it's completely cooled.
12) Enjoy your orange fluffy! :D

I love it when my chiffon cakes rise this high, looking all tall and mighty.

I also have the habit of cutting them into bite-size pieces. You know why? It is easier to noms. Just pop one after another into my mouth. It's so light that it's too easy to binge on without realising how much you've eaten! #truestory

Close up shot to entice you! Now hurry along and bake some. You'll be thanking me later. ;)

Wednesday, April 21, 2010

Marble Fluffy

I was a tad bit afraid to tackle two flavours of fluffy in one. But I was quite desperate for MORE fruffyness so I made it anyway. Now that I've succeeded, it didn't seem as hard as I thought it would be. Only a lil more arduous than one flavoured chiffons, but it's all worth it. My only problem is that the chocolate flavour isn't strong enough. Maybe I'll add in more cocoa powder in the future. :D

A friend asked me for the recipe, so I thought I'd share it here with all of you. I came up with this recipe myself, so try it only if you dare to. Recommended for 23-cm tube pans! ;)

Marble Fluffy

Ingredients:
(A)
6 egg yolks
45g caster sugar
1/4 tsp salt
80ml vegetable oil
80ml water
1 tsp vanilla essense
95g cake flour (sifted 3 times)

(B)
10g cocoa powder
10g flour

(C)
6 egg whites
100g caster sugar
1/4 tsp cream of tartar

Method:
1) In a bowl, mix using electric mixer, egg yolks, sugar and salt, until sugar dissolves and mixture turns pale and creamy.

2) Add in oil, followed by water, then vanilla essence; ensuring that you mix well before you add the next item.

3) Fold in flour in 3 separate additions and mix well until you don't see ugly lumps.

4) Divide the mixture into two equal portions in two separate mixing bowls.

5) Mix 10g flour into one of the mixture.

6) Mix 10g cocoa powder into the other respective mixture. Set both the mixtures aside.

7) In another clean bowl, with a clean set of mixer, beat the egg whites until frothy. Add in cream of tartar and beat until foamy-like.

8) Gradually add sugar in (1 tbsp at a time) and beat until soft peaks. The egg whites mixture should be smooth and shiny at peak form.

9) Fold 1/2 of egg white mixture into plain egg yolk mixtures using a spatula until incorporated.

8) Pour the remaining 1/2 egg white mixture into the cocoa egg yolk mixtures, and gently fold until incorporated.

9) Spoon the batter into tube pan alternatively between the plain and the cocoa mixture. Use a chopstick (or knife) to swirl around the mixture to get marble effect.

10) Bake at lower bottom rack at 170 degrees Celcius for 45 minutes.

11) Remove from the oven and invert pan immediately. Remove cake from pan only when it's completely cooled.

12) Enjoy your pretty marble fluffy! :D


Goodness gracious me! They're so soft and fluffy and yum!!! :D
Looking at the picts make me wanna grab some from the kitchen!
But it's 12 midnight already. TEMPTATION. GO. AWAY. PLEASE!
Well well well, looks like my chiffon frenzy ain't going no where. ;P

Monday, April 19, 2010

Lemon Fluffy

I didn't quite enjoy the lemon fluffy, particularly because it sank and the texture became so dense. I am guessing I deflated the egg whites while beating so yeah. The tangy taste however, was very interesting. Maybe I'd give it another go, JUST MAYBE. :P

Sunday, April 11, 2010

Pandan Fluffy

I wasn't quite satisfied with my Not-So-Matcha fluffy, so I decided to give it another shot. But this time, I attempted the Pandan Fluffy. Again, I compiled a list of recipes, and came up with my own.

I'm not trying to blow my own trumpet, but I gotta say, this is the best Pandan Fluffy I've ever tasted. The brudder, who isn't a big fan of cakes, gobbled up the entire cake with me, in one day! That's record! :) And for obvious reasons, I want you to give it a try too.

So here goes my compiled-modified-recipe:

Pandan Fluffy
Ingredients:
(A)
6 egg yolks
80g caster sugar
150ml coconut milk
1 tsp pandan paste
1 tsp pandan essence
4 tbsp corn oil
1/4 tsp salt
140g cake flour (sifted thrice)

(B)
6 egg whites
100g caster sugar
1/4 tsp cream of tartar

Method
1) In a bowl, mix using electric mixer, egg yolks and sugar, until sugar dissolves and mixture turns pale and creamy.

2) Add in both pandan paste and essence into coconut milk; stir well. Mix into egg yolk mixture.

3) Add in corn oil and mix well.

4) Fold in salt and flour, mix well then set aside.

5) In another bowl, with a clean set of mixer, beat the egg whites until frothy. Add in cream of tartar and beat until foamy-like.

6) Gradually add sugar in (1 tbsp at a time) and beat until soft peaks.

7) Fold 1/3 of egg white mixture into egg yolk mixture using a spatula until incorporated.

8) Pour the mixture into the remaining 2/3 egg white mixture, and gently fold until incorporated.

9) Spoon the batter into a 23-cm chiffon tube pan and bang the pan on the table to rid bubbles.

10) Bake at lower bottom rack at 170 degrees Celcius for 45 minutes.

11) Remove from the oven and invert pan immediately. Remove cake from pan only when it's completely cooled.

12) Enjoy your pandan fluffy! :D


Note from The Bakeanista:
(1) If you do not have coconut milk, mix a packet of 50g coconut milk powder with 150ml of warm water.
(2) As a substitute of cake flour, I used 113g all-purpose-flour + 32g cornflour. Ensure that you sift it three times.

Saturday, April 10, 2010

Matcha Fluffy

What started off as an experiment with my first orange chiffon cake, turned out to be a chiffon frenzy. And from out of no where, came my sudden love for chiffon cake! I got a tad more adventurous and attempted to make a Matcha Chiffon. I compiled a list of recipes from the Net, slowly went through them, then modified and came up with my own. Although I know it looks very brownish, but trust me, the matcha taste was quite strong. ;)
Click on 'OLDER POSTS' for more! :)