
I have a confession to make. I love pastries. And I am a pastry fiend. I simply cannot get enough of them!
I wish Lune Croissanterie isn't located all the way in Elwood, as I don't drive and it gets a little tricky getting there by public transport.
But glad I can now make my own, although they don't turn out to be anything like Lune's but good enough to satisfy my cravings!
I'm not sure if you've read my previous post on the art of lamination class I attended at Brasserie Bread, but we got to take home the two types of dough - croissant and danish - that we mixed (by hand), kneaded and laminated two folds in class.

All I needed to do when I got home was to give the dough another fold, roll it out and then start shaping!
 This is what I managed with the croissant dough! Nothing beats the smell of freshly baked chocolate croissants in the comfort of your own home - it was so intoxicating! In a good way, of course! ;)
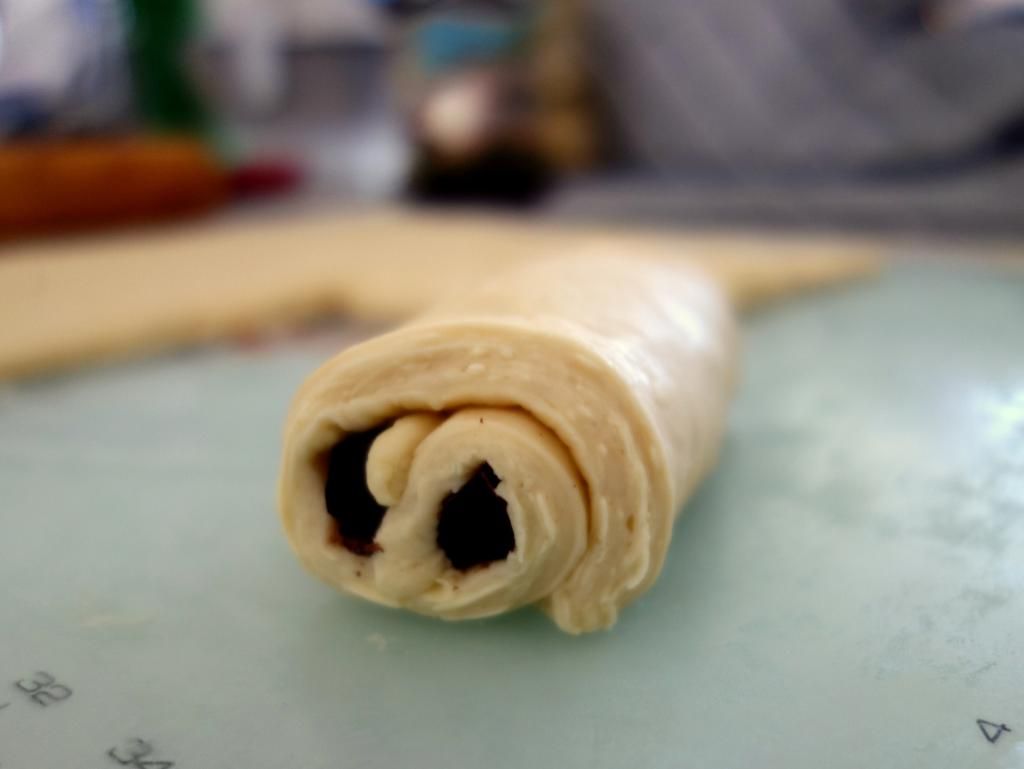
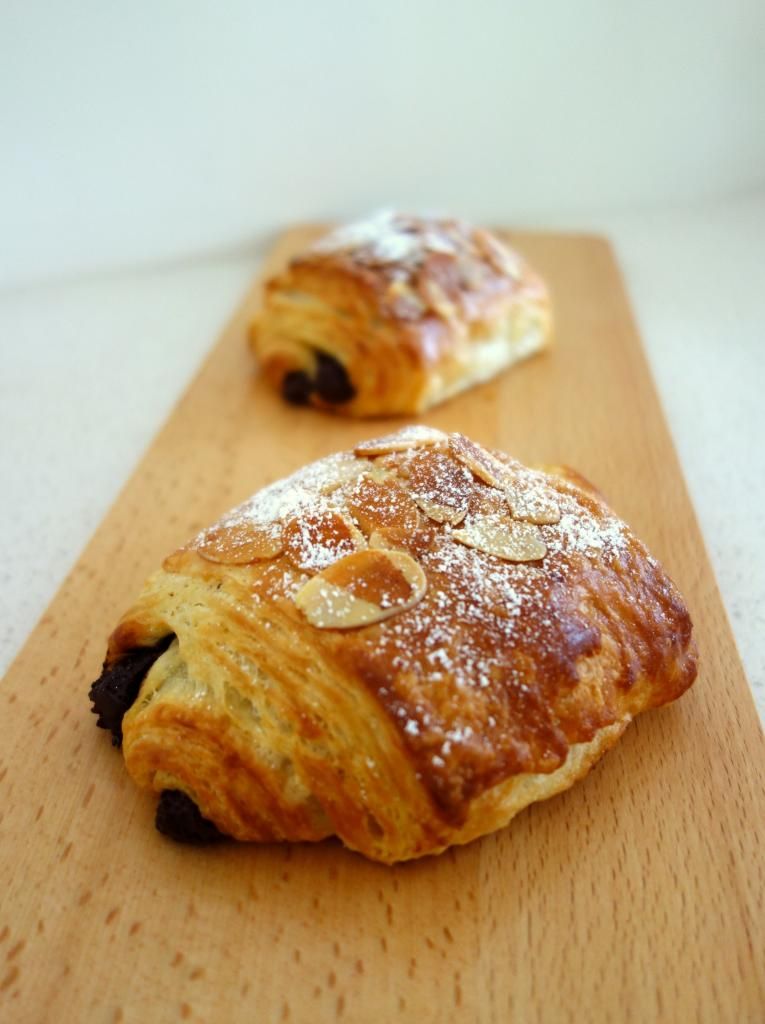
I decided since The Boyfriend really enjoyed the pain au chocolate, I'd make more of them this time around! This is my nicely shaped pain au chocolate before I left them to proof and double in size.
Oh yes, I also added some flaked almonds before giving the croissants an egg wash for extra fragrance and crunch! ;)
Oh yes, I also added some flaked almonds before giving the croissants an egg wash for extra fragrance and crunch! ;)
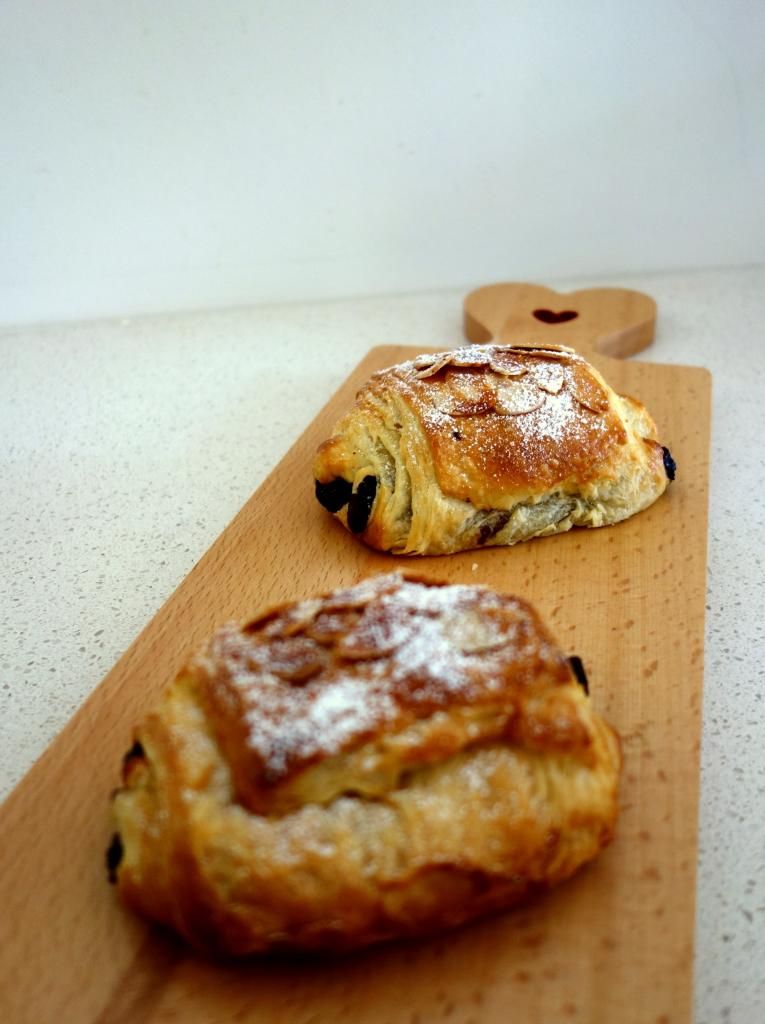
And tadahhhhh! This is the final product! How do you think I fared? The Boyfriend gave me two thumbs up and I was grinning from ear to ear.
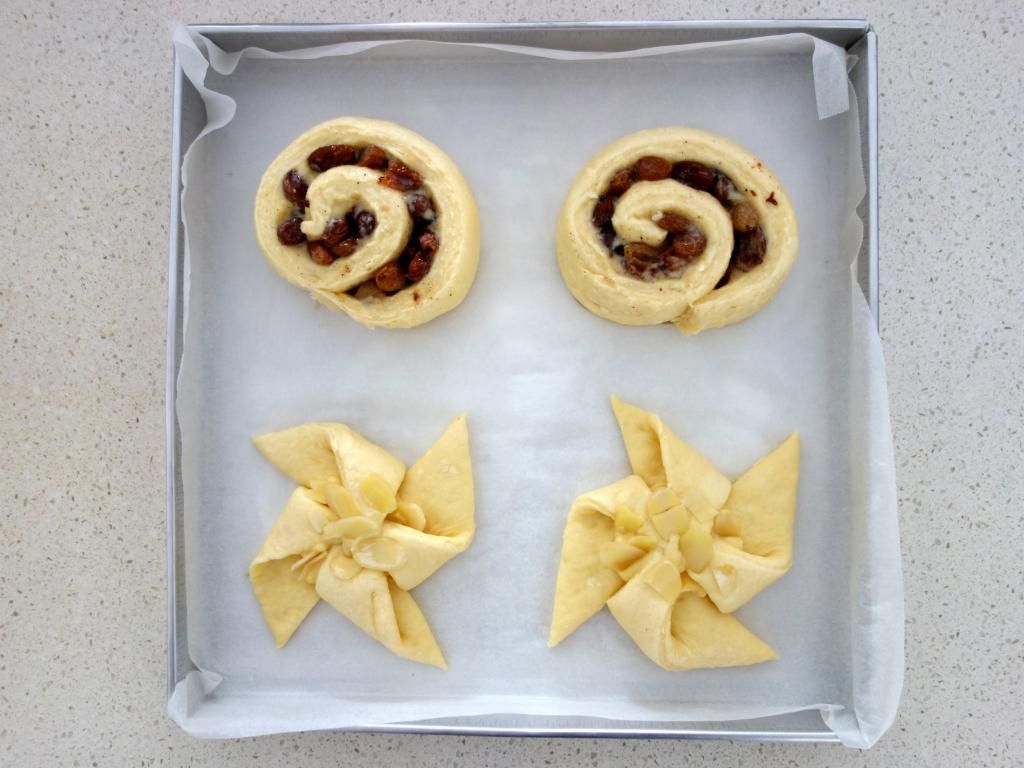
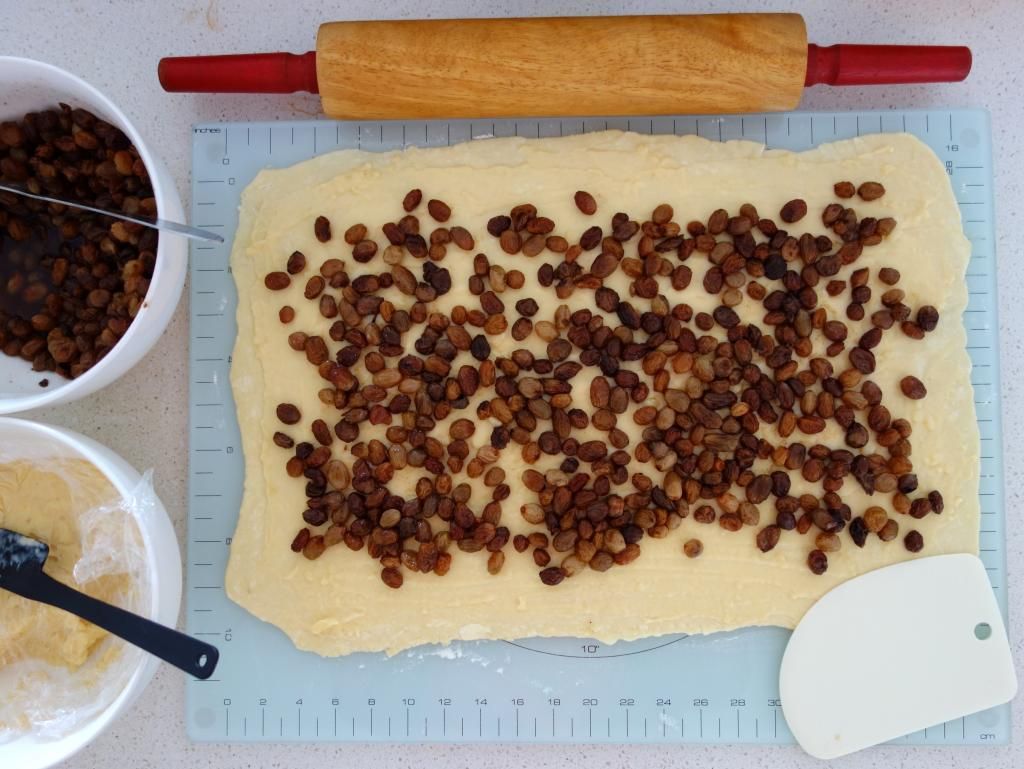 As for the danish dough, I decided to make my favourite Pain Aux Raisins, also better known as French snails to most Aussies.
 I have always loved pain aux raisins ever since I was a kid. Every time we walked past a Delifrance in Malaysia, I'd pester my mum to get me one. Can't believe I'm making my own now! ;)
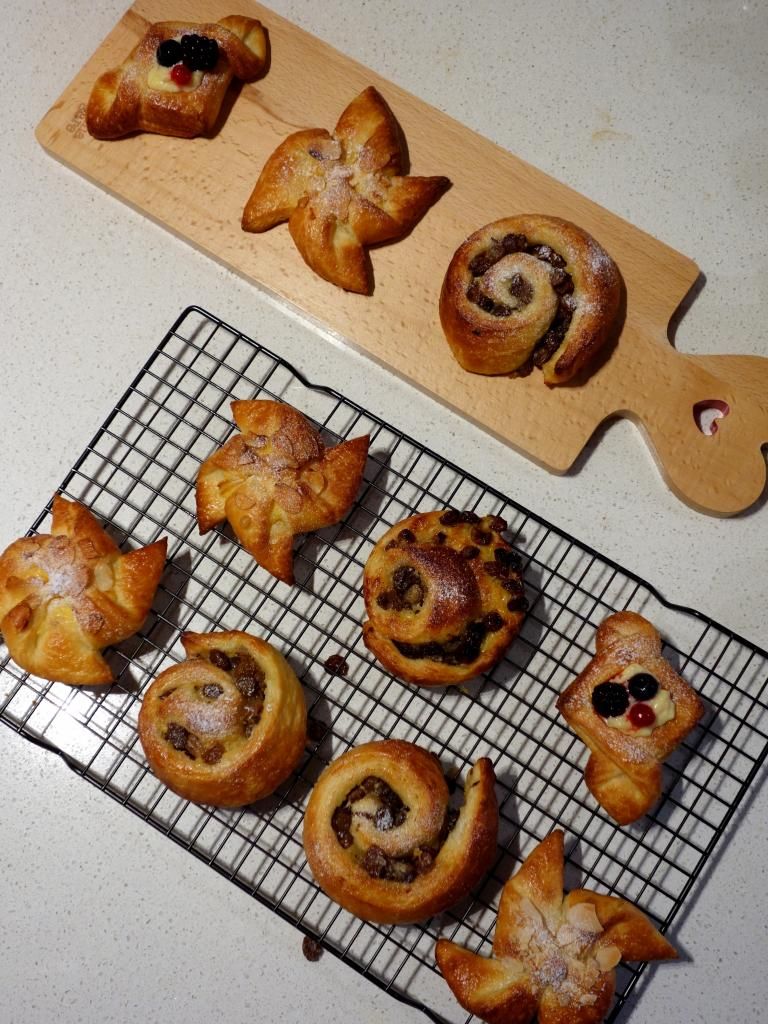
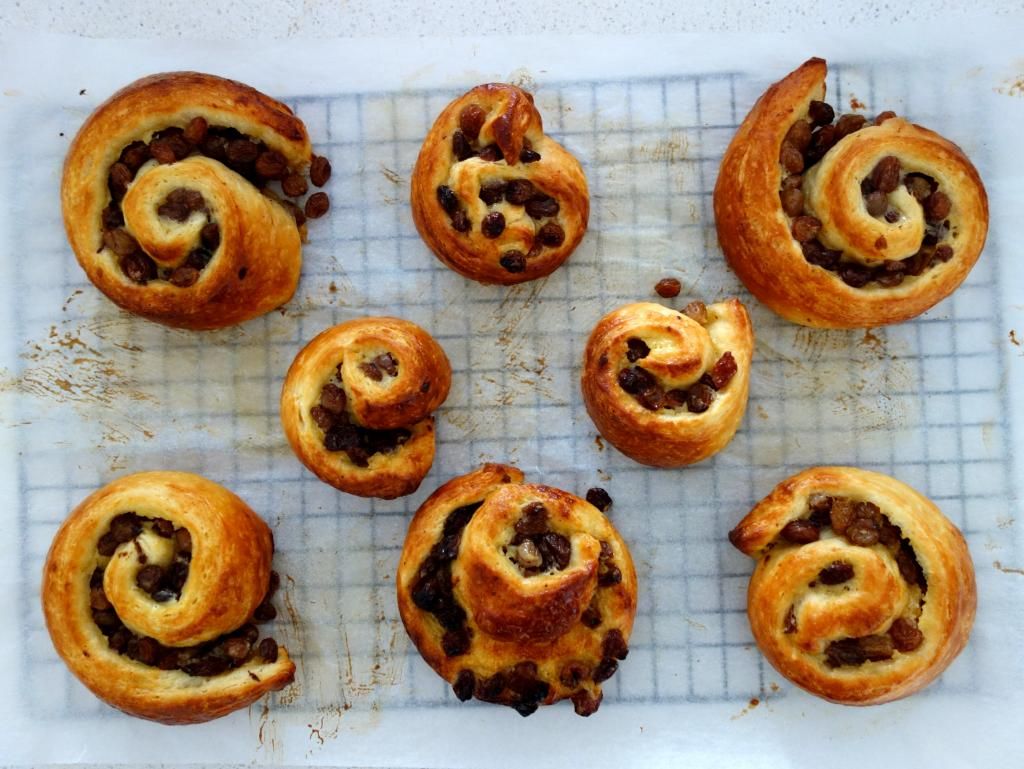 I made some mini ones too for when I want a quick bite! They were so so so so good, if I may shamelessly say so myself. Especially fresh out of the oven! I could not stop at one.
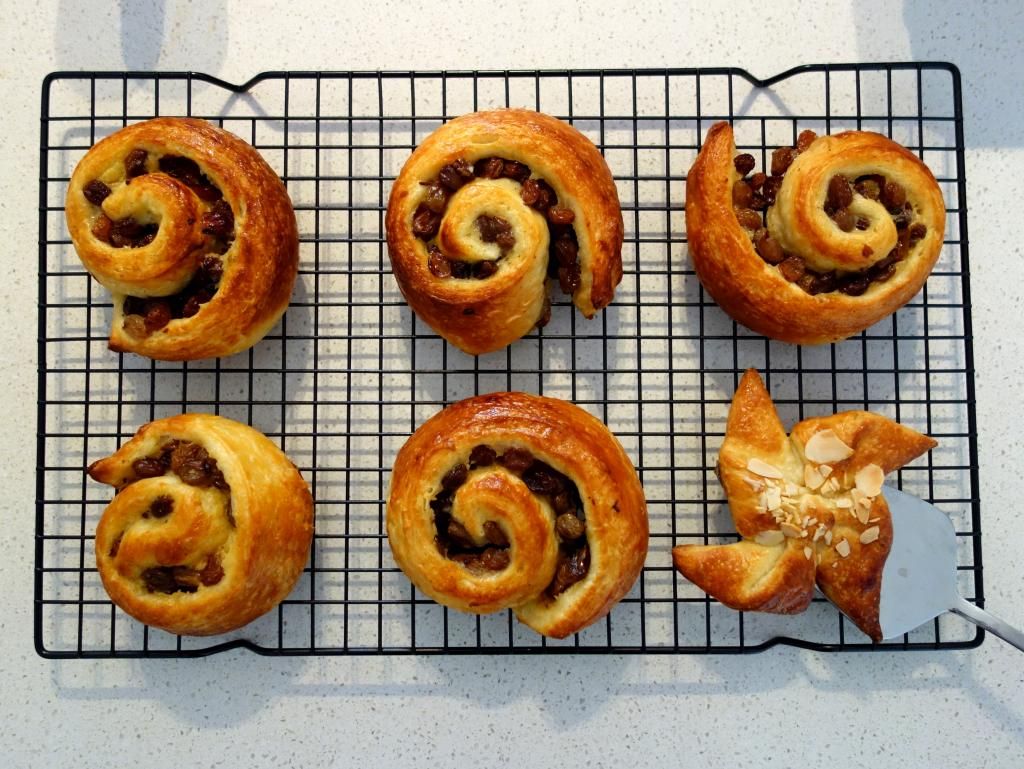 I also made some almond and custard pinwheels for The Boyfriend and The Brudder, both of whom aren't big fans of sultanas.
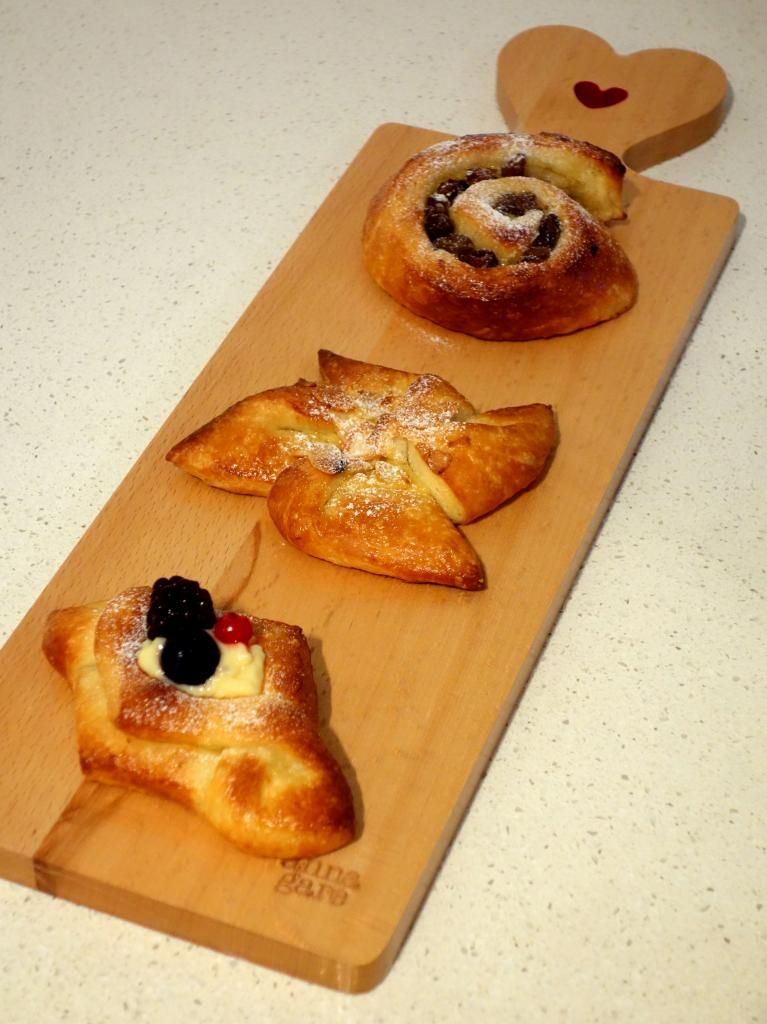 As you can see above, I got a little creative and made some kite shaped ones, which I topped with custard and berries for variation.
It was so much fun shaping the pastries!!! At the end of the day, although I was knackered, I was so happy and proud of myself. I told myself, I really should consider taking up a pastry course.
Anyhoos! I asked Brasserie Bread for their permission to share the Danish dough recipe with my readers, and they kindly agreed, so here you go! I will also be sharing the Pain Aux Raisins recipe below. :)
Danish Dough (with a sponge)
Recipe provided by Brasserie Bread Melbourne
(A) For the sponge
Method
(B) For Danish Dough
Method
Pain Aux Raisins (makes 30)
Recipe adapted from Bourke Street Bakery and modified by The Bakeanista
Ingredients
Method
Creme Patissiere
Recipe adapted from Bourke Street Bakery and modified by The Bakeanista
Ingredients
 If you're keen to give lamination a go but skeptical on how it would turn out, trust me, the recipe sounds more complicated than it actually is. I'd say definitely consider the art of lamination class at Brasserie Bread - you can read all bout my experience here.
The next class is scheduled on the 14th of June. If you're interested, click here to book online. Or if you have any questions, fire away in the comment box below or shoot through an email. ;)
It was so much fun shaping the pastries!!! At the end of the day, although I was knackered, I was so happy and proud of myself. I told myself, I really should consider taking up a pastry course.
Anyhoos! I asked Brasserie Bread for their permission to share the Danish dough recipe with my readers, and they kindly agreed, so here you go! I will also be sharing the Pain Aux Raisins recipe below. :)
Danish Dough (with a sponge)
Recipe provided by Brasserie Bread Melbourne
(A) For the sponge
- 125g plain flour
- 80ml water
- 1g fresh yeast (can be substituted with half the amount of instant yeast)
Method
- Mix of all of the ingredients in (A) for the sponge together until well incorporated.
- Allow to ferment for approximately 14 hours at 18°C.
(B) For Danish Dough
- 300g plain flour
- 120ml milk
- 45g eggs
- 50g sugar
- 9g salt
- 11g fresh yeast
- 15g butter
- 205g of the sponge (recipe above)
- 200g butter for roll-in
Method
- Flatten the butter for roll in to approximately 5 inch wide x 8 inch long. It is recommended that you add 7% of plain flour (ie. 14g in this recipe) before rolling.
- Mix of all of the ingredients in (B) except for the roll-in butter.
- Work the dough until you have a good gluten structure, cover and rest for 30 minutes.
- Roll out the dough on a lightly floured surface to approximately 6 inch wide x 13 inch long.
- This is when the lamination starts. Place the prepared butter for roll in over two thirds of the dough and fold the uncovered dough towards the center.
- Fold the dough with the butter on it toward the opposite side, cover and rest for 15 minutes.
- Repeat step (3) and fold one third of the dough towards the center. From the other side, fold the remaining third toward the center, cover and rest for another 30 minutes.
- Complete 2 more single folds, resting for 30 minutes between folds.
- The dough is now ready for use, or you may wrap well and freeze for future use.
Pain Aux Raisins (makes 30)
Recipe adapted from Bourke Street Bakery and modified by The Bakeanista
Ingredients
- 600g sultanas
- 200g currants (I omitted and used only sultanas)
- 1.2 litre of boiling water
- 60g brown sugar
- ½ tsp mixed spice (I used cinnamon instead)
- 1 quantity of creme patissiere (recipe below)
- 1 quantity of danish dough (recipe above)
- egg wash, for brushing
- icing sugar, for dusting
Method
- To make fruit mix, pour boiling water over sultanas, and set aside to cool. Cover with plastic wrap and place in refrigerator overnight to achieve plump, juicy sultanas. Before use, drain the fruit, and add brown sugar and cinnamon, stirring well to combine. Set aside.
- Take rested dough from refrigerator and roll out into a rectangle about 35 x 100cm and about 5mm thick. If the dough keeps springing back to its original size, rest the dough in the refrigerator for 10 minutes then resume rolling. This resting process may need to be done a number of times.
- Cut dough into half to make two 35 x 50cm rectangles. Place the dough on trays lined with baking paper and lace in refrigerator for about 10 minutes.
- Lay one sheet of dough on a light floured surface, with the short length running parallel to the edge of the bench.
- Spread ½ cup of creme patissiere evenly over the rectangle, spreading all the way to the edges. Top with half the fruit mix to evenly cover the creme patissiere.
- Starting with the short edge furthest away from you, firmly and tightly roll the dough towards you. Wrap the log in baking paper and rest in refrigerator for 20 minutes until firm. Repeat with remaining sheet of dough.
- Remove baking paper from logs and place dough on clean work surface.Cut each log into slices, about 1.5cm wide.
- Preheat oven to 240 . Place rolls onto lined trays at well-spaced intervals. Cover loosely with damp tea towel and set aside in warm room for 1½ - 2 hours, or until doubled in size.
- Remove tea towel, brush the top of each pain aux raisin lightly with egg wash and place in oven. Reduce oven temperature to 190 and bake for 15 minutes until golden brown.
- Cool slightly on trays before dusting with icing sugar.
Creme Patissiere
Recipe adapted from Bourke Street Bakery and modified by The Bakeanista
Ingredients
- 250ml milk
- 1 vanilla bean, split lengthways (I used 1 tsp vanilla extract)
- 50g caster sugar
- 3 egg yolks
- 15g plain flour
Method
- Pour milk into saucepan and scrape in vanilla seeds and bean, or simply add in 1 tsp of the vanilla extract. Gently heat up milk and vanilla mixture over low heat.
- Whisk egg yolks continuously, adding sugar a little at a time until mixture is smooth. Pour warm milk through a fine sieve directly onto egg yolk mixture and whisk well until combined.
- Return custard to a clean saucepan and bring to a boil, stirring continuously until custard boils. Reduce heat and simmer for a further 5 minutes whilst stirring continuously.
- Remove from heat, allow to cool, then transfer to airtight container.
- Place plastic wrap directly on the surface of the custard and refrigerate until ready to use. The creme patissiere can be made in advanced and stored for up to 3 days.
The next class is scheduled on the 14th of June. If you're interested, click here to book online. Or if you have any questions, fire away in the comment box below or shoot through an email. ;)
1 comment :
They look amazing!! just like the ones from a shop :) seems like you learnt heaps from the workshop. I've always wanted to try but a little scared it wont work out.. and seems kind of hard. But thanks for the recipe! when I have a day free will try it out!
Post a Comment