I've also been catching up on my sleep a lot - feels sooooo good! Seriously all I've done this holiday is eat, sleep, eat, sleep. I'm turning into a (not so) little piggy. Oink!
But at least I also did put my free time to good use. I've been spending a lot of good, quality time with The Boyfriend and catching up with friends over good food.
Of course, I've also spent a fair amount (not excessively) of my time in my kitchen, more so during the Christmas period.
The Boyfriend's parents hosted a BBQ party at their place on Christmas Eve and I didn't want to turn up empty handed, although I was asked to just bring an empty tummy.
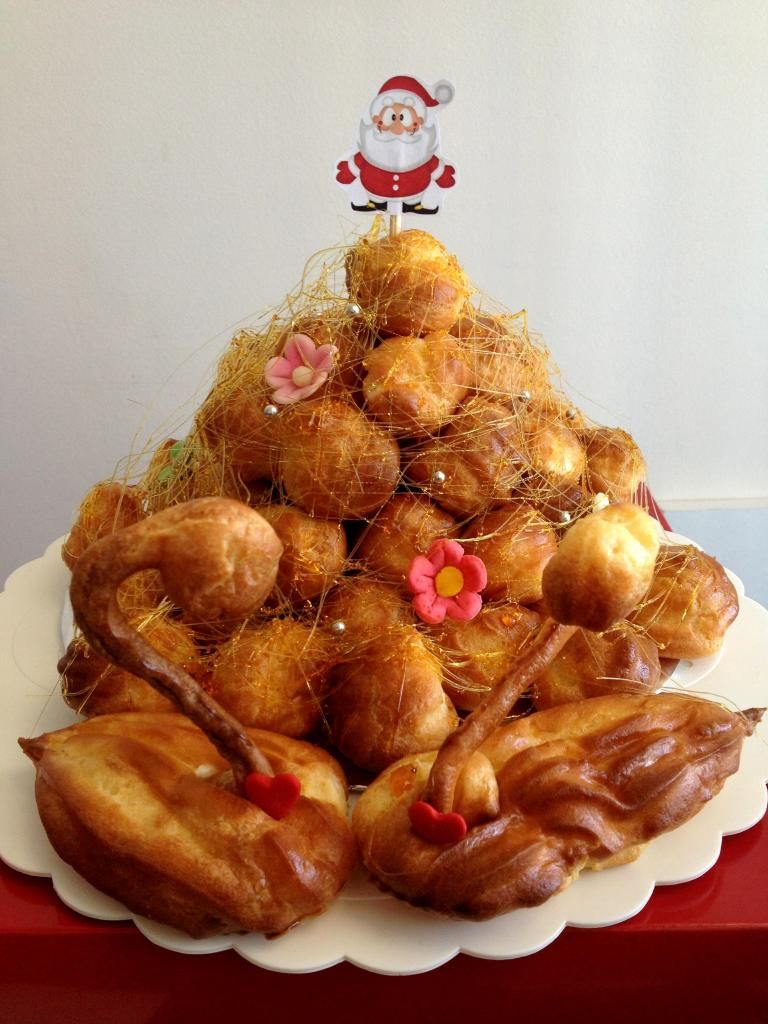
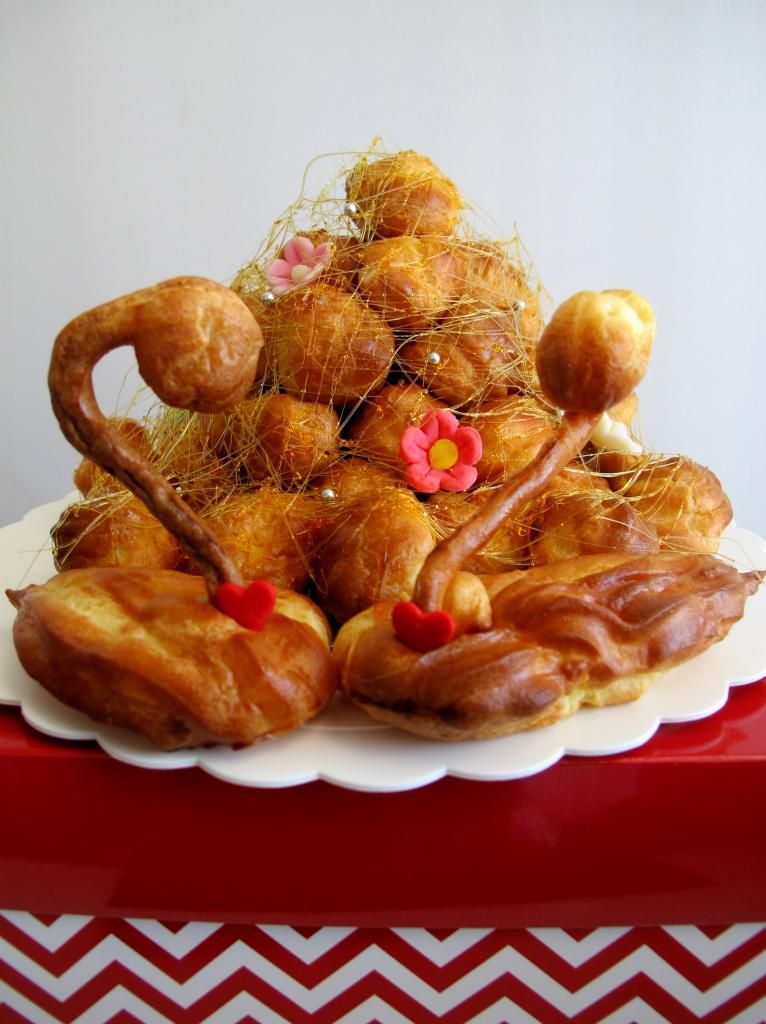
So, this was my contribution - a mini croquembouche!!! :D
Making a croquembouche, regardless of how mini it is, was a crazy decision the over-achiever in me made. I had only that morning on Christmas Eve and heck was it arduous! But I still made it. :D
It was my first time working with toffee, and I was a little scared I might burn myself given how clumsy I am, but thankfully, no accidents. In fact, I'd say making spun sugar is fun! But oh, I won't say the same for the cleaning bit. :P
I'm going to share the recipe here for my own future reference. This recipe is a keeper and I'm definitely making it again! You should too! ;)
Mini Croquembouche
Recipe adapted from Citrus&Candy, and modified by The Bakeanista
Ingredients
(A) Choux Pastry
- 125ml milk
- 125ml water
- 100g butter, diced
- ½ tsp salt
- 1 tsp sugar
- 150g plain flour
- 4 eggs (medium to large)
- eggwash (1 egg beaten with a tablespoon of milk)
(B) Crème Patissiere
- 6 egg yolks
- 125g caster sugar
- 40g plain flour
- 500ml milk
- 2 tsp of vanilla extract
- Icing sugar or butter (optional)
(C) Caramel for Spun Sugar
- 1 cup caster sugar
- ½ cup water
Method
(A) Choux Pastry
- Preheat oven to 200°C.
- Combine milk, water, butter, salt and sugar in a saucepan and place over a low heat. Bring to a boil and immediately remove from heat.
- Working quickly, shower in the flour and beat the mixture with a wooden spoon until smooth.
- Return the pan to the stove and stir constantly over a medium heat to cook the flour and dry out the paste for about a minute or two. Tip into a large mixing bowl.
- Using hand/stand mixer (it does a better job in aerating the mixture so it will puff up better when baked but alternatively, you can opt to use a wooden spoon) to beat the flour paste for a few minutes to release heat from paste until it has cool down. Then add eggs one by one, beating after each addition.
- Once all the eggs are added and incorporated well into the mixture, the batter should be smooth, shiny and just thick enough to pipe.
- If you're not using the choux pastry immediately, brush the surface with an eggwash to prevent a crust forming.
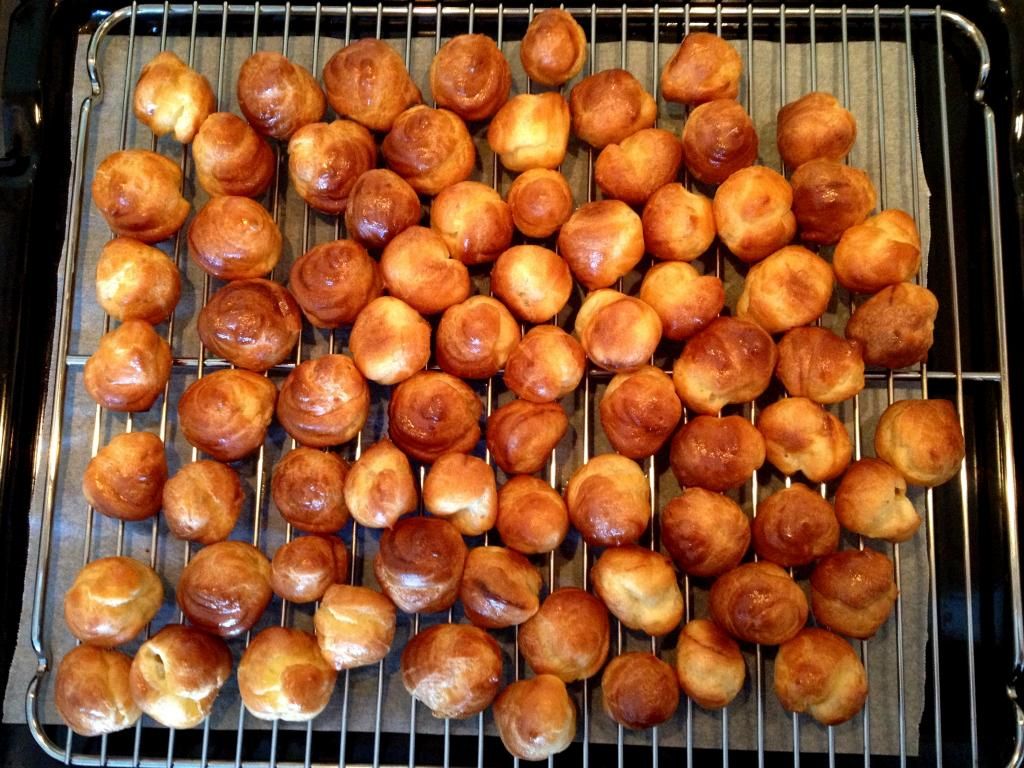
- With a piping bag fitted with a 1cm nozzle, pipe small mounds on a baking pan lined with greaseproof paper in staggered rows. Brush with egg wash and lightly mark the top with back of fork.
- Bake for 15-20 minutes until dry and crisp but still soft inside.
(B) Crème Patissiere
- Combine the egg yolks and a 1/3 of the sugar in a bowl and whisk to a light ribbon consistency. Whisk in the flour thoroughly.
- In a pan, heat the milk with the remaining sugar and the vanilla extract. As soon as it comes to a boil, pour the milk into the egg yolk mixture, whisking constantly as you do. Mix well then pour back into the saucepan and return to the heat.
- Bring to a boil over a medium heat, whisking constantly. Allow the mixture to bubble, while still stirring constantly for about 2 minutes, then tip into the bowl.
- To prevent a skin from forming, dust the surface with a think veil of icing sugar or dot over with little flakes of butter. Alternatively you could also place a sheet of baking paper/cling wrap over the entire surface.
- Once cold, you could keep the crème patissiere in the fridge for up to three days.
(C) Caramel
- Combine water and sugar in a saucepan and bring to a boil, stirring slowly to dissolve the sugar and brushing down the sugar crystals on the side of the pan with a wet pastry brush.
- Once it has boiled, lower the heat to low and simmer until it’s caramel in colour (do not stir!). When ready remove from the heat and dip the base into a bowl of cold water to stop the caramel from cooking.
To assemble
- Dip the bases of the profiteroles in the toffee to coat and place upside down on baking paper lined tray.
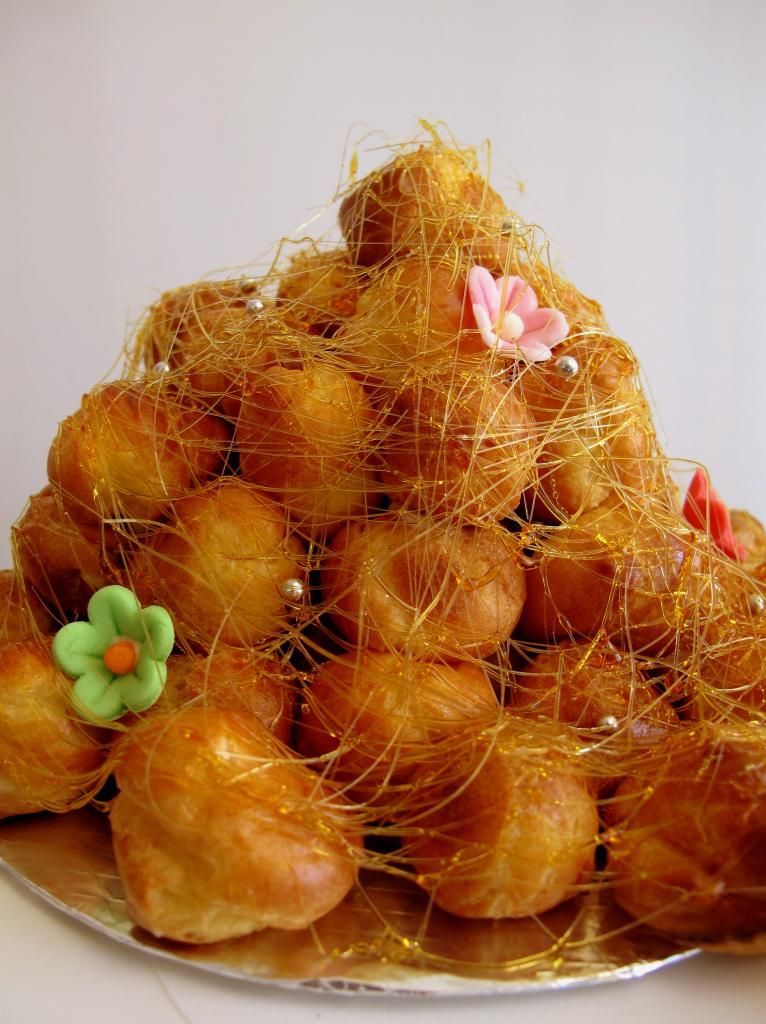
- Dip the side of the profiteroles in toffee and assemble on the toffee base/platter in a mound or cone shape. I did not have a cone, so it was free-hand mound.
- You’ll have to work as fast as you can before the toffee cools and sets. if it has cooled down too much, it would harden up. Simply place it back on the stove to reheat and melt the toffee.
- Once the remaining toffee has remelted, using two forks back to back, dip the prongs in the toffee and spin around the croquembouche to create spun sugar wisps. Decorate asyou wish.
Tip: You must wait until the caramel is thick enough to get nicely spun sugar. If you do it while it’s too hot, the caramel will just drip too quickly forming ugly beads and uneven strands.
Warning: If you get any hot caramel on your hands, DO NOT wipe it otherwise the smear of caramel will continue to burn your hand. Leave a bowl of cold water aside to plunge your hand in if you do burn yourself. Thankfully I got away without any burns! Phewww.
And tadahhhhhhhh!!! :D
Your mini croquembouche is now done! Grab a fork, crack the toffee, dig in and enjoy that amazing crunch in your mouth. Trust me, it is a very rewarding experience. Go get cracking already! ;)


1 comment :
i hope you don't mind if i try your pastry cream recipe. the recipe i use contains cornflour instead of normal flour.
Post a Comment