I will no longer be updating this blog.
DO CHECK OUT MY NEW BLOG AT WWW.THEBAKEANISTA.COM
Showing posts with label Bread/Buns/Scones. Show all posts

Thursday, May 21, 2020

Tangzhong Method Milk Bread (Thermomix & Breadmaker Recipes)

Wow, I did not think that I would come back to blogging but with increasing demand for recipes upon sharing pictures of my recent breadmaking adventures on my Instagram @thebakeanista, I thought might as well summarize everything here for your easy reference!

When the Malaysian government announced the launch of the Movement Control Order due to the Covid-19 pandemic, my fellow Malaysians went a little crazy and wiped clean the shelves at supermarkets and local grocery stores. There was a very low supply of bread for the first 2 weeks, and my parents both inhale bread so quickly, I bought myself 5kg of bread flour and started practicing my breadmaking skills.

Fast forward two months later, I've made both these recipes so many times that I actually know by heart the ingredients and steps. I may come back and update this post with better quality pictures, but as I'm rushing this recipe for now, here you go!


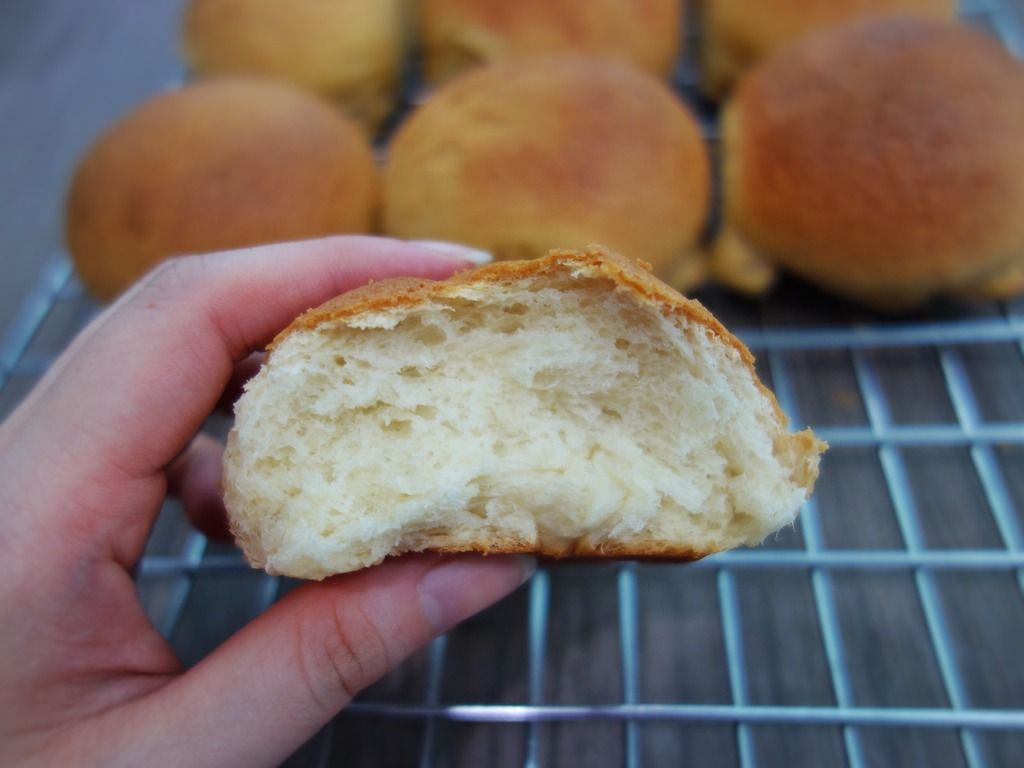
This is by far my favourite bread to bake, for I know how amazing this tangzhong method is! This method always, always yields loaves that are soft, tender and fluffy. I also appreciate how the bread stays soft for longer with the inclusion of extra hydration from using this tangzhong method.

I'm including below two different recipes - one using the Thermomix, and the other using breadmaker - both of which I've tried several times and have never failed me. For both the recipes, the dough is kneaded either in the Thermomix/breadmaker, then shaped by hand and baked in oven. 

If you need further convincing, you may want to watch the crumb test videos here and I hope you'd be inspired to give these recipes a go:

Both of these recipes yield only one loaf and for these recipes, I'm using my 8x4x4" Pullman 450g loaf pan.

Thermomix Recipe

Recipe adapted from Cookidoo International and modified by The Bakeanista


Ingredients
  • 20g + 270g high protein/bread flour
  • 100g + 130g fresh milk, chilled
  • 1 egg yolk
  • 30 g sugar
  • ½ tsp salt
  • 10 g milk powder
  • 1 tsp dried yeast powder
  • 25 g butter, softened
  • some water, icy cold, for spraying or egg wash

FOR FULL RECIPE, PLEASE VISIT MY NEW WEBSITE HERE.

Breadmaker Recipe (Can also be used for Standmixers)

Recipe adapted from Christine's Recipe and modified by The Bakeanista.


Ingredients

(A) Tangzhong
  • 25g high protein/bread flour
  • 125g milk/water or 50/50 of milk & water

(B) Milk Loaf
  • 270g high protein/bread flour
  • 43g castor sugar
  • 1tsp salt
  • 5g milk powder
  • 6g instant dried yeast (approx 2 tsp)
  • 43g whisked egg (save remaining eggs for egg wash later)
  • 30g whipping cream
  • 27g milk
  • 92g tangzhong
  • 25gm unsalted butter, melted

FOR FULL RECIPE, PLEASE VISIT MY NEW WEBSITE HERE.

Monday, January 18, 2016

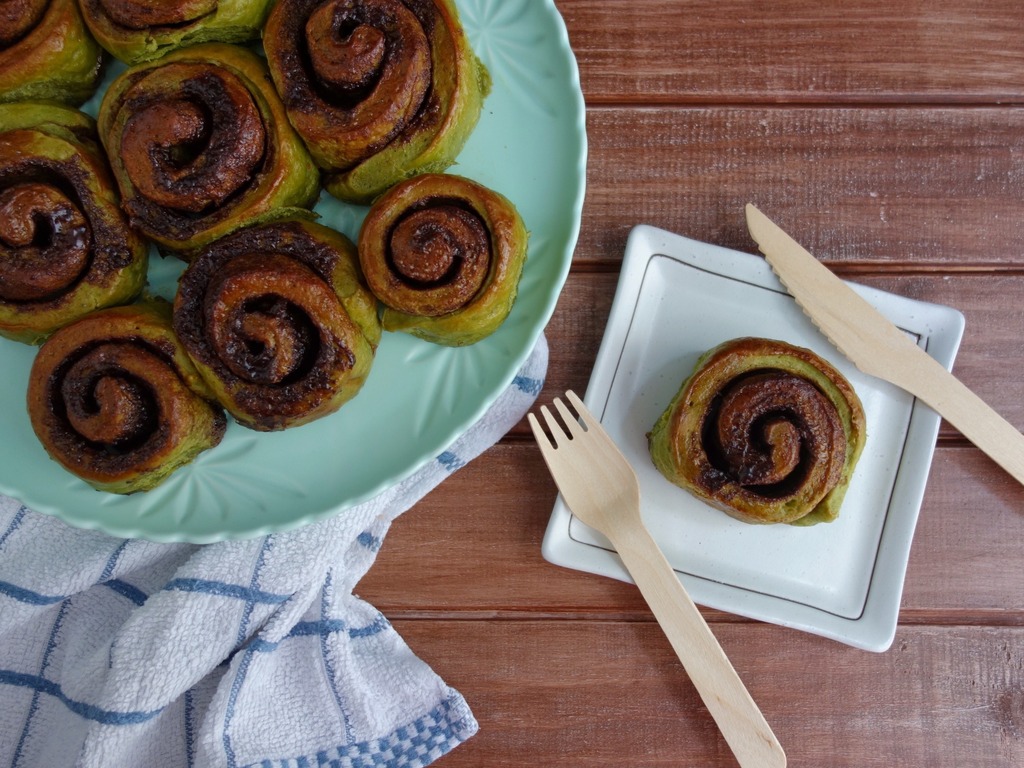
Matcha Chocolate Cinnamon Scrolls

If there's anything at all that my Mum requests for every single time she visits us, it's my infamous cinnamon rolls. So when my parents were in town a few weeks ago, I made them some scrolls.

And as you all know, I am crazily in love with matcha at the moment and as it seems, I am matchafying everything, so of course there is no exception for my cinnamon rolls too.

This idea for a matcha chocolate cinnamon scroll creeped into my head as I was rolling out the dough. I was thinking, "Hmmm, it'd be really nice if it was all matcha-y and green!"

I did a quick google search and could not find any recipe out there that's similar to the idea that I had in mind, so I set out to come up with a recipe of my own. And VOILA - The Bakeanista's very own matcha chocolate cinnamon scrolls! ;)

The first time I baked them to test the recipe, I did not take any photos. As it was really good and we all loved it a lot (I received stamps of approval from The Brudder and The SIL who requested for moreeeee), I decided to make another batch and this time I made sure to photograph them. ;)

As this is an original recipe by yours truly, I also wanted to note that I did test the recipe twice, adjusting it ever so slightly the second time around and came up with this final version that I hope you will enjoy! :)

Matcha Chocolate Cinnamon Scrolls
Original recipe by The Bakeanista

Ingredients for dough:
  • 300g plain flour, plus more for dusting work surface
  • 100g bread flour
  • 2 tbsp matcha powder
  • 50g sugar
  • 1/4 tsp salt
  • 14g yeast
  • 40g unsalted butter, melted
  • 200ml milk
  • 1 egg
  • 1 egg for glazing

Ingredients for filling:
  • 80g butter
  • 70g brown sugar
  • 1 tsp cinnamon
  • 2 tsp cocoa powder
  • 1 tbsp matcha
  • 15g dark choc, chopped finely

Method:
  1. Combine flour, sugar, salt and yeast in the mixing bowl of a stand mixer and set aside.
  2. Chop chocolate until fine and set aside.
  3. In another clean bowl, melt butter and milk over double boiler, then let butter mixture cool down before beating in the eggs. Alternatively you could zap the mixture in the microwave in 3 sets of 15 seconds, until the butter has melted altogether.
  4. Add butter mixture from (3) into (1) and knead with dough hook.
  5. Knead until well-combined, and check to ensure that the dough has reached windowpane stage then form into a ball and cover with a clean and slightly damp kitchen towel.
  6. Set aside in a relatively warm place for 30-40 minutes to allow the dough to rise.

  7. Prepare the filling 30 minutes into the proofing time. Mix the softened butter and brown sugar until well combined. Add in cinnamon powder, then sift in cocoa and matcha powder, and continue mixing until well combined and mixture resembles wet sand.
  8. Preheat the oven to 220°C and grease two 8" inch square baking tray generously with butter. I lined with a layer of aluminium foil so there's less to wash then grease the foil with butter. ;)

  9. The dough by now would have risen to the top of the bowl. Remove the kitchen towel and punch down the dough. Turn the punched dough out onto a lightly floured work surface and knead until smooth, for about 1 minute. Divide the dough into two equal portions. My dough worked out to be 700g in total, so I had two portions of 350g.

  10. Roll out one portion of the dough into a rectangular shape then sprinkle the dough evenly with the brown sugar filling. Press the filling firmly into the dough and scatter half of the chopped chocolate pieces generously. (I did add more after the photo was taken btw)
  11. Using a bench scraper or spatula, loosen the dough from the work surface. Starting at a long side, roll the dough away from you, pressing lightly, to form a tight log. 

  12. Pinch the seam to seal. Roll the log seam-side down and cut it evenly into 9 pieces.

  13. Turn the pieces over on their flat sides and arrange them on the baking tray. Using your hand, slightly flatten each piece of dough to seal the open edges and keep the filling in place.
  14. Brush with egg wash then cover the baking tray with a kitchen towel and set aside to let dough rise on the countertop for at least 15 minutes before baking. Repeat with remaining dough.
  15. Remove the towel and bake for 15 to 20 minutes, until golden brown. 
  16. Let cool for 5 minutes, then remove and place scrolls on a wire rack. 
Enjoy whilst still warm, for they are the BEST fresh out of the oven! ;)

The rolls smelt really matcha-y prior to baking, but as the chocolate melted during the baking process, it did end up being a little more chocolatey that it is matcha-y after baking.

Still very delicious regardless, but if you want it stronger in matcha flavour, I recommend upping it from 2 tbsp to 3 tbsp of matcha powder in the dough instead. I'm planning to do that the next time I make this recipe again, which I can foresee will be very soon!

As usual I used Zen Wonders organic culinary grade Shizen. For those keen to try, Zen Wonders is offering an exclusive 10% off the total bill across all products for The Bakeanista's friends. Just enter "BAKENSTA" at check out. ;)

Friday, January 1, 2016

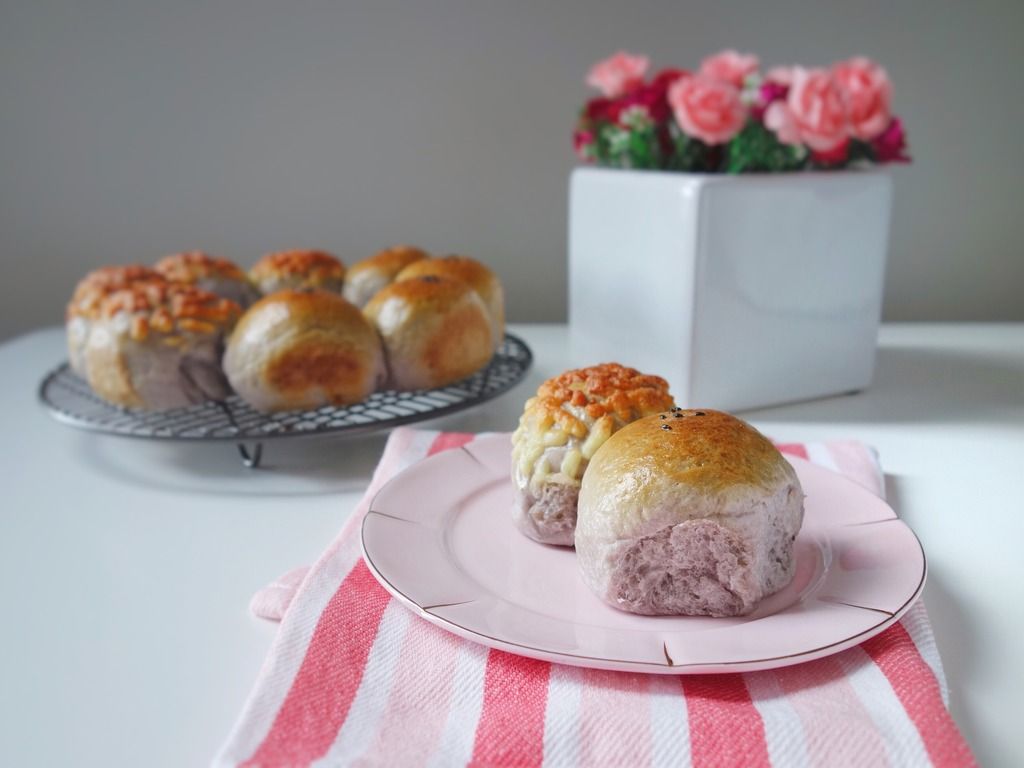
Happy 2016 + Rose-shaped Purple Sweet Potato Bread!!

Happy New Year 2016!!!

Gosh I still can't believe today is the 1st of January already. It feels like each year passes by faster and faster, doesn't it?

Looking back though, 2015 has been such a great year for me. Even though I had to put my career on hold whilst I try to work things out in my head, I have achieved a lot personally and I've grown up in the process.

I've also accomplished one of the best (and hardest) thing that I've ever done for myself this year. I wanted to lose 10kg for the longest time and I FINALLY did it! It just goes to show that if you think you can do it, you really can!

For my 2016 New Year's resolution, even though there are still a lot of fats to lose (especially with all the Christmas eating haha), it's not about losing weight anymore, it's about getting healthier, fitter and stronger. I promise I will put in a lot of effort to achieve that. I want to be leaner and I strongly believe that I can do it. Fighting!! (Note to self: Don't procrastinate, start today!!)

Apart from that, I also started off the year wanting to expand my knowledge in baking. I didn't get the chance to do any courses or workshops, but one thing I'm sure of is I sure did manage to improve my breadmaking skills.

Those of whom I have made my guinea pigs (mostly The Boyfriend, The Brudder and The SIL) have all agreed that my bread is a lot yummier these days; they are fluffier and tastes much more delicious too. They even stay softer for longer too, yay!!

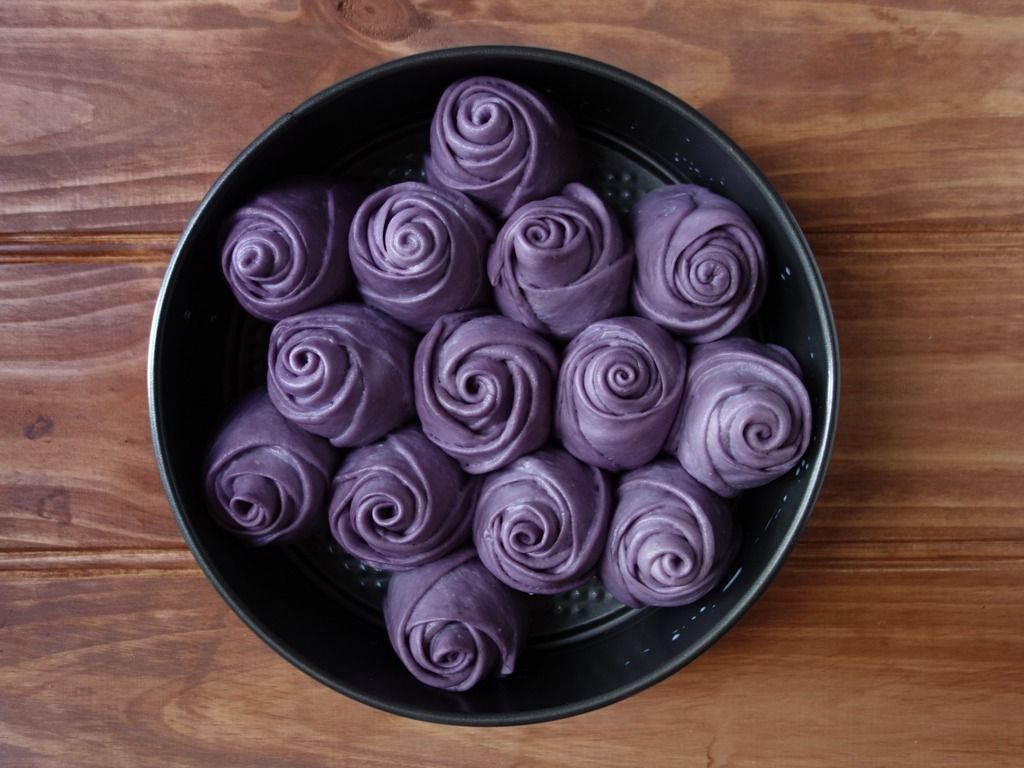
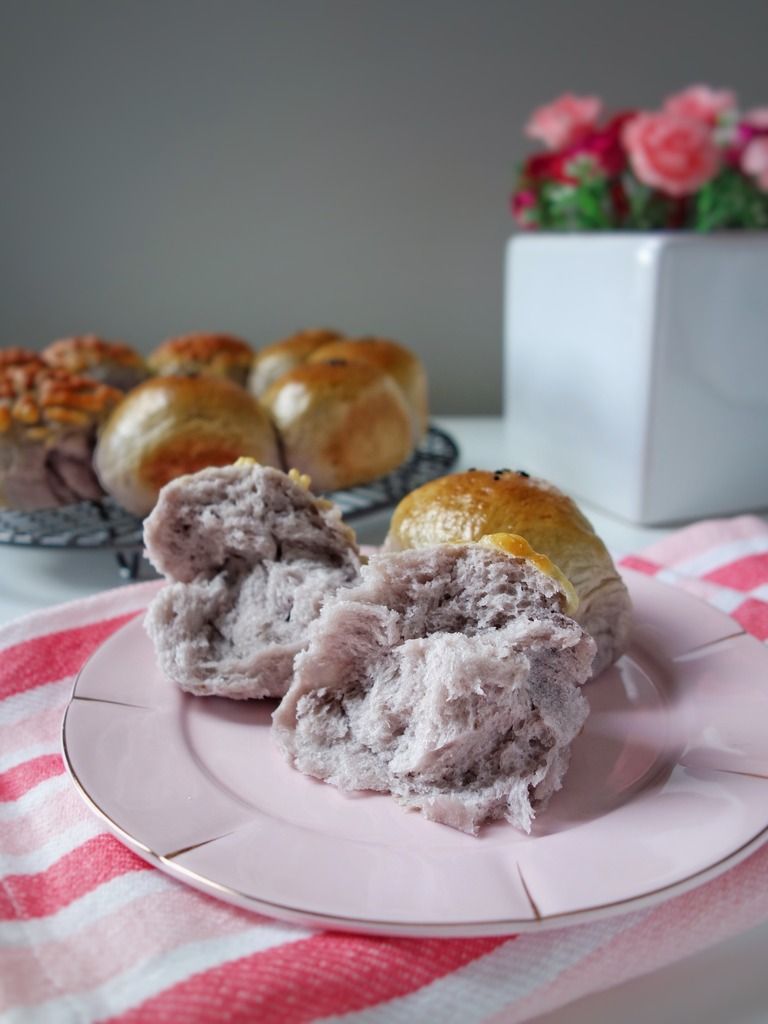
This rose-shaped purple sweet potato bread recipe that I am sharing today is one of my favouritest recipe of 2015, and I hope you will love it as much as I do.


Rose-shaped Purple Sweet Potato Bread
Recipe adapted from Kitchen Corner and modified by The Bakeanista

Ingredients
  • 300g bread flour
  • 50g caster sugar
  • 1/4 tsp salt
  • 80g fresh milk
  • 130g purple sweet potato (steamed and mashed)
  • 17g whole egg (beat an egg to mix the white & yolk)
  • 50g unsalted butter, softened at room temp
  • 7g yeast

Method using breadmaker
  1. Prepare purple sweet potato. Peel, core and cut into cubes. Steam until soft (it takes about 10-15 minutes) then mash up and set aside to cool. I often refrigerate for approx 15 minutes as I am impatient.
  2. Add all ingredients (except yeast) into a breadmaker, first the wet ingredients (milk, egg, butter then mashed purple sweet potato), followed by the dry ingredients (sugar, salt, flour).
  3. Select the "dough" mode (refer to the menu of your breadmaker to select the kneading dough programme).
  4. Knead for 15 minutes and the ingredients will come together. Stop the cycle, add in the yeast and restart the "dough" mode. The total kneading time is 35 minutes to ensure dough is smooth and elastic.
  5. Let the dough complete the 1st round of proofing until double in size, about 40-50 minutes, best temperature for proofing is 28C, humidity 75%, until double in size.
  6. Punch and deflate dough, then remove dough from bowl and shape into a big ball. The dough will be approximately 660g as a whole.

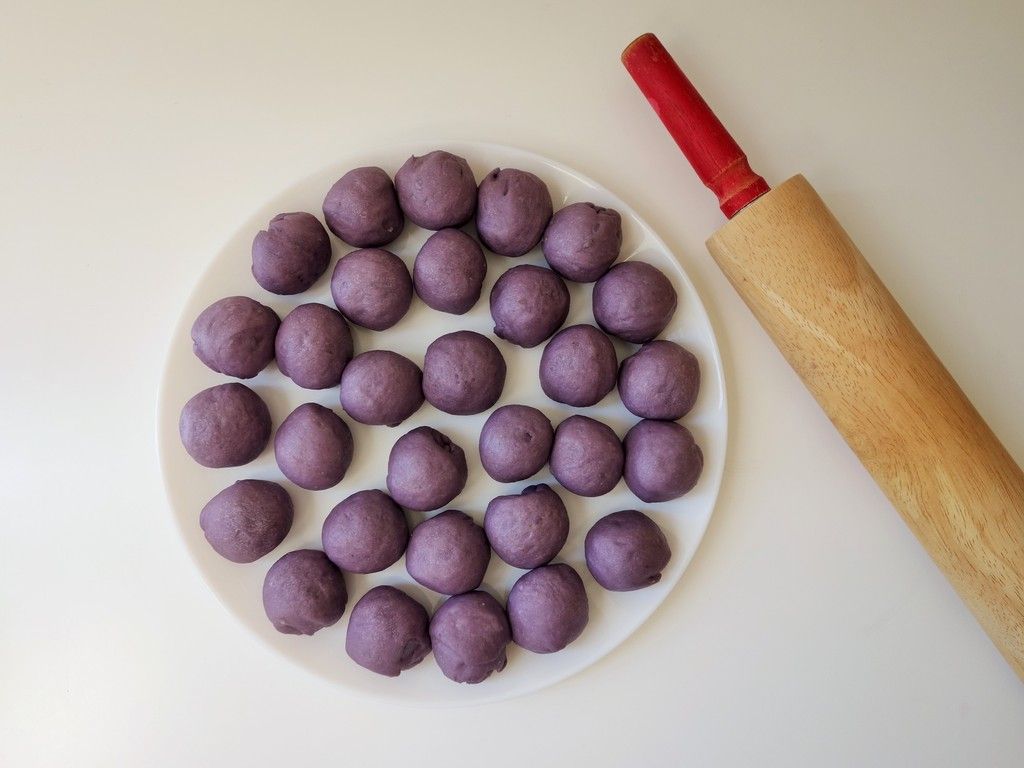
  7. Divide the dough into 42 portions weighing approximately 15g each.

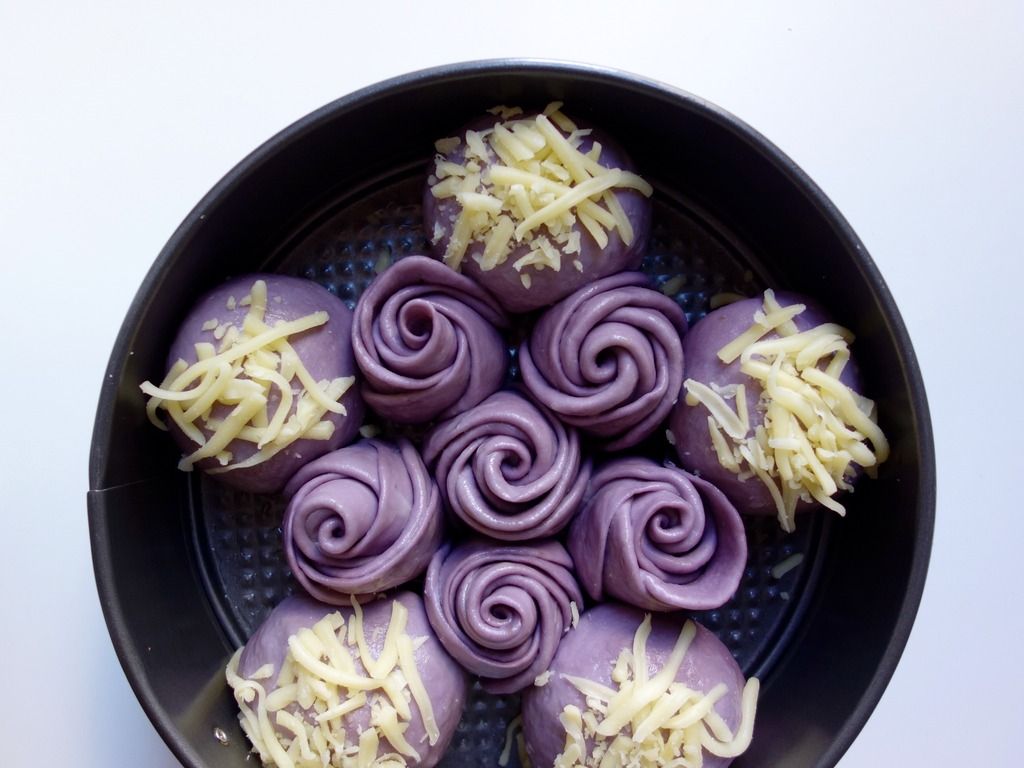
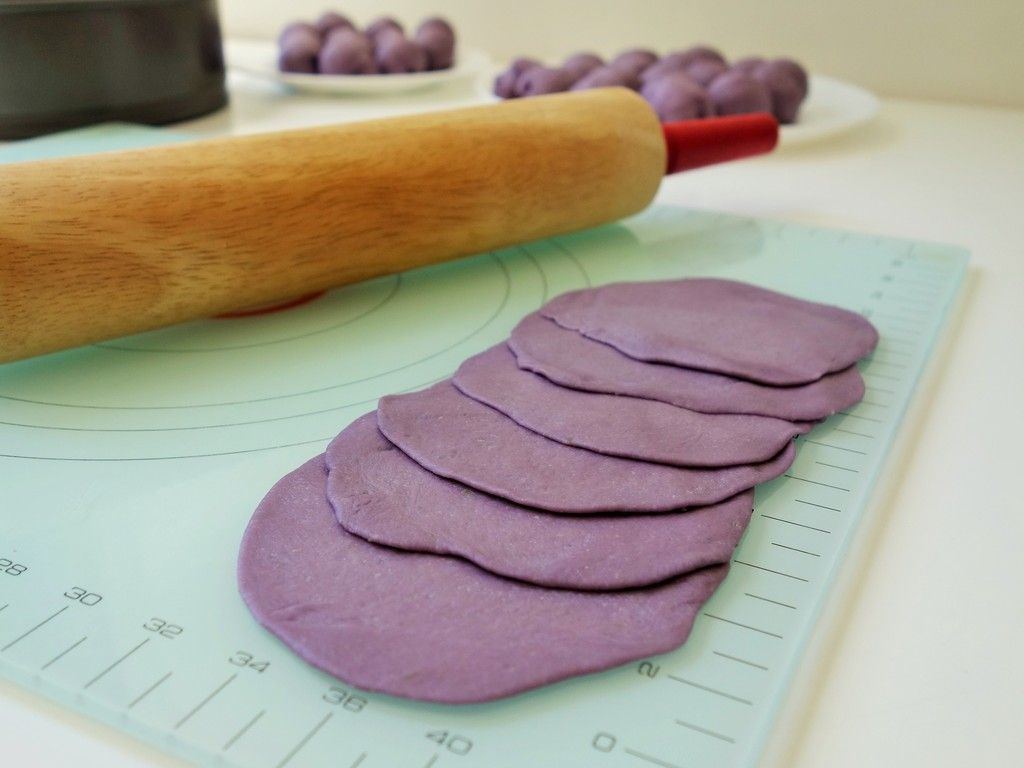
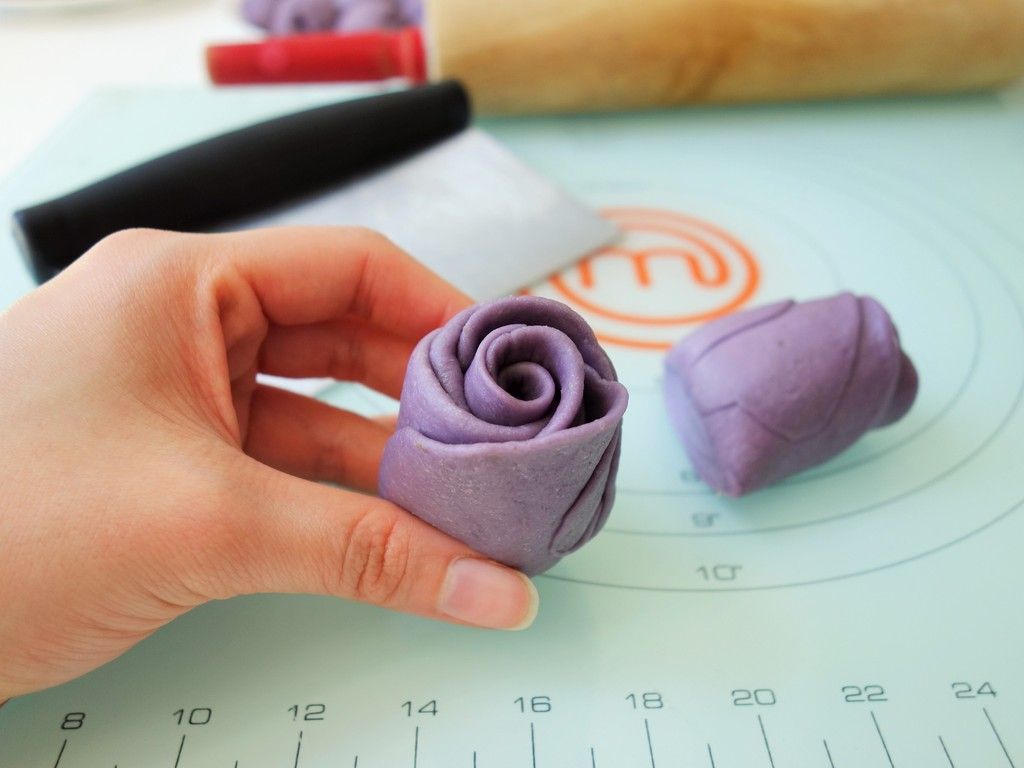
  8. Roll and flatten out each ball. Using your fingers, press the outer corners of the circle to create ripples. Arrange 6 pieces of flattened dough, half stacking on top of one another.

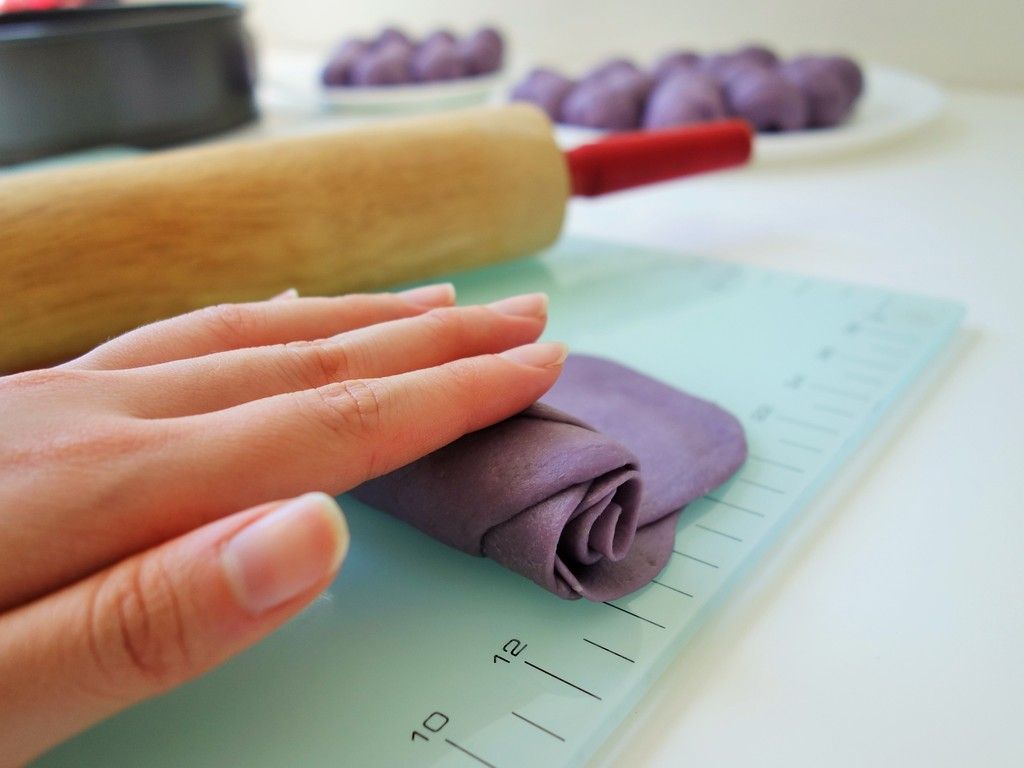
  9. Start rolling from the first piece on the bottom towards the top.

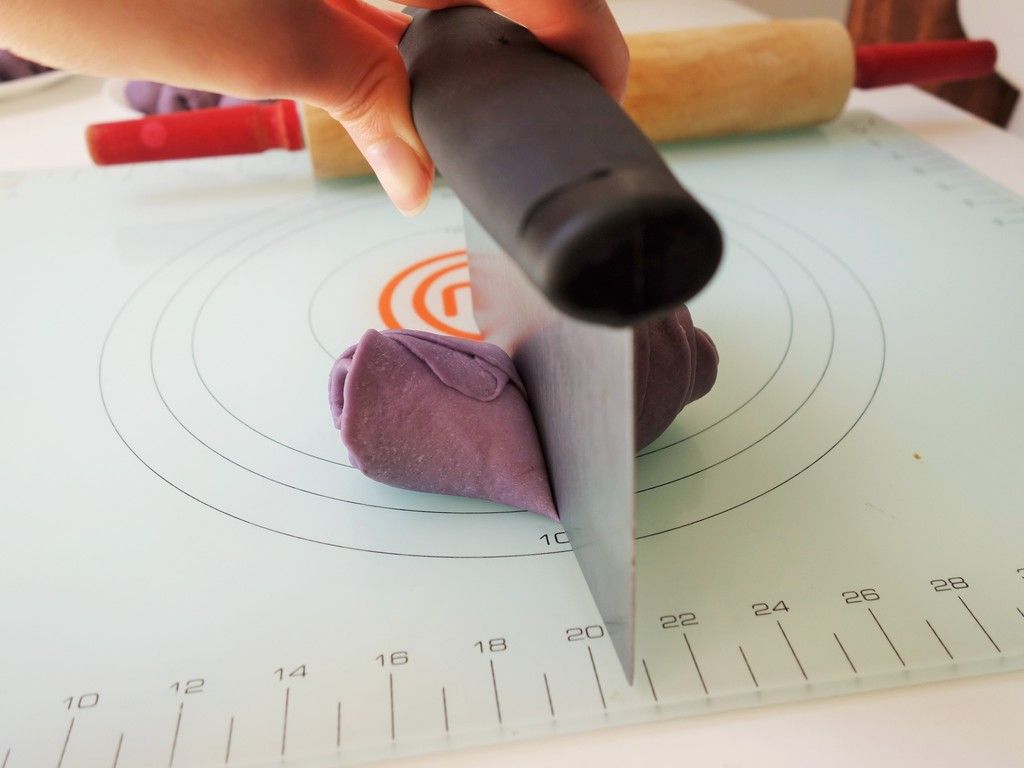
  10. Cut the log into half then using your fingers, round the bottom of each rose and place on lined/greased baking sheet. I used a 9-inch non-stick round pan brushed with oil.

  11. Repeat for remaining dough. You should have a total of 14 roses (7 logs).

  12. Once complete, let buns rise until double in size, this takes about 20-25 minutes.
  13. Preheat the oven to 180 deg C. Milk wash the dough and bake for 16-20 minutes on the lower rack.
  14. Take out the buns from the oven and after 10-15 minutes later, transfer the bread to a wire rack to cool.
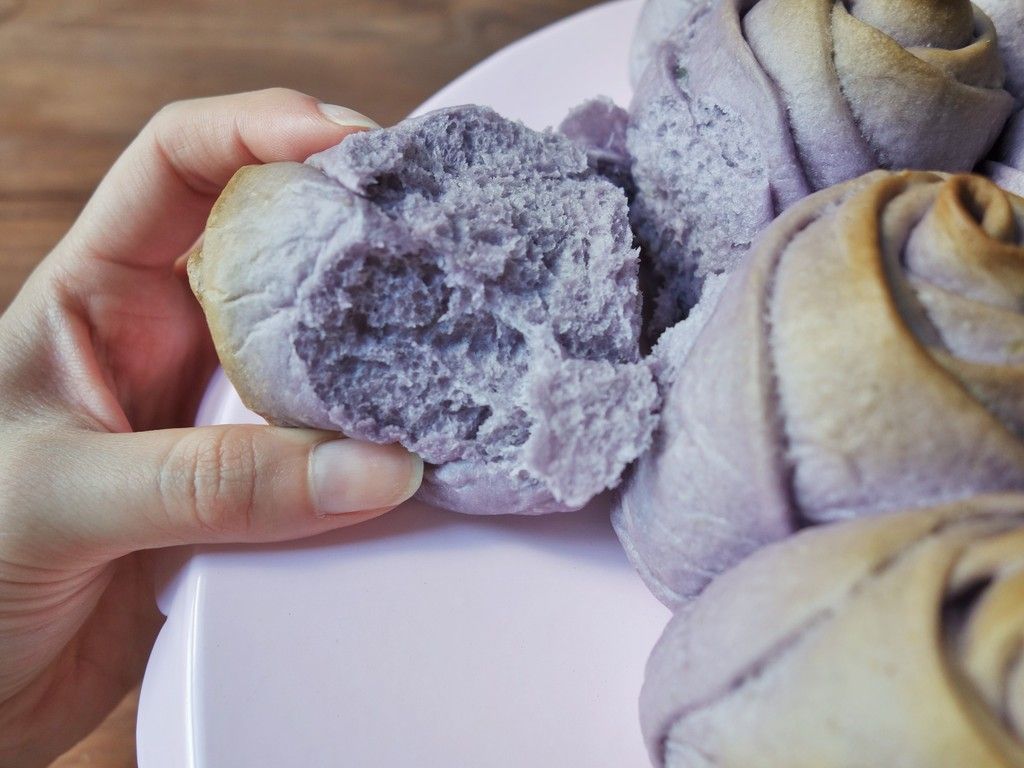
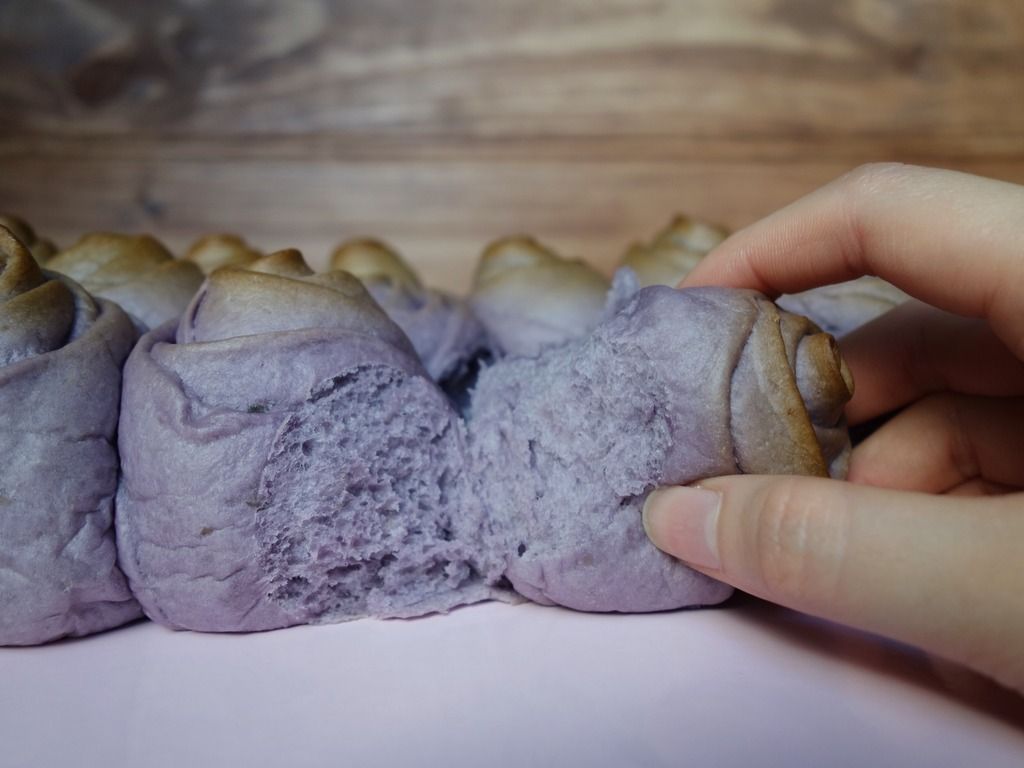
This recipe is definitely a keeper; I absolutely love how soft and fluffy the bread is! It was also heaps of fun shaping these rose-shaped buns although I cannot deny that it was quite time consuming.

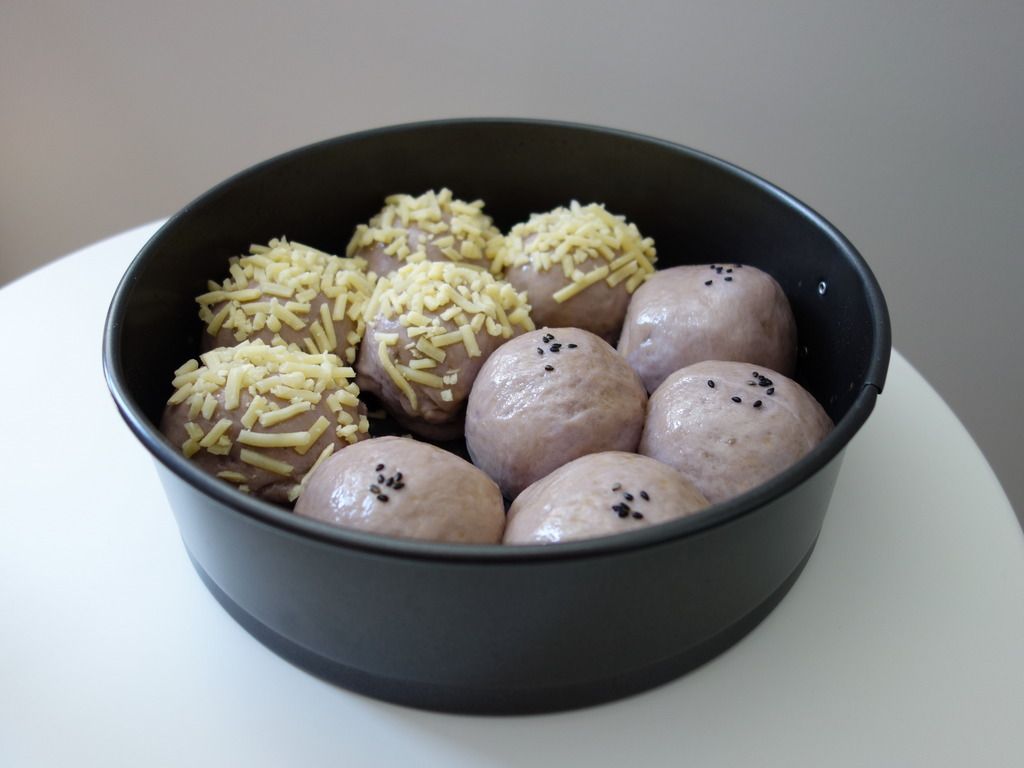
Alternatively, you may also opt to roll the dough into 60g round balls instead. Being a big fan of cheese, I could not help but cheesify everything and the bread was no exception. All you have to do is to brush the buns with egg wash then top them with mozzarella cheese. Or if you prefer it plain, simply sprinkle some black sesame seeds for decoration. ;)

They're best eaten fresh out of the oven after they've cooled, but they stay just as soft for 2-3 days. I've made this recipe 4 times and it has never failed me. I hope you will enjoy them as much as I did. And of course if you've got any questions at all, let me know in the comments below.

Happy 2016 - here's to a sweeter and better year for all of us!!! ♥

Friday, October 23, 2015

Soft & Fluffy Pumpkin Bread Loaf

If you're following me on Instagram, you'd notice that I've been into breadmaking lately.

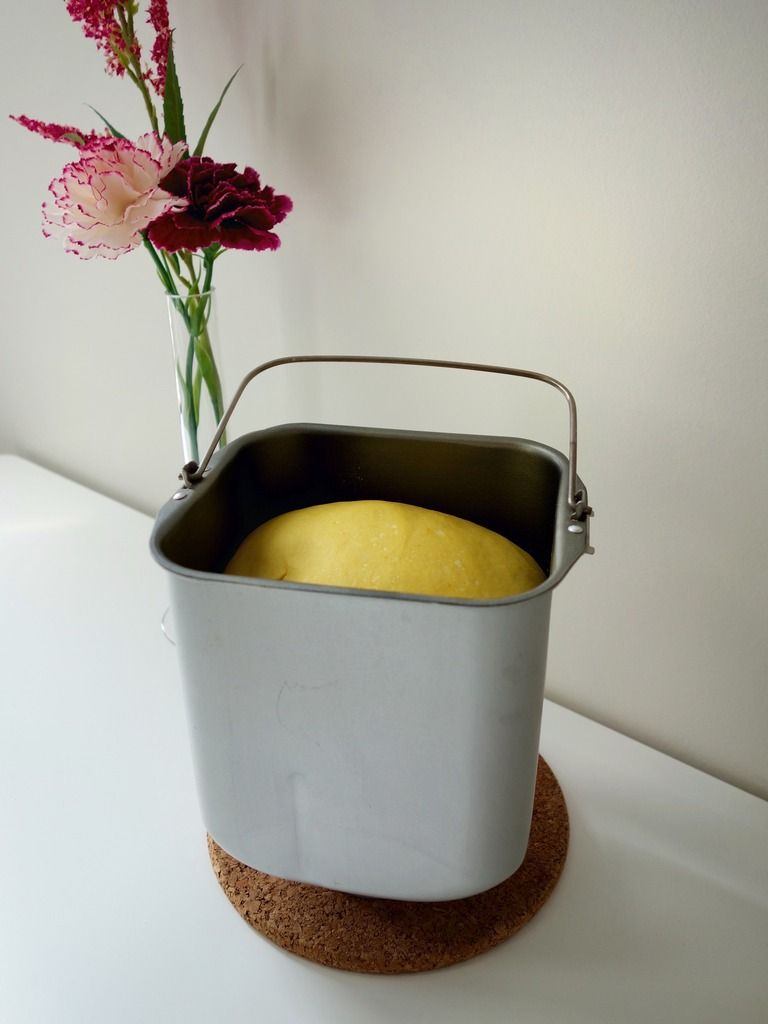
I find breadmaking oh so very therapeutic. Although I let the breadmaker do all the kneading, I love watching the dough come together and rise into one big, fat, round ball.

Just in case you were wondering, no, I never bake my bread in the breadmaker. I always shape them myself, by hand, then bake it in the oven.

The best part about the whole breadmaking process is the smell of freshly baked bread emanating from the oven. The aroma... it feels very comforting and undeniably divine.

I love making bread using the tangzhong water roux method as I find that the bread often turn out gorgeously soft and fluffy. This time around though, I thought I'd try something different.

This pumpkin bread loaf uses the cold milk method, and boy I have to say it is amazing and definitely one of my new favourite method now!

I used Nasi Lemak Lover's pumpkin walnut loaf recipe as a base and tweaked it slightly. Her recipe uses a stand mixer, but I modified the method in my recipe below as I used a breadmaker.

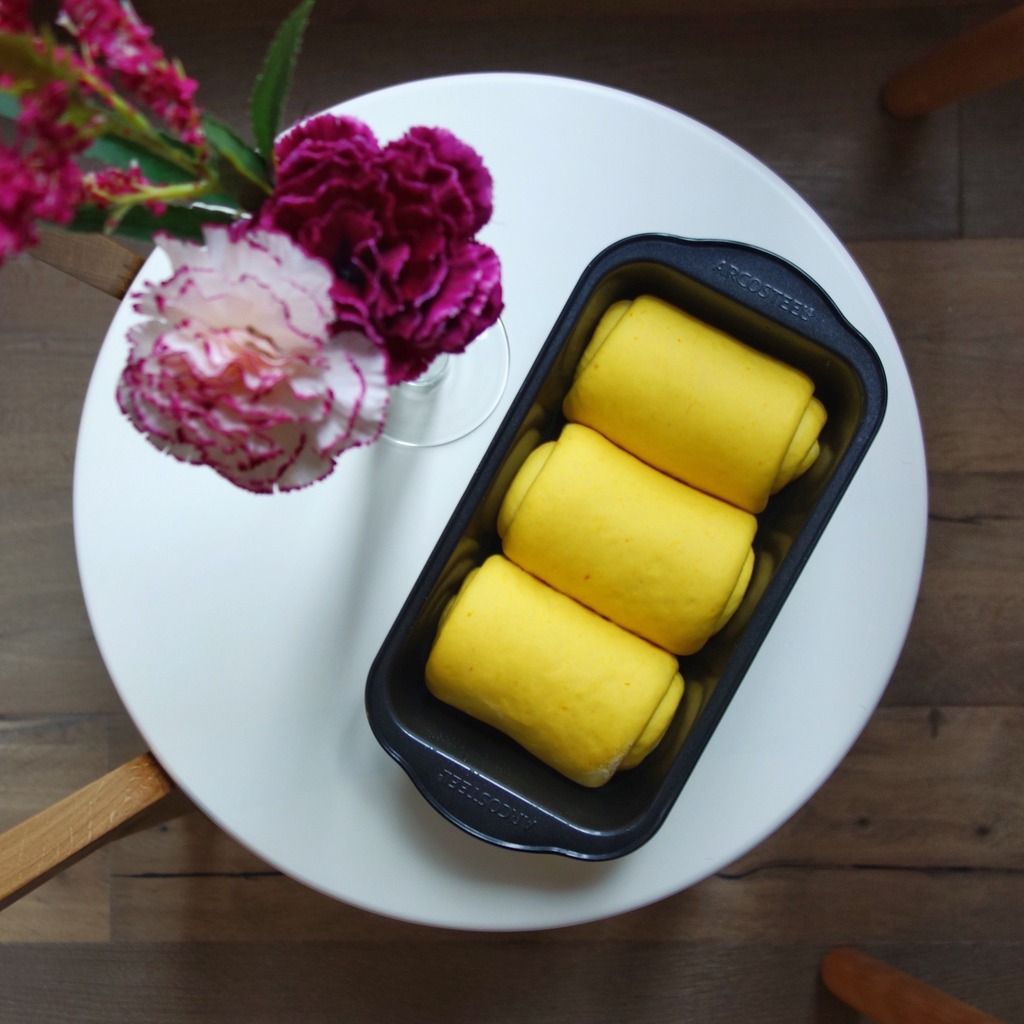
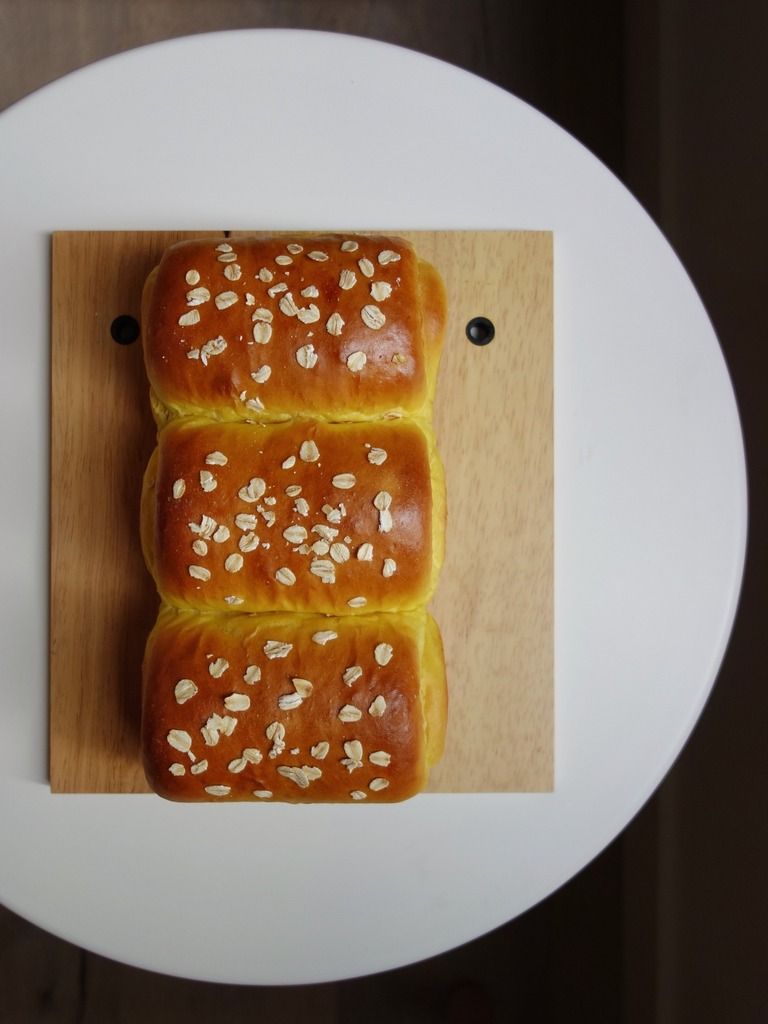
I've baked several different types of bread before, but never once with pumpkin. This is my first time baking with pumpkin and I absolutely love how beautifully golden yellow the loaf is. Au naturel yo!

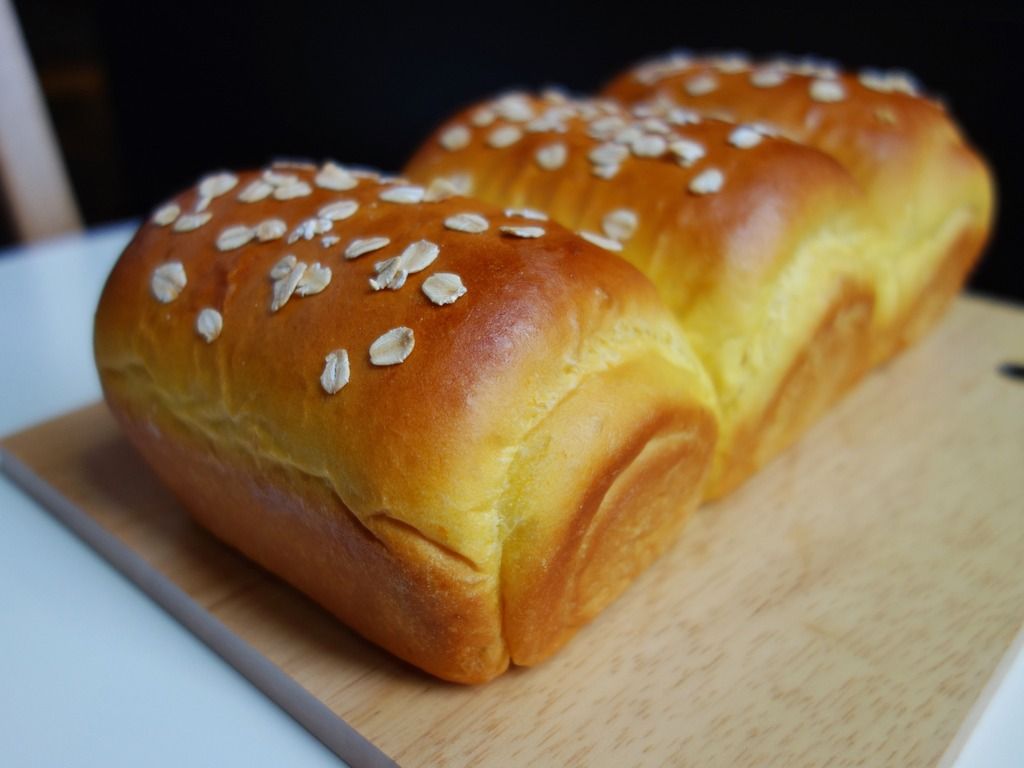
I like shaping my bread into mini loaves like the above. Here they are, fresh out of the oven, smelling SO good! As you can see, I topped them with some rolled oats for garnish just before popping them into the oven, but I reckon you could also use pumpkin seeds, sunflower seeds or even sesame seeds.

And for the million dollar #breadporn shot:

Oh my, oh my!! It's so fluffy I'm gonna die!!

Just look at how soft they are. I had to handle them very gently because they were extremely tender fresh out of the oven, but did firm up slightly as they cool down.

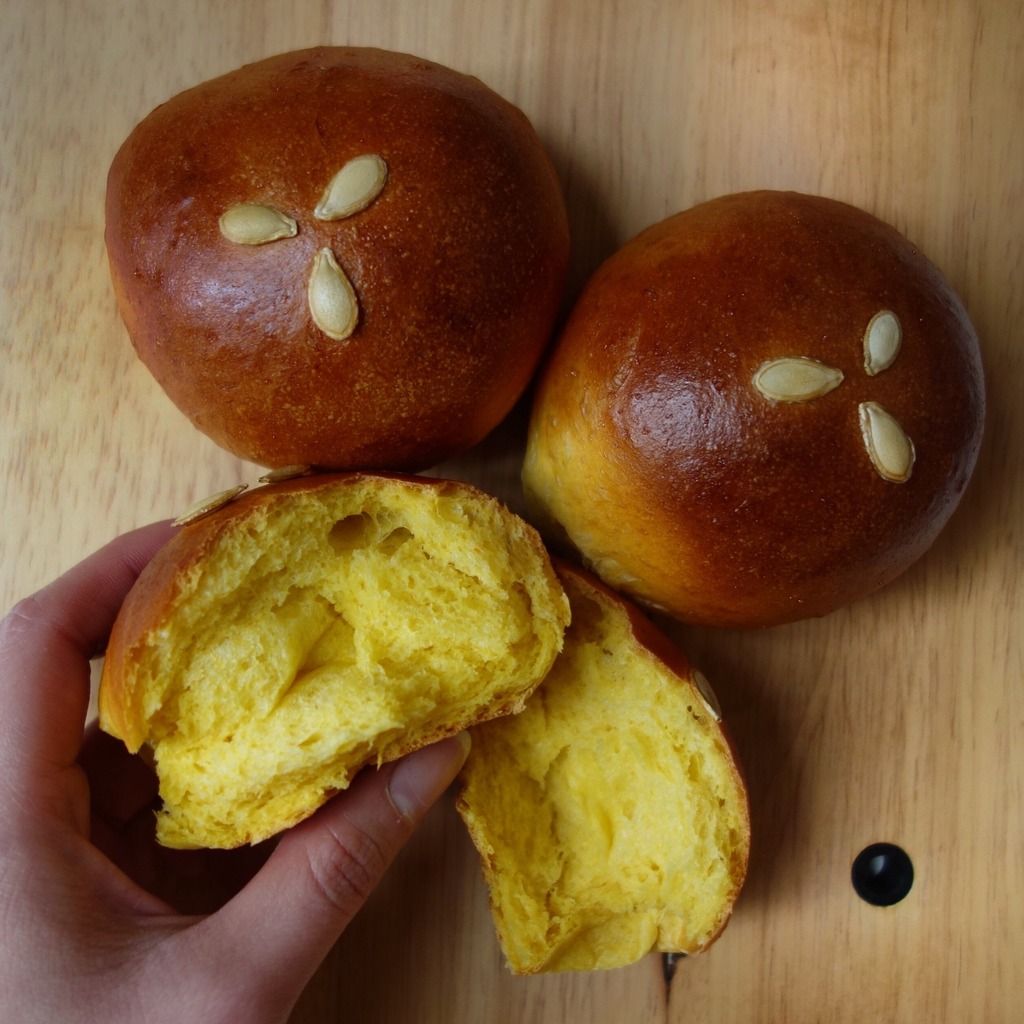
I also made some into buns topped with pumpkin seeds. They were just soft and delicious. The Boyfriend said "Mmm, they remind me of KFC dinner rolls, but better". I agree, they definitely do make pretty amazing dinner rolls. They can be eaten plain, or with a good spread of butter.

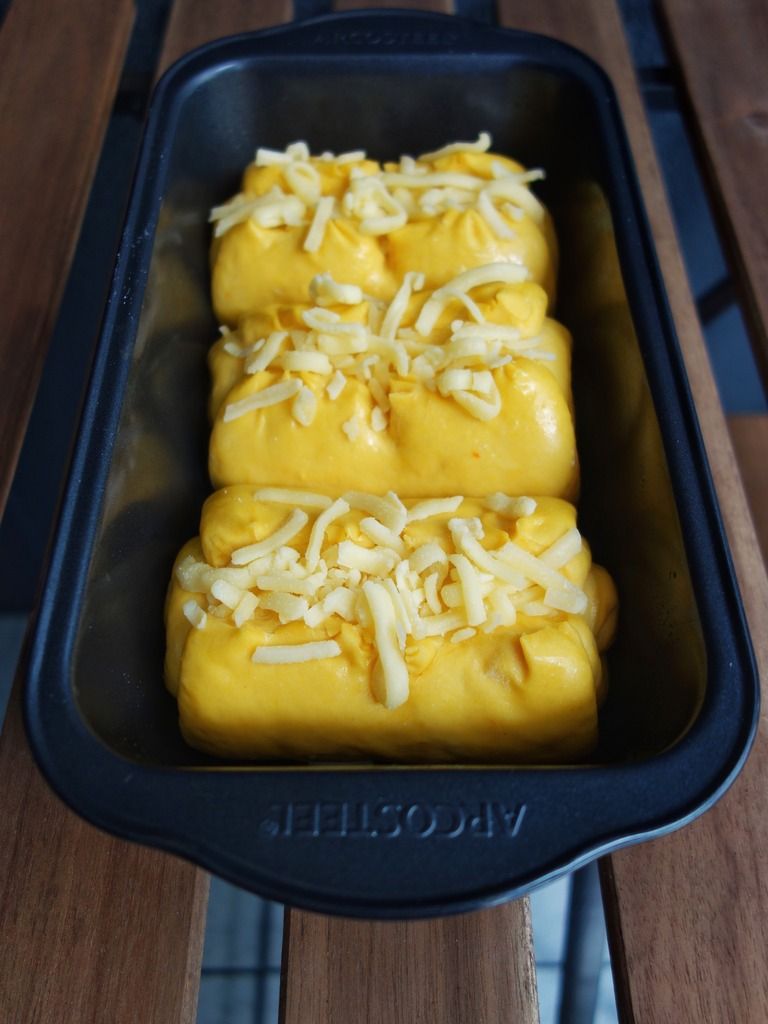
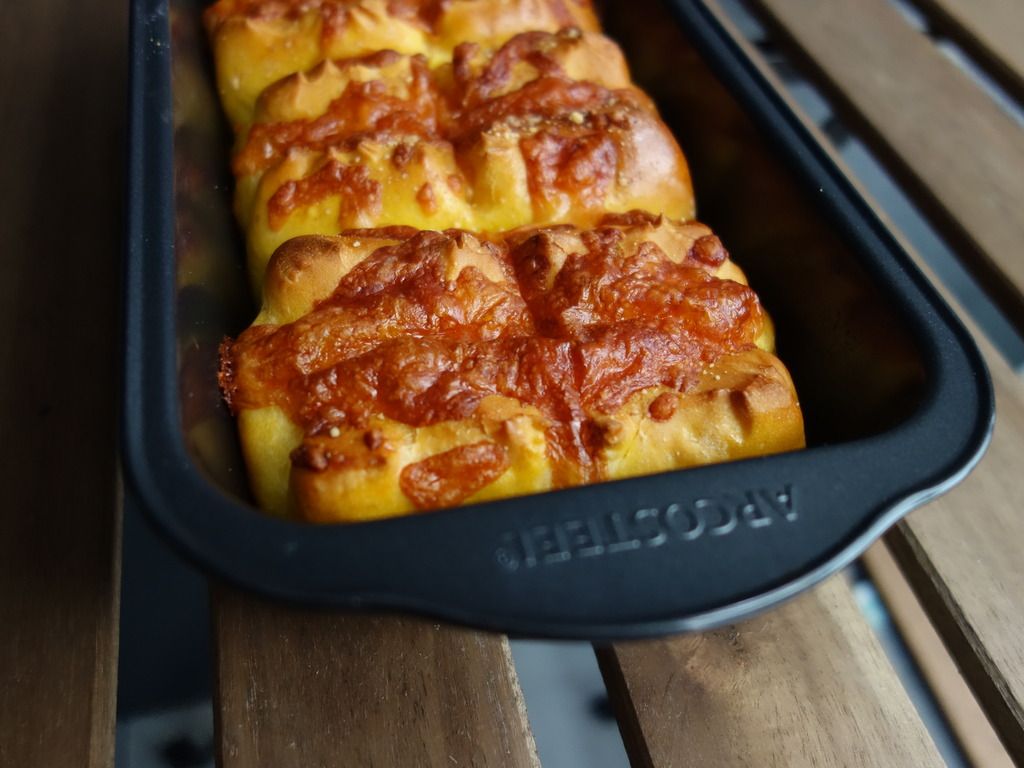
And because the bread were so good, and stayed soft even on day 2, I made more the following day! This time though, I had this ingenious idea of topping the loaf with cheese.

Did someone just say CHEEEEEEESEEEE?!! *hearts in eyes*

Ahhhh it was so SO good! This is possibly the best bread I've baked to date. They were divine, with or without cheese. I totally cheated on my diet big time because I could not resist 'em.

I highly recommend you give this recipe a go because the bread is exceptionally soft and delicious.


Pumpkin Bread Loaf
Recipe adapted from Nasi Lemak Lover & modified by The Bakeanista

Ingredients
  • 350 grams high protein or bread flour
  • 100g mashed pumpkin
  • 20g sugar
  • ½ teaspoon salt
  • 150g fresh milk (cold from fridge)
  • 1 teaspoon instant yeast
  • 20g butter, cubed and at room temperature
  • 1 egg, beaten (for egg wash)
  • rolled oats/pumpkin seeds/cheese for garnishing

Method using breadmaker
  1. Prepare pumpkin. Peel, core and cut pumpkin into cubes. Steam until soft (about 10 minutes), then mash up and set aside.
  2. Add all ingredients (except butter) into a breadmaker, first the wet ingredients (milk then mashed pumpkin), followed by the dry ingredients (sugar, salt, flour, yeast).
  3. Select the "dough" mode (refer to the menu of your breadmaker to select the kneading dough programme).
  4. When all ingredients come together, add in the butter, continue kneading until the dough is smooth and elastic. The time of kneading in the breadmaker is about 30 minutes.
  5. Let the dough complete the 1st round of proofing until double in size, about 40-50 minutes, best temperature for proofing is 28C, humidity 75%, until double in size. 
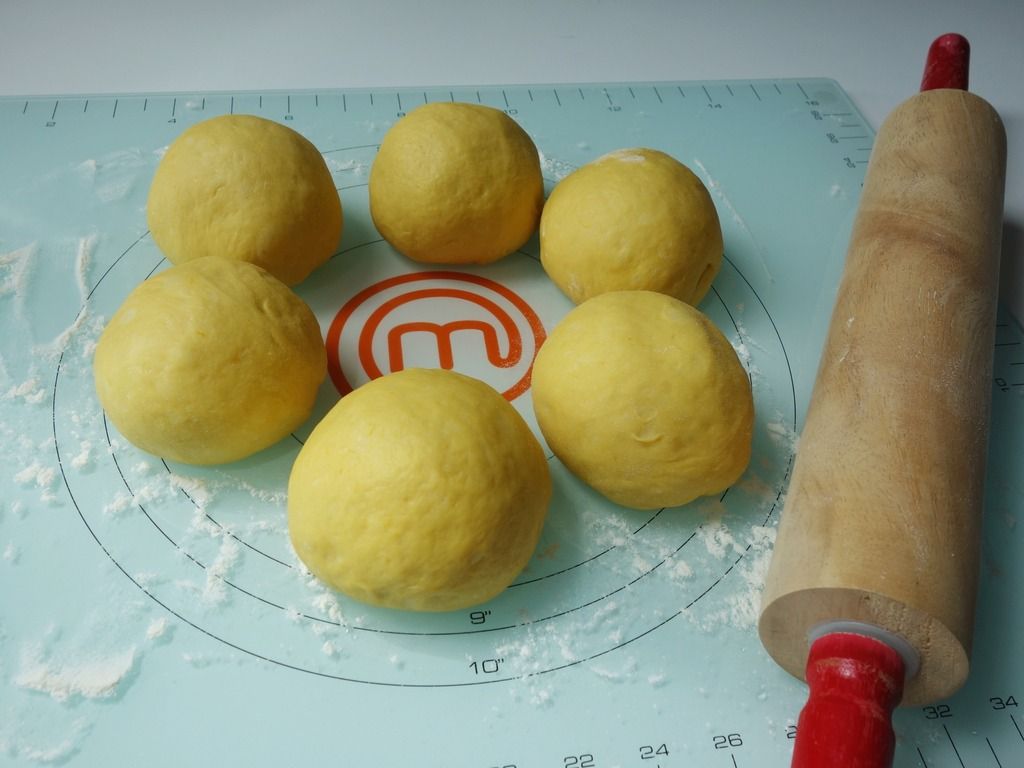
  6. Punch and deflate dough, then remove dough from bowl and shape into a ball. As this recipe makes two loafs, divide into six equal portion. The dough will be approximately 660g as a whole, so each portion should be approximately 110g.

  7. Knead into balls and let rest for 15 minutes at room temperature.

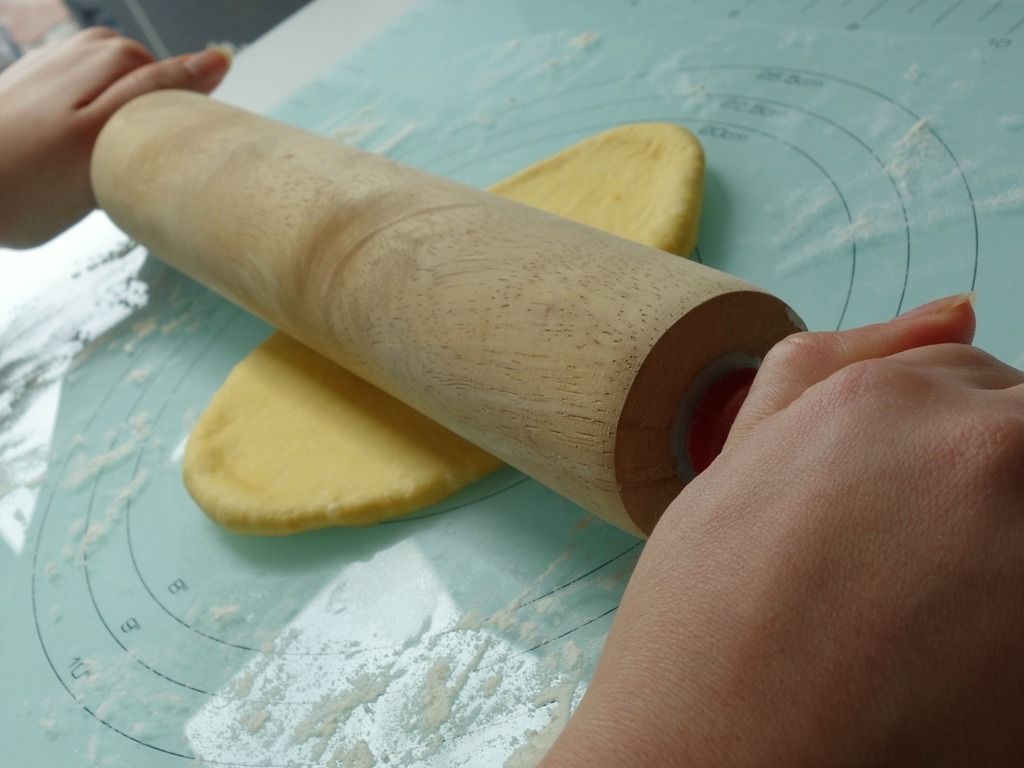
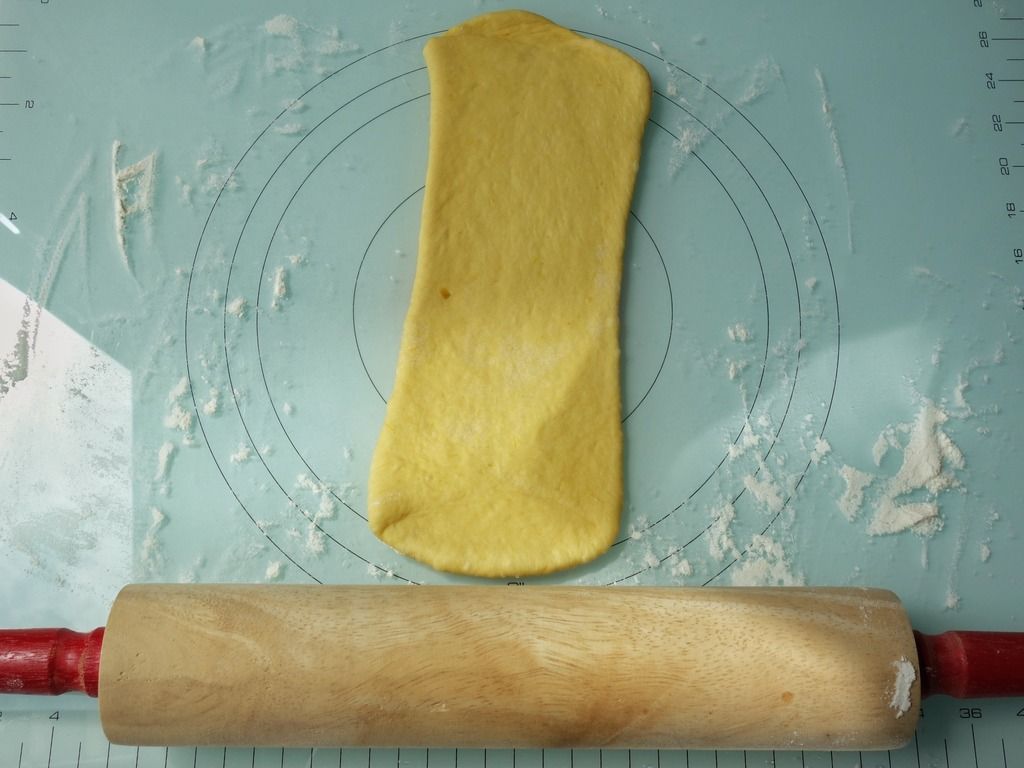
  8. Roll out each portion of the dough with a rolling pin into an oval shape.

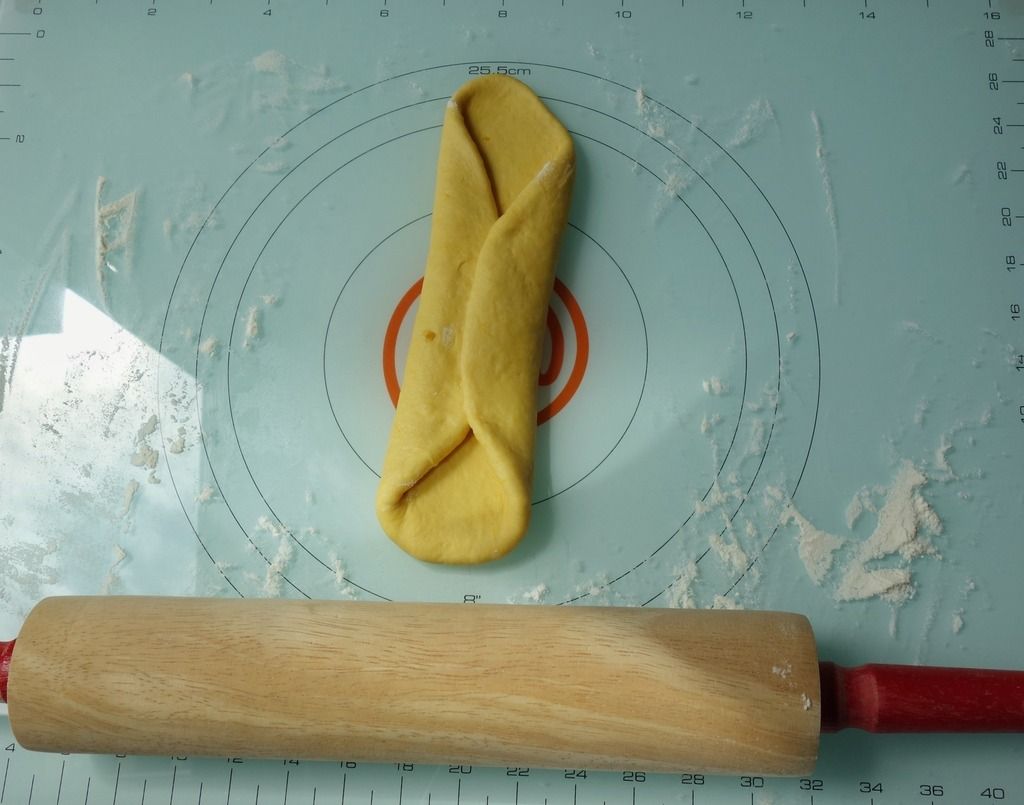
  9. Fold 1/3 from top edge to the middle and press. Repeat with the other side.

  10. Roll flat and stretch in length.

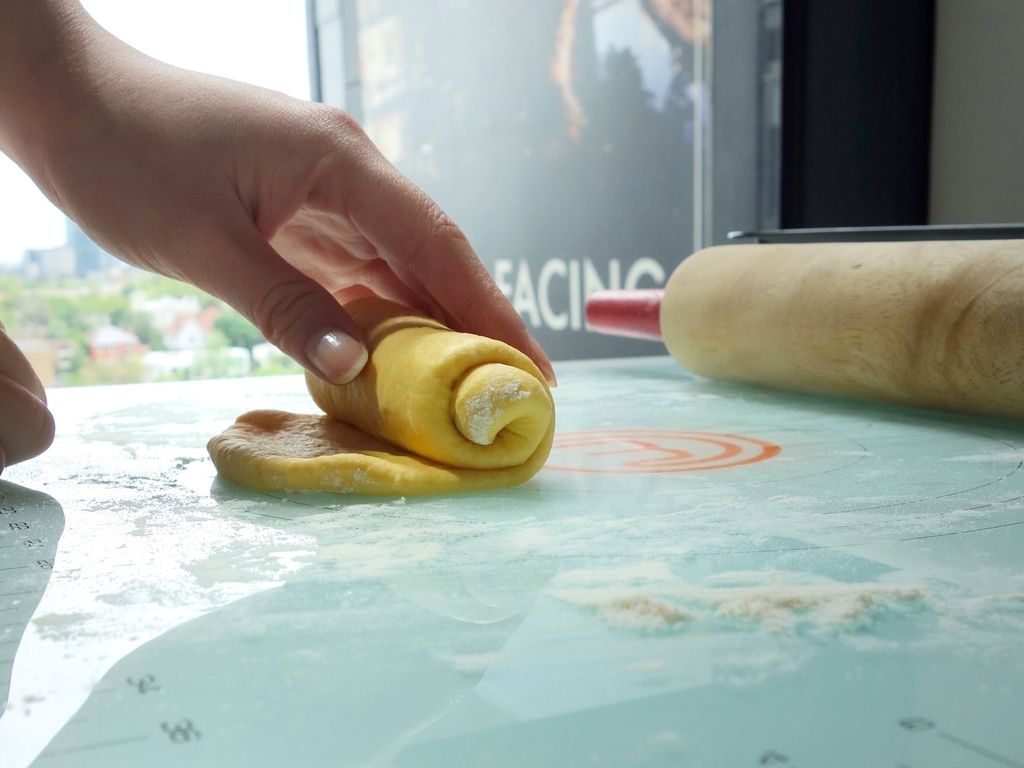
  11. Then roll into a cylinder.

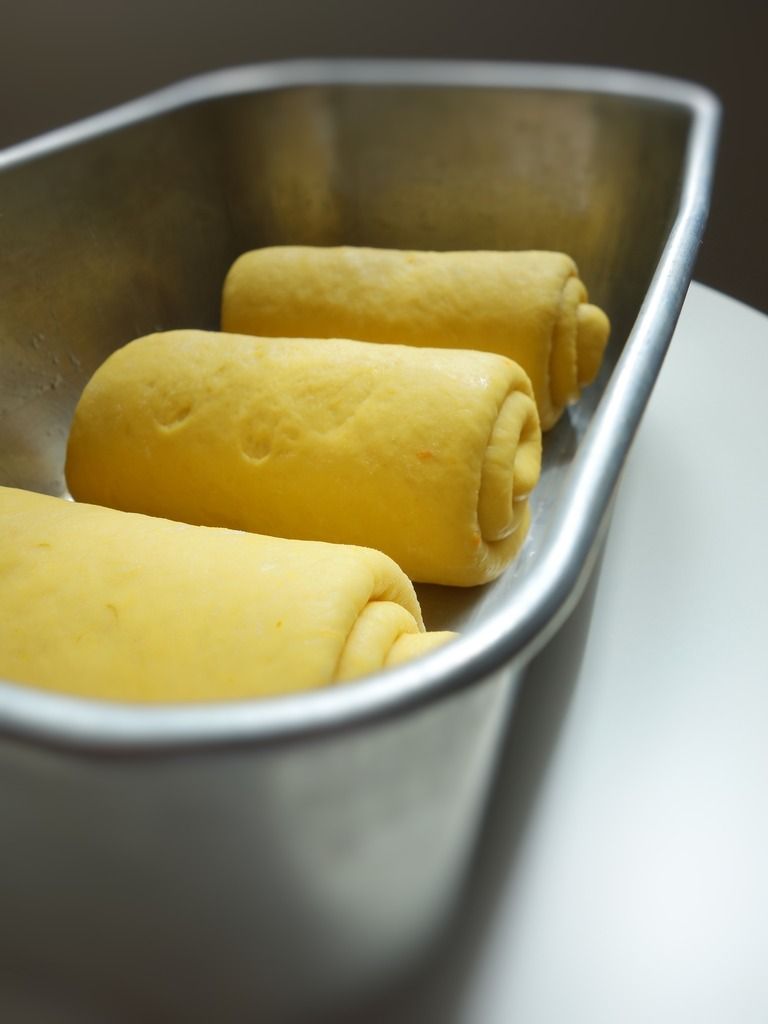
  12. With seal facing down, place in the loaf tins to have the 2nd round of proofing, until double in size. This takes another 40-50 minutes depending on the weather. The best temperature for 2nd round proofing is 38C, humidity 85%. As the weather in Melbourne can sometimes be a little too chilly, I sometimes preheat my oven at 40 deg C then turn off, and let dough proof inside, whilst covered with a damp cloth.
  13. Brush whisked egg wash on surface and garnish with rolled oats or pumpkin seeds. If you'd like to make the cheese version, this is when cut a cross on the top of the loaf, and top with shredded mozzarella and sprinkle a little pinch of parmesan cheese.
  14. Bake in a pre-heated oven at 180 degrees C for 20-25 minutes, or until top of bread is shiny and golden brown.
  15. Remove from the oven, and let cool for 5 minutes. Remove bread from pan (handle with care as bread will be very soft) and transfer onto a wire rack to let cool completely. You will find that the bread will firm up once cool.
  16. And now to the best part of it all, take in a deep breath of the aroma of your freshly baked loaf and DIG IN! 
Do let me know in the comments below if you've got any questions, as always I'd be happy to help where I can. Off I go to enjoy some freshly baked bread now! Happy baking!

Sorry I can't help but end this blog post with another #breadporn shot. ;)

Tuesday, September 15, 2015

Rotiboy Inspired Mexican Coffee Bun

Hello everyone or should I say, anyone out there who's still reading my blog! My sincerest apologies for going MIA over the past 2 months.

If you've been wondering what has been happening in my life, this is a quick summary:

  • I left my job and headed back to Malaysia to spend some time with my folks. After being abroad for a decade, going home for a couple of months took some adjusting to, but I did enjoy being home and back to being my parents' little girl for a little bit.
  • I signed up for personal training and started weight lifting + clean eating. I've lost a total of 8kg to date and hopefully more to come. But I have to admit, every day I look forward to my cheat meal on the weekend as I am still as greedy as I was before, just a little more controlled. But I will share the details regarding this new lifestyle change in another post.
  • I also joined some bread-making classes with my favourite aunt who loves baking as much as I do and I can't wait to put the new knowledge that I've learnt to use.

Whilst I did have a good time away, I've also missed blogging so I am glad to be getting back to it.

Today I'm going to be sharing with you this amazing recipe for Rotiboy inspired Mexican coffee buns I learnt in one of the breadmaking class.

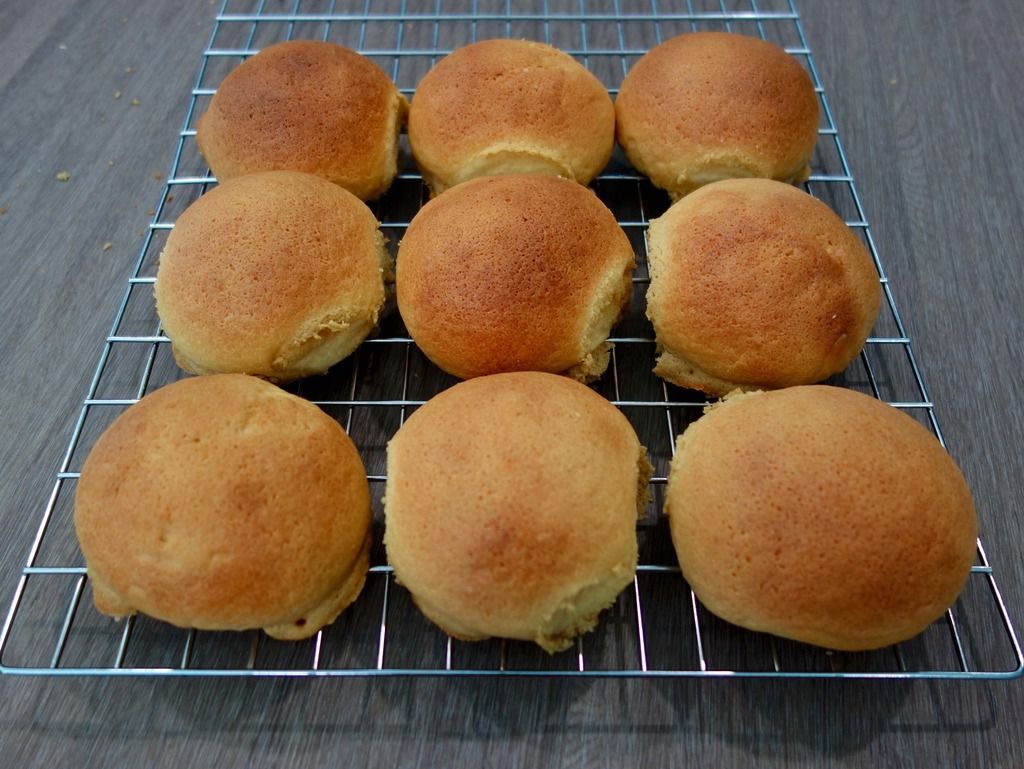
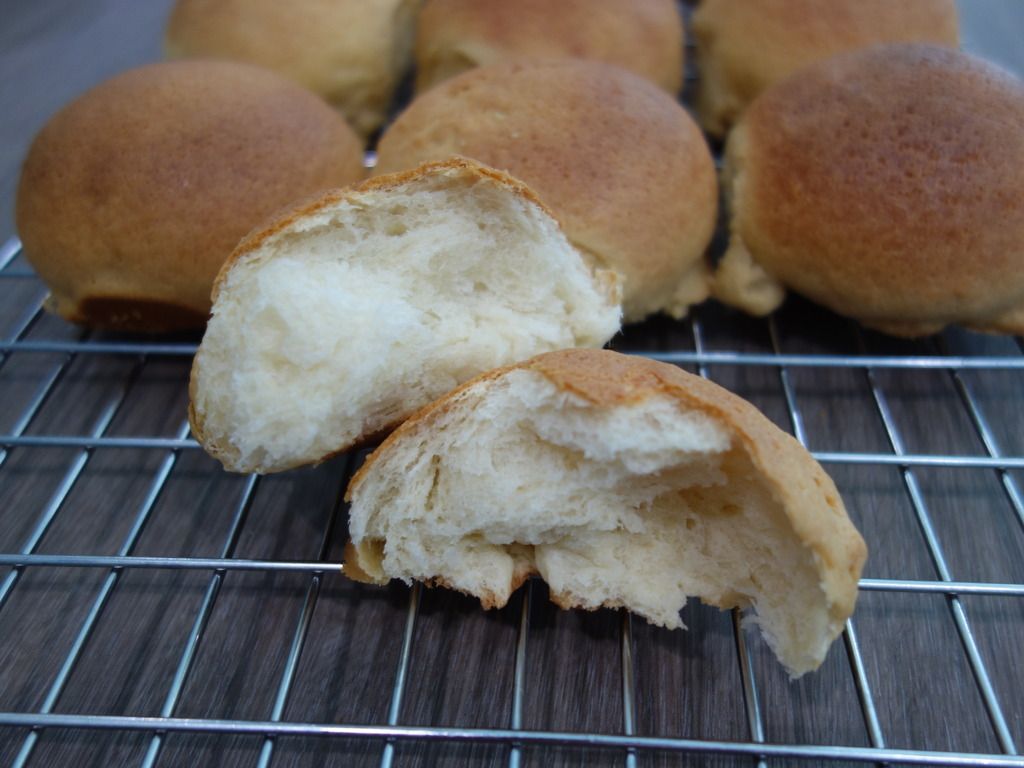
These Mexican coffee buns were really soft and fluffy as all buns should be; but paired with a deliciously fragrant coffee crisp crust... Mmmm, they were to die for! All the buns were devoured fresh out of the oven, that's how good they were.

So without further ado, here's the recipe:

Sweet Bun Dough
Makes approximately 14-15 medium sized buns

Ingredients
  • 500g bread flour
  • 100g sugar
  • 10g yeast
  • 4g salt
  • 1 egg, beaten lightly
  • (+/-) 180 to 200ml water
  • 50g yogurt
  • 80g butter

Method
  1. Mix together all the dry ingredients (flour, sugar, yeast, salt) in your mixing bowl and whisk to mix thoroughly.
  2. Gradually add in water and egg then knead using dough hook on medium speed for about 10-12 minutes until the dough come together.
  3. Slowly add in the yogurt and butter, then continue kneading till you get a shining and elastic dough. It should be able to stretch without breaking apart. 
  4. Place dough in a bowl that has been lightly oiled, then cover with a damp cloth. Leave to proof for about 40-50 minutes or until dough has doubled in size.
  5. Place dough on a lightly floured surface then punch down to release air.
  6. Divide dough into 50grams each, then roll and shape them into small round balls. Place them on a baking sheet lined with parchment paper and keep them 2 inches apart. 
  7. Leave the ready bun to proof again for another 40-45 minutes, and remember to cover with a damp cloth to maintain moisture.
  8. While the dough is let to rest for their final proofing, prepare the topping as per recipe below. If you're done preparing the topping and the dough is not ready, feel free to refrigerate the topping. This topping can be kept refrigerated for 3 days, or frozen for a couple of weeks.
  9. About 15 minutes before your buns are done resting, preheat your oven to 180°C.


Mexican Coffee Topping
  • 200g butter
  • 160g icing sugar
  • 3 eggs
  • 1/4 tsp vanilla extract
  • 200g plain flour
  • 1-2 tsp coffee (could be adjusted for stronger flavour)

Method:
  1. Dissolve the instant coffee with 1 tbsp of hot water, it will turn into a paste. Set aside.
  2. With an electric mixer on low, beat the butter and icing sugar until well mixed and smooth.
  3. Add the coffee paste and vanilla extract and beat for 30 seconds until well incorporated.
  4. Add the eggs and beat for another 30 seconds.
  5. Add the flour slowly and beat on low for 30 seconds and then on high for another minute or so until mixed well.
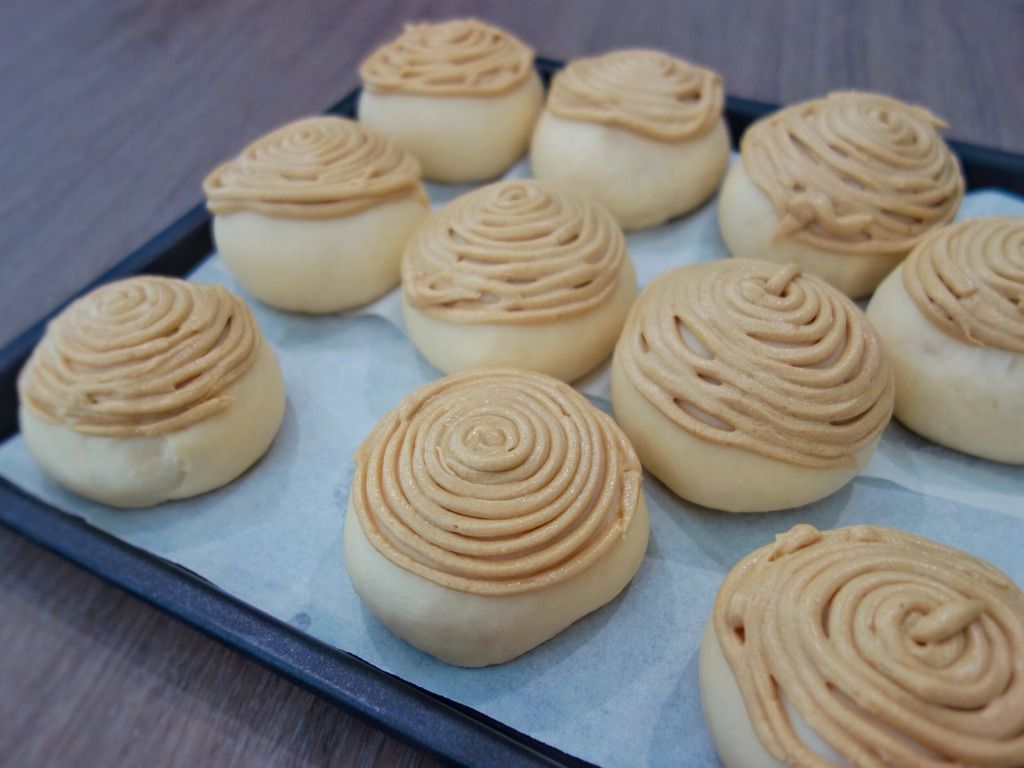
  6. Fill a piping bag fitted with a round nozzle (or if using a disposable piping bag like we did, you don't have to use a nozzle, just cut a small hole) and fill with the coffee mixture.
  7. Pipe the filling on top of each bun in a spiral circular pattern like so:
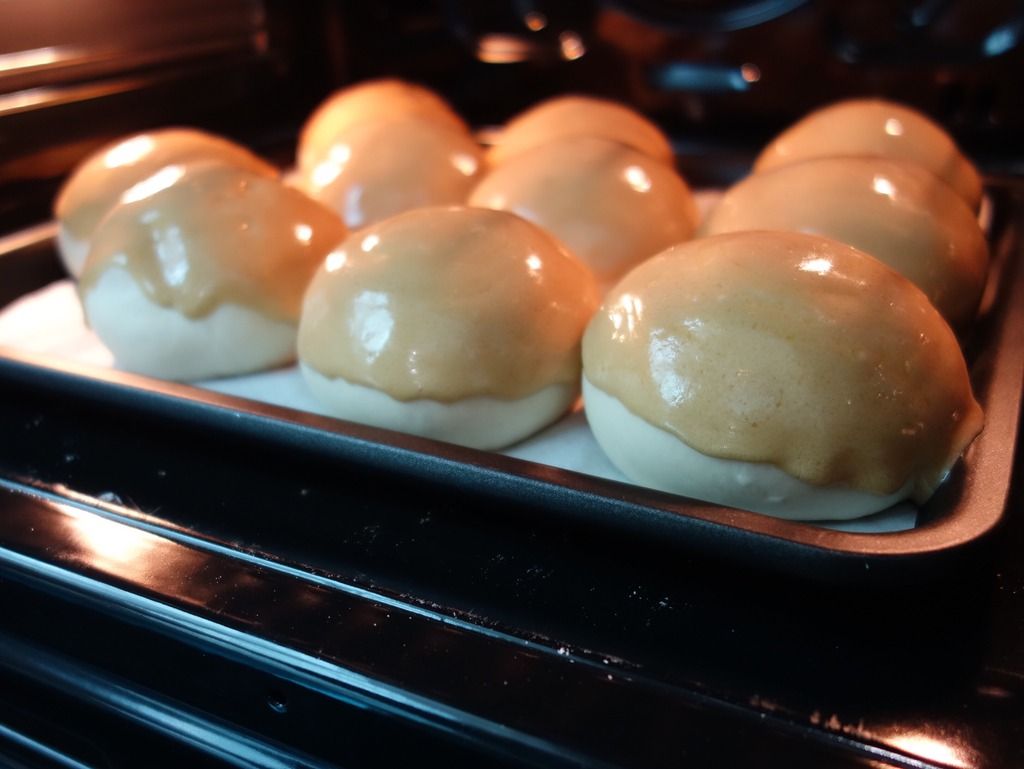
When you're done piping all the buns, pop them into the preheated oven and bake for around 15-18 minutes, or until lightly golden brown.

I absolutely loved watching the coffee topping melt away in the oven!

At this point, the entire kitchen already started to smell so AMAZING, let alone after they were done!

Remove from oven and place on cooling rack. It is hard to resist them with such a fragrant aroma, but please do let them rest for just a couple of minutes for the topping to get a little more crisp then enjoy whilst the bun is still warm! ;)
Oh, they were so SO good. One is never enough! Just a little heads up, if you're serving them to a larger group, you might want to double the recipe. That's what I'll do next time I attempt this recipe again.

The original Rotiboy has a butter filling, but we omitted that. You may opt to fill 5-8g of cubed salted butter before shaping them into small round balls. Might do that next time when I feel like indulging in some buttery goodness.

I hope you enjoy them as much as I do. If you've got any questions, please feel free to leave them in the comment box below.

Good luck! :)
Click on 'OLDER POSTS' for more! :)