
Mine's been pretty good, and particularly special last week when I turned 24. The Boyfriend totally spoilt me - he brought me to Vue de Monde for a gastronome 7 course degustation dinner.
And for that, The Boyfriend earns 10 extra brownie points, heh! I'll definitely be blogging about my VDM experience some time soon and try to articulate my experience to justify how great it was. :)
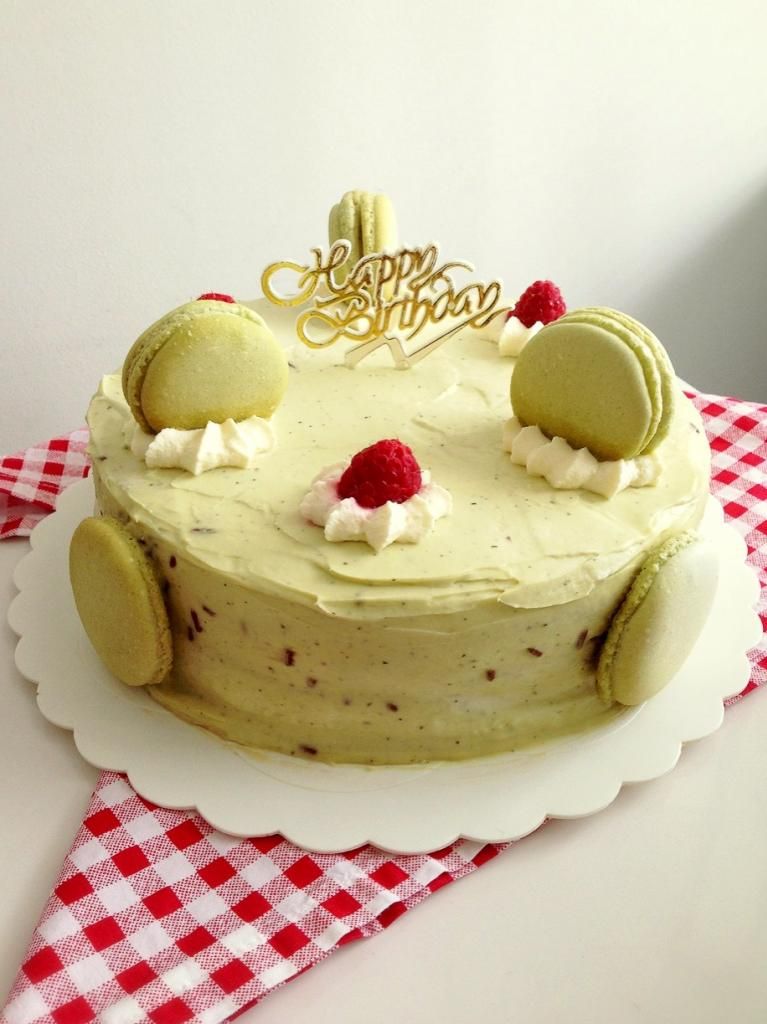
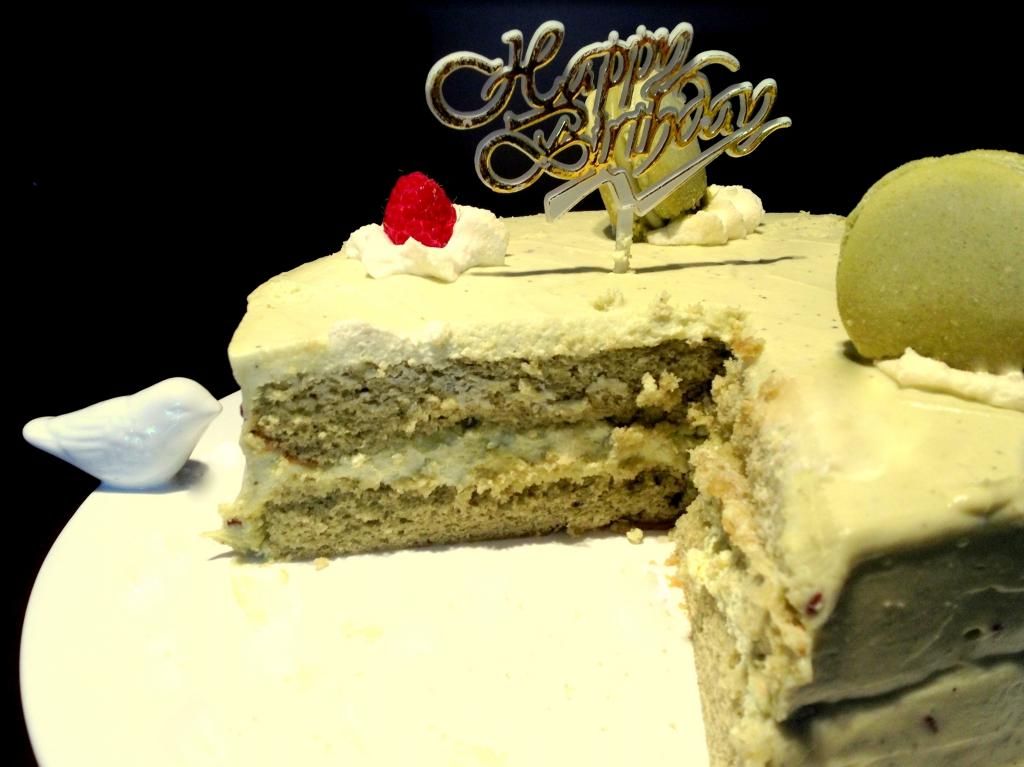
But anyhoos, back to the main point of today's post. As I had so much free time on hand, I also decided to bake my own birthday cake.
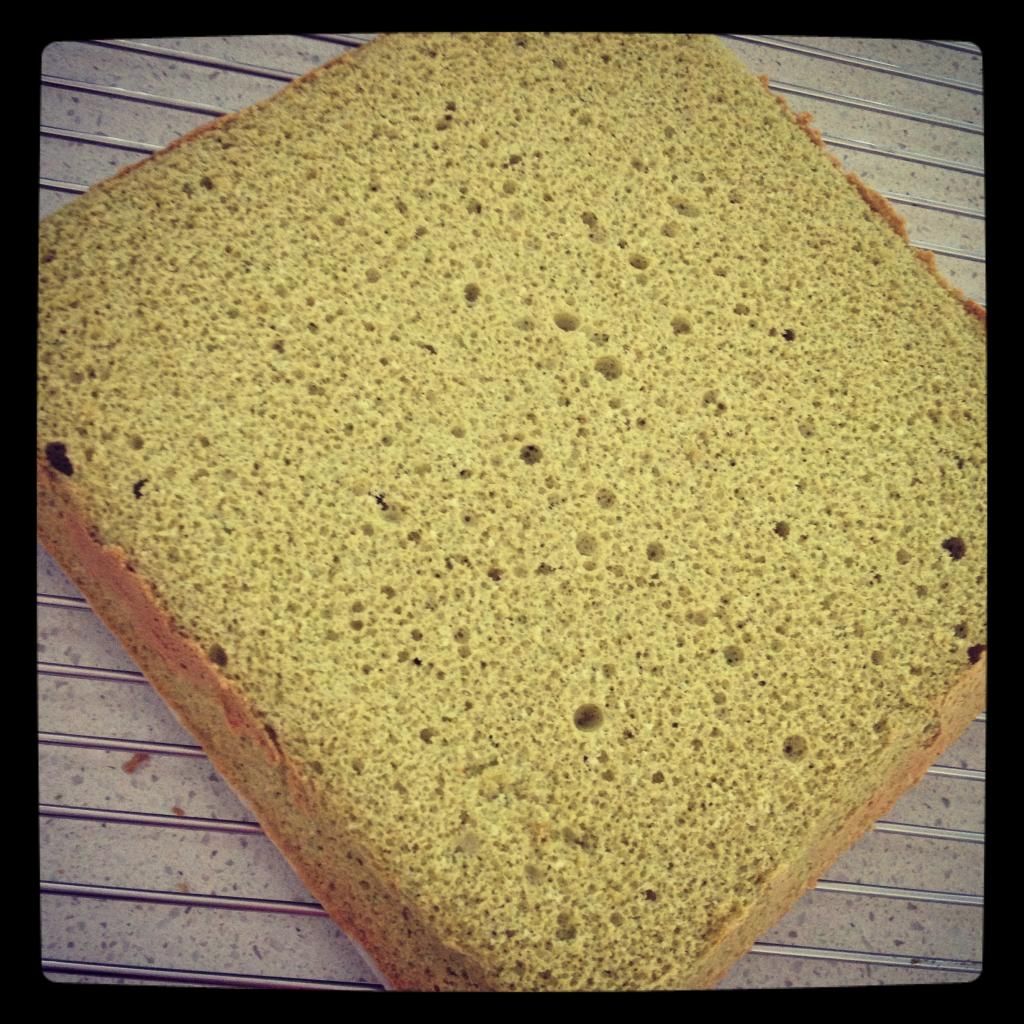
I say kinda because the sponge layer is a modified version of the "fool-proof sponge cake" I used in the Mango Mousse Cake.
I used to dislike making sponge cakes as the few times I've attempted, they turned out dense and not quite edible.
I am quite happy with the cake as an overall too! Both The Boyfriend and The Brudder loved it - they had a few slices each.
Even my friends who came over to have cake gave really really good feedback, and that made me even happier. I get really happy to know that others are happy eating the baked goods I make.
So, without further ado, here's the recipe! :)
Recipe by The Bakeanista and makes an 8-inch round cake
♥ Matcha Sponge
- Softened unsalted butter for the pans
- 1/2 cup cake flour (53g plain flour + 15g corn flour; sifted thrice)
- 35g plain flour
- 1/2 tbsp green tea powder
- 1 teaspoon baking powder
- 1/4 teaspoon table salt
- 2 tablespoons milk
- 57g unsalted butter
- 5 large eggs, at room temperature
- 3/4 cup or 12 tbsp of granulated sugar
- 1/4 teaspoon cream of tartar
Method
- Adjust an oven rack to the lower-middle position and heat the oven to 175°C. Grease two 8" round cake pans and cover pan bottoms with of parchment paper.
- Sift the flours, green tea powder, baking powder, and salt together in a medium bowl and set aside. Heat the milk and butter in a small saucepan over low heat until the butter melts. Take the sauce pan off the heat; keep the mixture covered and warm.
- Separate the eggs, placing the whites in the bowl of a standing mixer fitted with the whisk attachment and reserving the yolks in a small bowl. Beat the whites on high speed until foamy. Gradually add 6 tablespoons of the sugar and the cream of tartar and continue to beat the whites to soft, moist peaks. If using a standing mixer transfer the beaten egg whites to a large bowl and add the egg yolks to the standing mixer bowl (you don't need to clean the bowl).
- Beat the egg yolks with the remaining 6 tablespoons sugar on medium-high speed until the mixture is very thick and turns a pale lemon colour, about 5 minutes. Add in the beaten egg whites to the yolks, but do not mix.
- Sieve the flour mixture over the egg whites and mix on low speed for 10 seconds. Remove the bowl from the mixer, make a well in one side of the batter and pour the melted butter mixture into the bowl.
- Fold gently with a large rubber spatula until the batter shows no trace of flour and the whites and yolks are evenly mixed, about 8 strokes. Also make sure that you have incorporated the butter into the mixture. There should not be visible grease as you pour the mixture into the cake pans.
- Immediately pour the batter into the prepared pans. Bake until the cake tops are light brown and feel firm and spring back when touched, about 18 to 20 minutes.
- Cool completely on racks. Run a thin knife around the inside of the cake pans and then invert them onto the racks to release the cakes from the pans. Remove the parchment paper.
♥ Matcha Mascarpone
- 250g mascarpone cheese, at room temperature
- 250g cream cheese, softened at room temperature
- 2 tsp green tea powder mixed with 1 tbsp hot water (as an avid matcha lover, I'd go stronger next time with 1 tbsp of green tea powder)
- 1/2 cup icing sugar, sifted
Method
- Beat the mascarpone and cream cheese until combined, then followed by the green tea mixture.
- Lastly, add in the icing sugar (if not already sifted, make sure you sift it in) and mix until well incorporated, for approximately 3-5 minutes. Texture will look similar to that of a ribbon stage, meaning that when you lift the whisk over the mixture, the batter should fall slowly forming a ribbon that will hold its shape for a few minutes.
♥ Whipped Matcha Infused White Chocolate Ganache
I had approximately 1/2 cup of matcha infused white chocolate ganache leftover from making my green tea macarons, so all I did was to bring the chilled ganache (of which I've kept refrigerated) to room temperature by placing over double boiler for approximately a minute or two. I did not melt it completely, I simply brought it down to "ribbon stage" consistency. I then combined the ganache with 150ml of whipped thickened cream (at peak) to get more volume.
If you're keen to achieve a similar sort of mousse-like texture, I'd say make only 1/3 of the recipe used here or because I am nice like that, it is below for your convenience:
- 100g white chocolate, chopped into small pieces (I used Nestle Baking White Melts)
- 1/4 teaspoon matcha powder
- Loose green tea leaves from 1 tea bag
- 1/3 cup thickened cream; for ganache
- 150ml thickened cream; for whipped cream
Method
- Recipe method for ganache is here.
- Once the ganache has cooled down and thickened slightly, (ie. not too flowy), start beating the cream at high speed until soft peak.
- Reduce the speed, and gradually pour the ganache into mixing bowl. Bring speed up to medium-high until mixture is well combined and have achieved firm peaks (not stiff) - wouldn't be long, probably a minute or two. And voila! :)
- Do not, I repeat, do not overbeat the whipped ganache, or it might have to go into Mr. Bin.
Alternatively, you may opt to omit combining with whipped cream - you will then achieve an end result like this Matcha Azuki Mousse cake I made a couple of years ago:

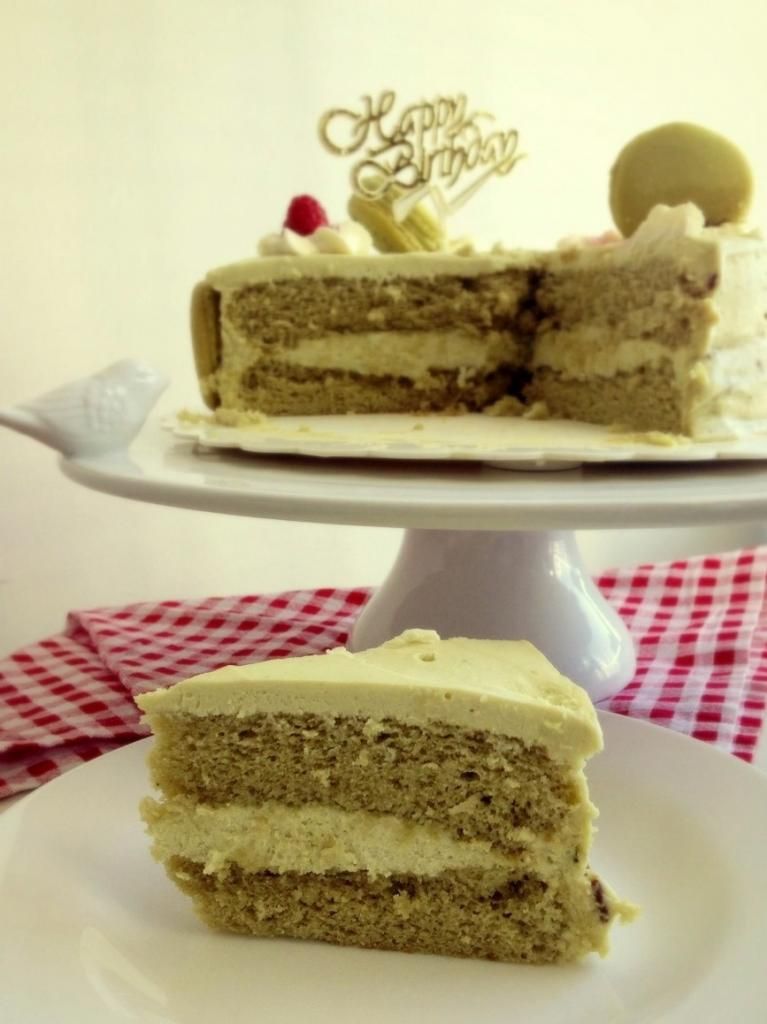
♥ To assemble
- If you have a cake ring, perfect! Otherwise, I simply placed one layer of my matcha sponge on the cake serving board.
- Spread slightly more than half of the mascarpone filling on the matcha sponge. Ensure that it is spread out evenly.
- Place the second layer of matcha sponge on top.
- And spread the remaining mascarpone filling on top of sponge layer. I even creamed the sides as well.
- Lastly, coat the cake with the matcha infused whipped ganache. If you're using just the ganache (without whipped cream), let the mixture flow down the side smoothly.
- Decorate the cake and put into the fridge until it sets for approximately 2-3 hours.
Tips: Ensure that you're making the mascarpone filling and ganache for coating only when your matcha sponge layer has cooled down and you're ready to assemble cake.
And there you go, your cake is now done! Dig in, and enjoy! Don't forget to share - sharing is caring! And you'll be showered with praises that will bring a wider smile to your face. :)
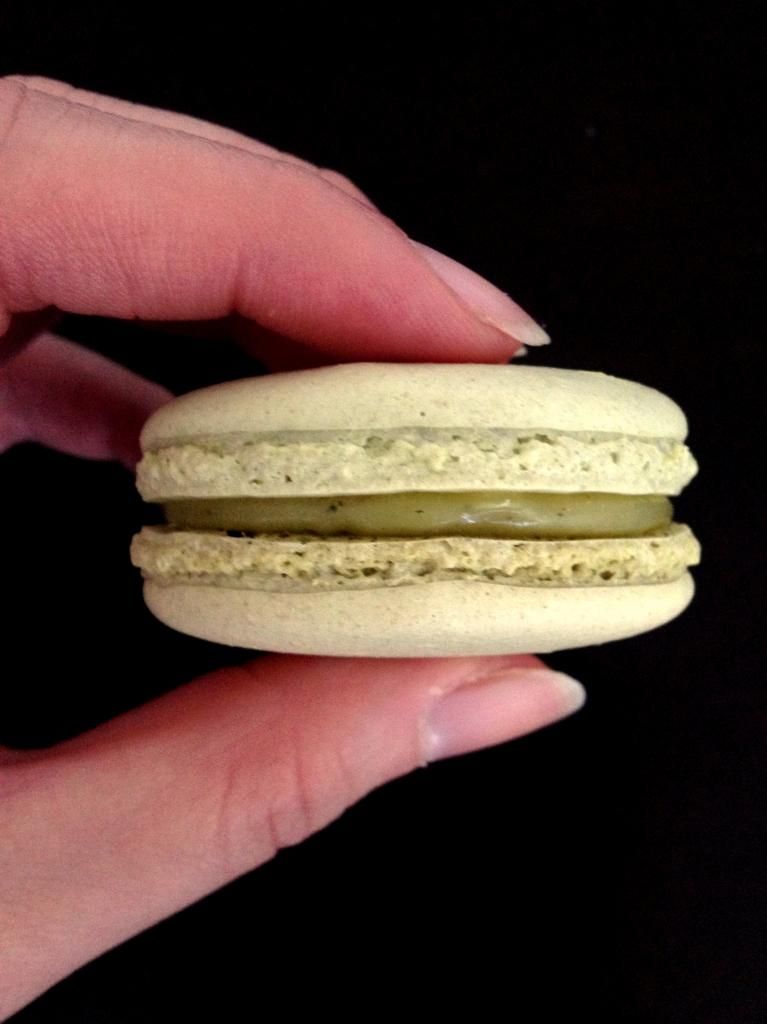 P/S: If you're interested, here's the link to the Green Tea Macarons recipe I used to decorate my cake with.
6 comments :
wow!! this cake looks amazing! like something you'd find in a cake shop :) esp with the macaron decorations! can't believe you made ur own bday cake! haha so much effort put in but totally worth it~ happy belated bday ^^ keep up the blogging!
Thank you lovely for your kind words! :) Hehe had to make good use of the macarons I made.
Hi,
Will this cake hold up if I did 4 layers? Thanks heaps!
Hi there, I'm not 100% sure given I have never tried making a 4 layer cake using this recipe but I am afraid as the mascarpone layer is a tad softer than say ganache layers it might wobble. The texture of the mascarpone is similar to that of a tiramisu, if you can imagine it'll be softer. As you can see, I did a rather thick layer of the mascarpone but I would suggest for you to apply just thin layers of cream in between if you really want to make a 4 layer cake.
Just a note -- 1 TBSP is 3 tsp, so 1/2 TBSP, or 1-1/2 tsp, would actually be less matcha than the 2 tsp given (precisely, 1/2 tsp. less).
Thank you so much for picking up that mistake! I've fixed it to 1 tbsp. :)
Post a Comment